
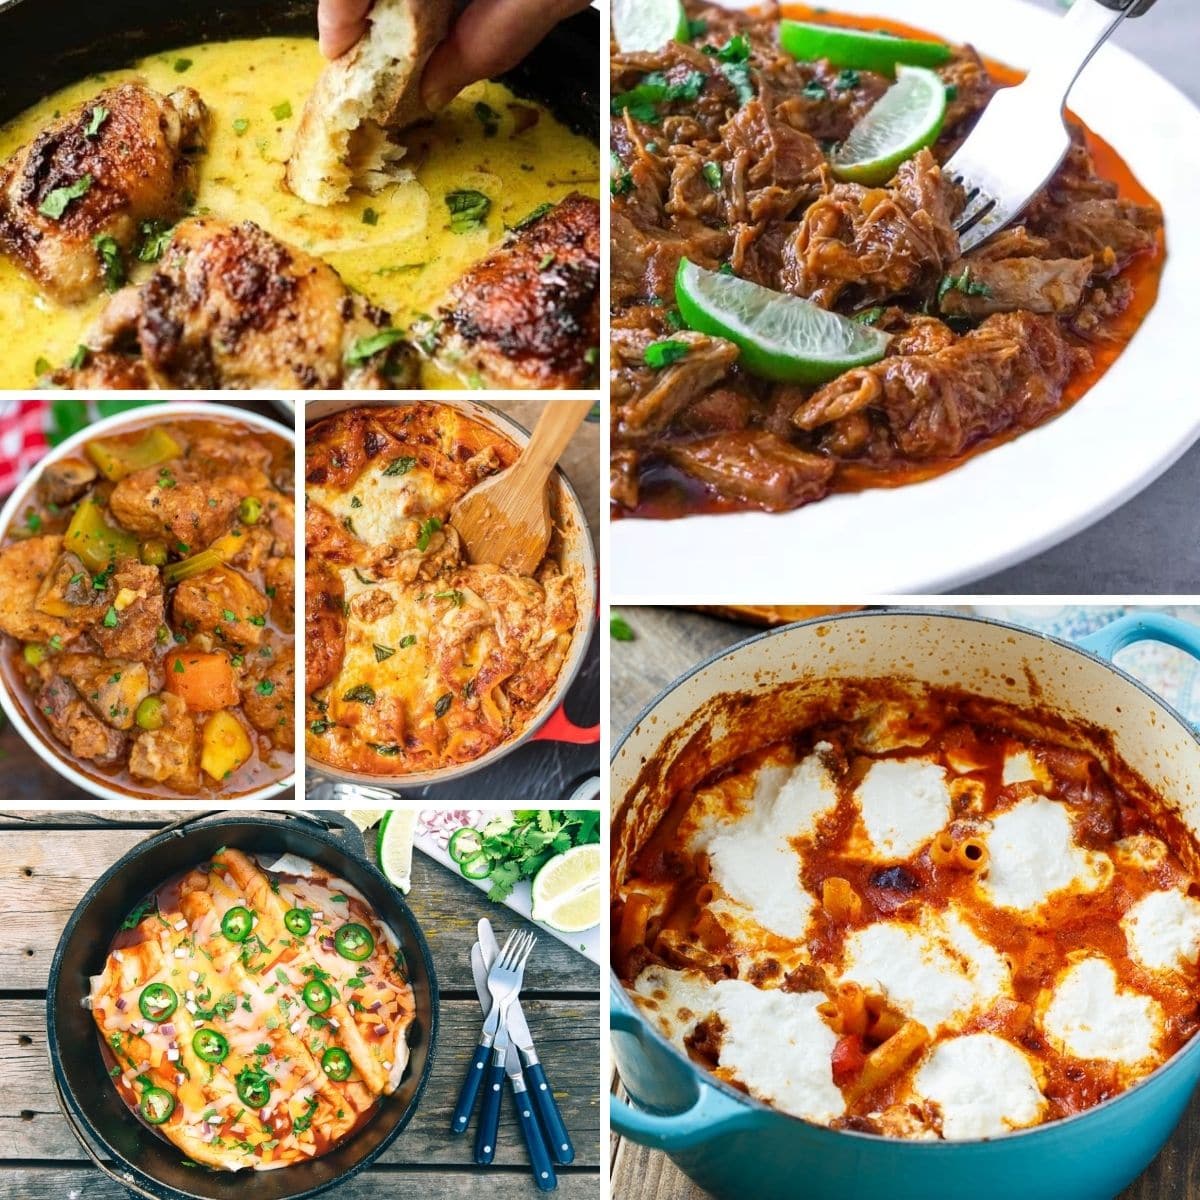
TikTok's Dutch Oven Obsession
Dutch ovens are popular on TikTok. They’ve moved from the back of cupboards to starring in countless videos – bubbling stews, roasted chickens, even cakes. This popularity stems from a desire for simpler, home-cooked meals, the appeal of cast iron, and one-pot convenience. Dutch ovens satisfy the craving for comfort food.
TikTok's algorithm pushes visually appealing cooking demonstrations. Dutch ovens are versatile: they go from stovetop to oven, retain heat well, and are durable. They're also seen as easy to use, attracting less experienced cooks. This practicality and visual appeal drive their online popularity.
Not every viral recipe works in practice. I tested popular Dutch oven recipes on TikTok to see which ones are worth trying. Some looked questionable, with overly simplified techniques or unusual ingredients. The goal is to find genuinely good recipes, not just those chasing views.
One-Pan Lemon Herb Roasted Chicken
This recipe, often found with #dutchovenchicken, promises a juicy, flavorful roasted chicken with minimal effort. Ingredients include a whole chicken (3-4 pounds), lemon, garlic, fresh herbs (rosemary, thyme), olive oil, salt, and pepper. Stuff the chicken cavity with lemon and herbs, rub with oil and seasoning, and roast in a Dutch oven, covered for most of the time, then uncovered to crisp the skin.
The Dutch oven creates a sealed environment, trapping steam and keeping the chicken moist. This is helpful if you struggle with dry chicken. I tested this recipe in a 6-quart Lodge Dutch oven. Cook covered for 30 minutes at 400°F, then uncovered for 30-45 minutes to crisp the skin. Use a meat thermometer to ensure the internal temperature reaches 165°F in the thickest part of the thigh.
The chicken was exceptionally moist and flavorful. Achieving truly crispy skin required adjustments. Increasing the oven temperature to 425°F for the last 15-20 minutes helped. Propping the lid slightly ajar with a wooden spoon during the final crisping stage allowed steam to escape, aiding browning. Adding a tablespoon of butter under the skin also added richness.
Viral Pasta 'Alla Vodka' Simplified
Pasta Alla Vodka, a restaurant favorite, has a streamlined TikTok version that skips steps like reducing wine, creating the sauce directly in the Dutch oven. Core ingredients include pasta (penne), crushed tomatoes, heavy cream, vodka (¼ cup), garlic, red pepper flakes, and Parmesan cheese.
Sauté garlic in olive oil, add crushed tomatoes and red pepper flakes, simmer, then deglaze with vodka. Stir in cream, then cooked pasta and Parmesan cheese. This is faster than traditional recipes that build sauce over time. I used a 5-quart Staub Dutch oven for this test; its even heat distribution is helpful.
This TikTok version is a shortcut that doesn't sacrifice too much flavor. Traditional methods allow flavors to meld for a more complex sauce. The TikTok version is acceptable for a weeknight meal. Don't skimp on Parmesan cheese, and be careful not to burn the garlic. The simplified method delivers on flavor, though it lacks some depth.
Dutch Oven 'Ramen' Hack
This is a quick noodle soup using the Dutch oven. The typical 'recipe' involves adding instant ramen noodles, broth, a protein source (egg, leftover chicken), and vegetables to a Dutch oven and simmering until noodles are cooked.
Using a Dutch oven heats the broth evenly and keeps it warm. It's also a one-pot meal, minimizing cleanup. However, this method doesn't significantly elevate the instant ramen experience or magically transform it into a gourmet dish.
This trend seems like a solution in search of a problem. Using a Dutch oven won't substantially improve instant ramen. It's a shortcut that isn't worth the effort.
Upside-Down Apple Cake – Dutch Oven Style
This TikTok trend adapts the classic upside-down apple cake for a Dutch oven. Caramelize sliced apples in butter and brown sugar at the bottom of the Dutch oven. Pour a simple cake batter (flour, sugar, eggs, butter, baking powder, vanilla extract) over the apples and bake until golden brown.
Preventing the cake from sticking is key. Generously butter the Dutch oven and use parchment paper as a liner. I used a 5.5-quart Le Creuset Dutch oven for this recipe; it baked evenly. Bake for 30-40 minutes at 350°F. Once cooled, invert the cake onto a serving plate to reveal the caramelized apples.
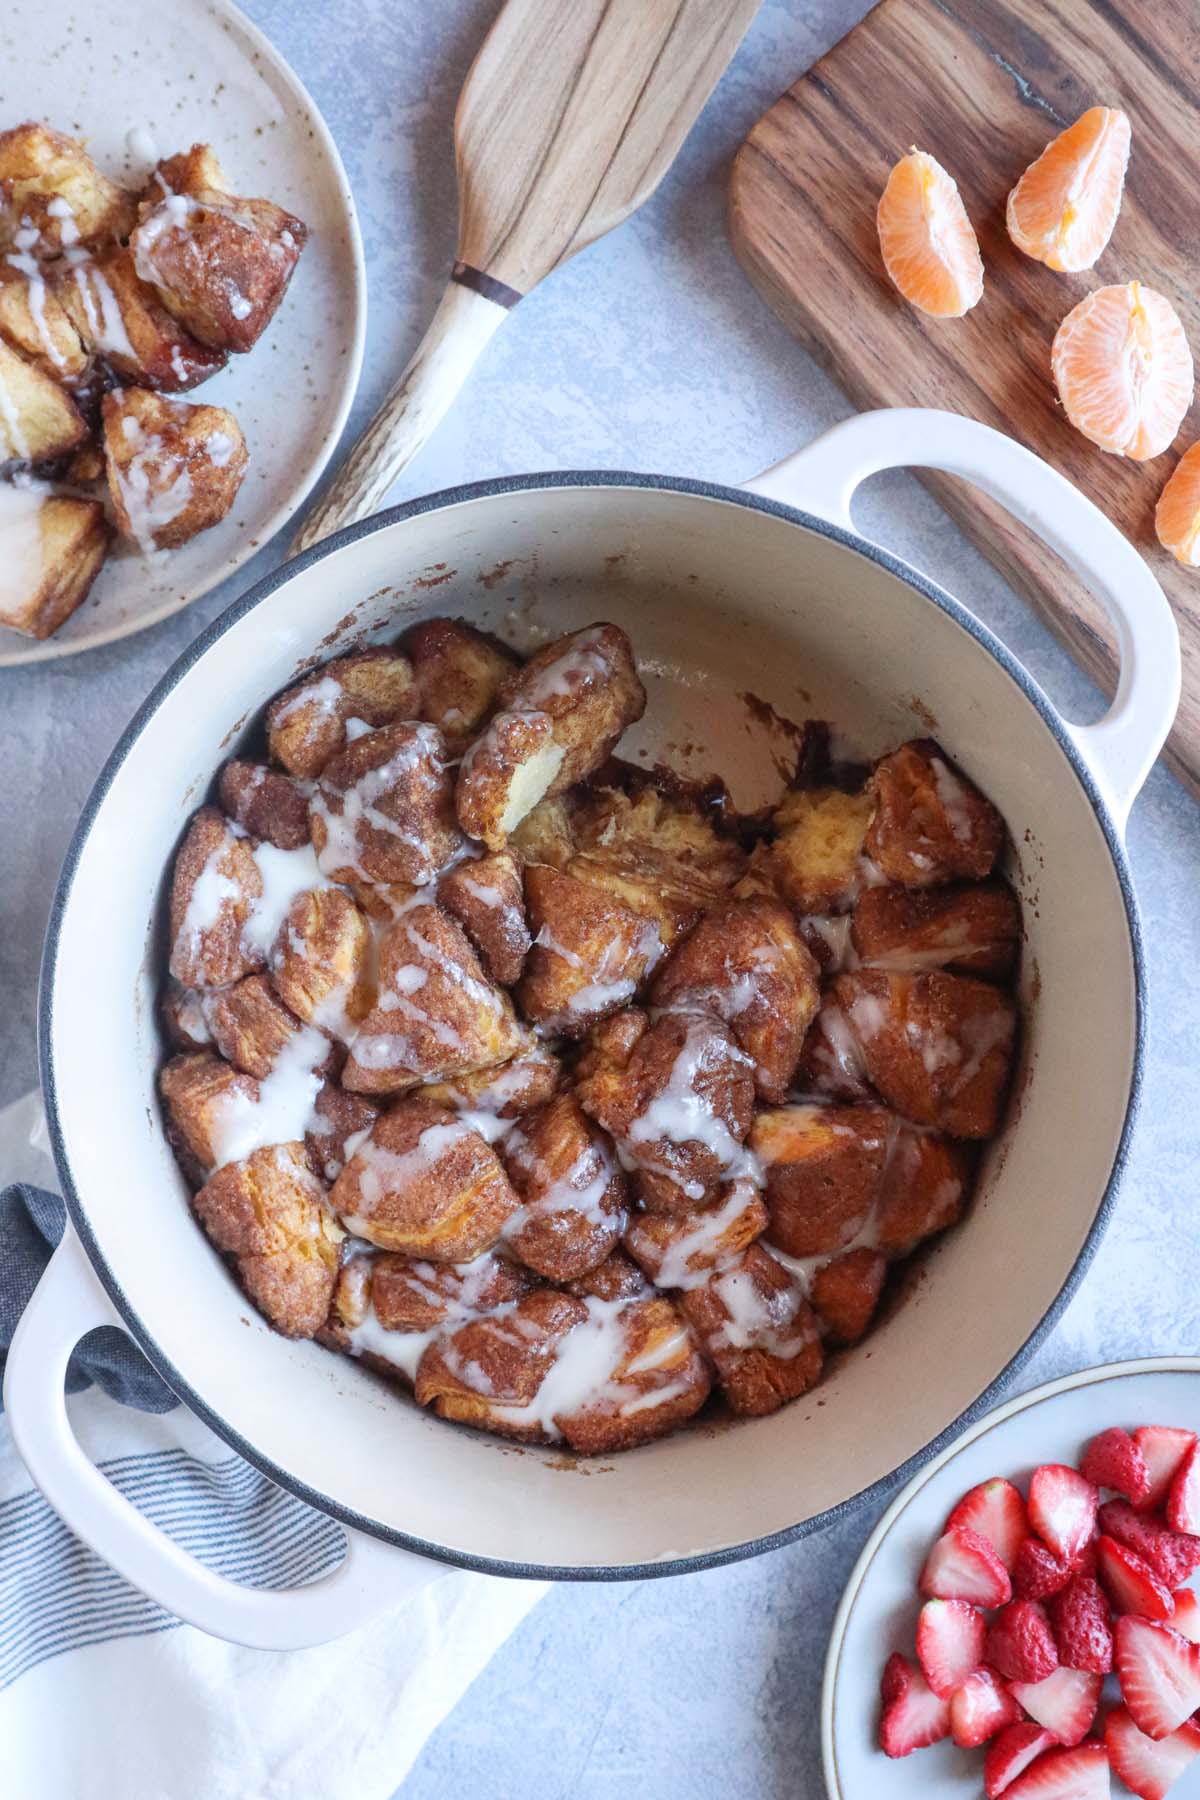
This cake looks visually impressive and is fairly easy to execute. The cake was moist and flavorful, with delightful sweetness from the caramelized apples. A minor sticking issue occurred despite using parchment paper, so thorough buttering is recommended. Adding cinnamon over the apples before the batter enhances flavor. This is a fun dessert recipe.
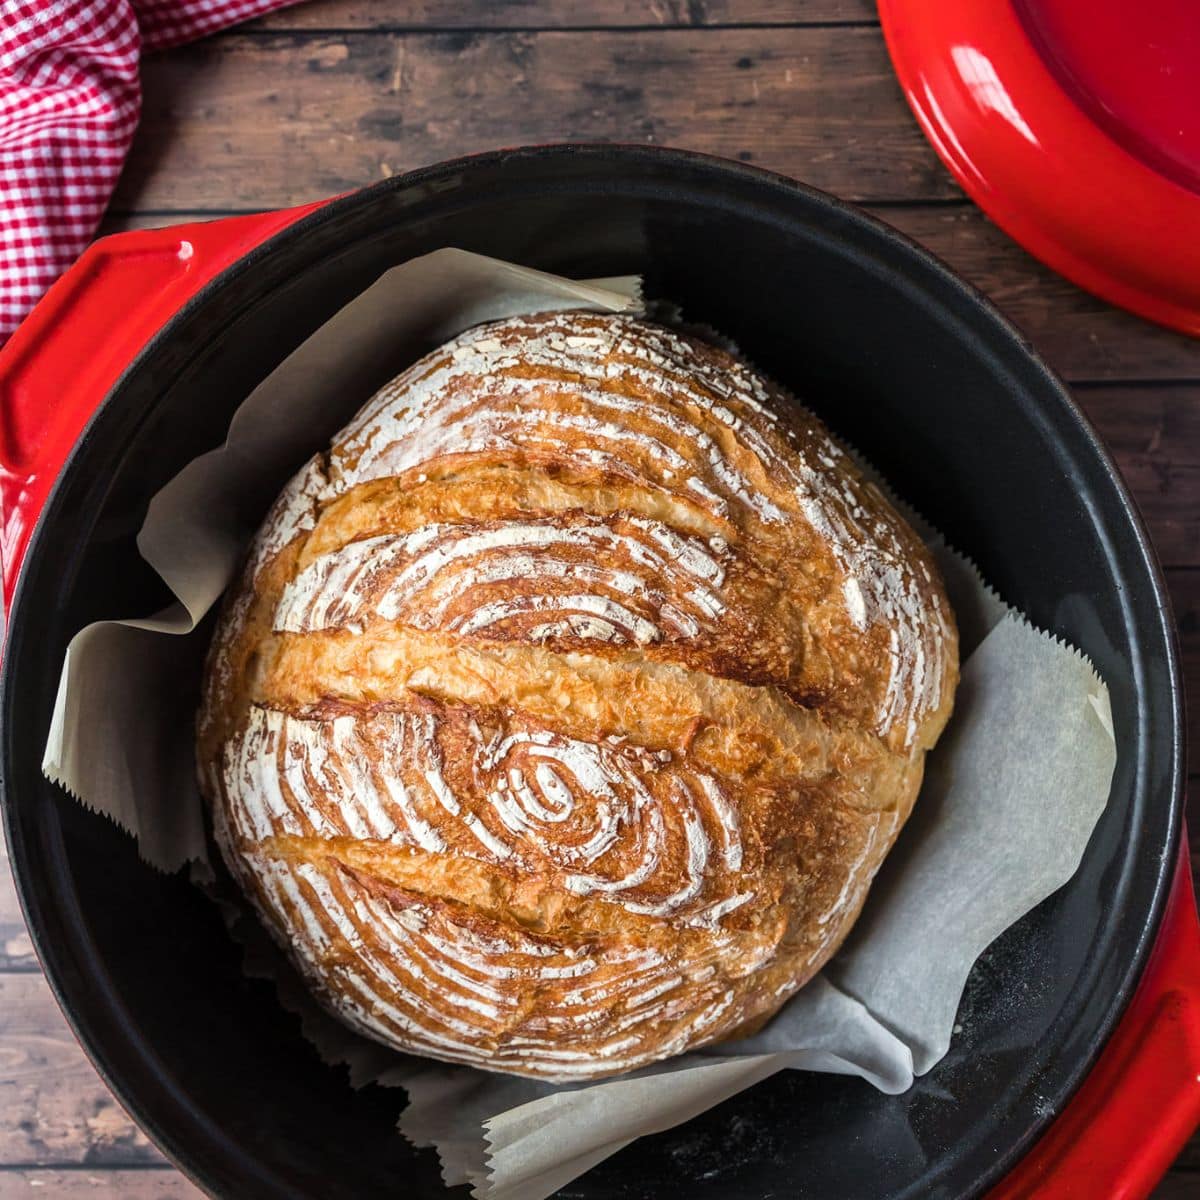
Dutch Oven No-Knead Bread: TikTok vs. Tradition
undefined oven. The basic recipe involves combining flour, water, yeast, and salt, letting it rise for an extended period (12-18 hours), and then baking it in a preheated Dutch oven.
The Dutch oven plays a vital role in creating a steamy environment during baking, which is essential for developing a crispy crust. The lid traps moisture, and the cast iron’s heat retention ensures even baking. I compared the TikTok versions to Lahey’s original recipe, noting differences in hydration levels and rising times. I used a 6-quart cast iron Dutch oven to test this.
My test showed that the TikTok versions, while generally successful, often resulted in a slightly less airy crumb and a less complex flavor than Lahey’s original. The TikTok recipes often call for shorter rising times, which can compromise the dough’s development. The texture was still good, but lacked the same nuanced flavor. The rise time was around 14 hours. I had high hopes for this one, and it delivered a solid loaf, but Lahey’s method still reigns supreme. A little patience yields a superior result.
Recipe Standouts & Common Pitfalls
After testing these five viral TikTok Dutch oven recipes, a few clear standouts emerged. The One-Pan Lemon Herb Roasted Chicken and the Upside-Down Apple Cake were both genuinely impressive, delivering on flavor and ease of use. The Pasta Alla Vodka was a decent weeknight shortcut, and the No-Knead Bread, while not quite as good as the original, was still a satisfying bake. The 'Ramen' hack? Skip it.
Common pitfalls included underestimating the importance of preheating the Dutch oven properly, not achieving a high enough temperature for crispy skin (especially with the chicken), and rushing the rising time for the no-knead bread. Also, always use a meat thermometer to ensure food safety, regardless of what TikTok tells you. Remember, a Dutch oven retains heat incredibly well, so adjust cooking times accordingly.
Overall, TikTok can be a source of culinary inspiration, but it’s essential to approach these viral recipes with a healthy dose of skepticism. Not everything is as easy or as delicious as it appears. I’ve learned that a little critical thinking and a willingness to experiment can go a long way in separating the wheat from the chaff. Dutch ovens are fantastic tools, but they require a bit of understanding to truly master. Don't be afraid to adjust recipes to your preferences and don't expect perfection on the first try.
No comments yet. Be the first to share your thoughts!