
Dutch Oven Camping: Why Now?
I remember one camping trip in particular, years ago, where a simple stew cooked in a dutch oven felt like the most luxurious meal I’d ever had. It wasn’t the ingredients, it was the experience – the warmth of the fire, the smell of woodsmoke, and the shared meal with friends. That feeling is what’s driving the resurgence of dutch oven camping.
For a while, camping felt like it was all about lightweight gear and dehydrated meals. But people are starting to crave something more substantial, something that connects them to the tradition of outdoor cooking. There’s a real desire to slow down, to cook from scratch, and to appreciate the process as much as the result.
It’s not just nostalgia, though. Dutch ovens themselves have improved. We’re seeing lighter-weight cast iron options, better lid designs that hold coals more securely, and a wider range of accessories to make outdoor cooking easier. The availability of quality tools has made a big difference.
I think people are recognizing that experiences are more valuable than possessions. A weekend spent cooking and sharing a meal around a campfire is a memory that will last a lifetime. That’s something you can’t buy in a store.
Essential Gear Beyond the Oven
A dutch oven is the star, of course, but successful camping cooking requires a bit more than just the pot itself. Don't skimp on the supporting gear – it can make or break your meal. I've seen too many people try to get by with flimsy tools and end up frustrated.
A sturdy tripod is essential for hanging the dutch oven over a campfire. Look for one with adjustable legs to accommodate uneven terrain. A lid lifter is also a must – trying to lift a hot lid with gloves is awkward and dangerous. A good lid lifter will have a comfortable handle and a secure grip.
A charcoal chimney is incredibly helpful for getting coals started quickly and evenly. It’s much easier and safer than trying to build a coal bed from scratch. Heat-resistant gloves are also non-negotiable. You'll be working with hot metal and fire, so protect your hands.
Finally, don’t forget good utensils – a long-handled spoon, a spatula, and a pair of tongs are all essential. Avoid using plastic utensils, as they can melt. Investing in a few quality pieces of gear will pay off in the long run.
- Tripod: Look for adjustable legs.
- Lid Lifter: Choose one with a comfortable handle and secure grip.
- Charcoal Chimney: For quick and even coal starting.
- Heat-Resistant Gloves: Essential for hand protection.
- Long-Handled Utensils: Avoid plastic; opt for metal.
Breakfasts to Fuel Your Adventures
Starting the day with a hearty breakfast is crucial for a full day of outdoor activities. Dutch oven breakfasts are particularly satisfying – they're warm, comforting, and filling. Plus, many can be largely prepped at home, saving you time at the campsite.
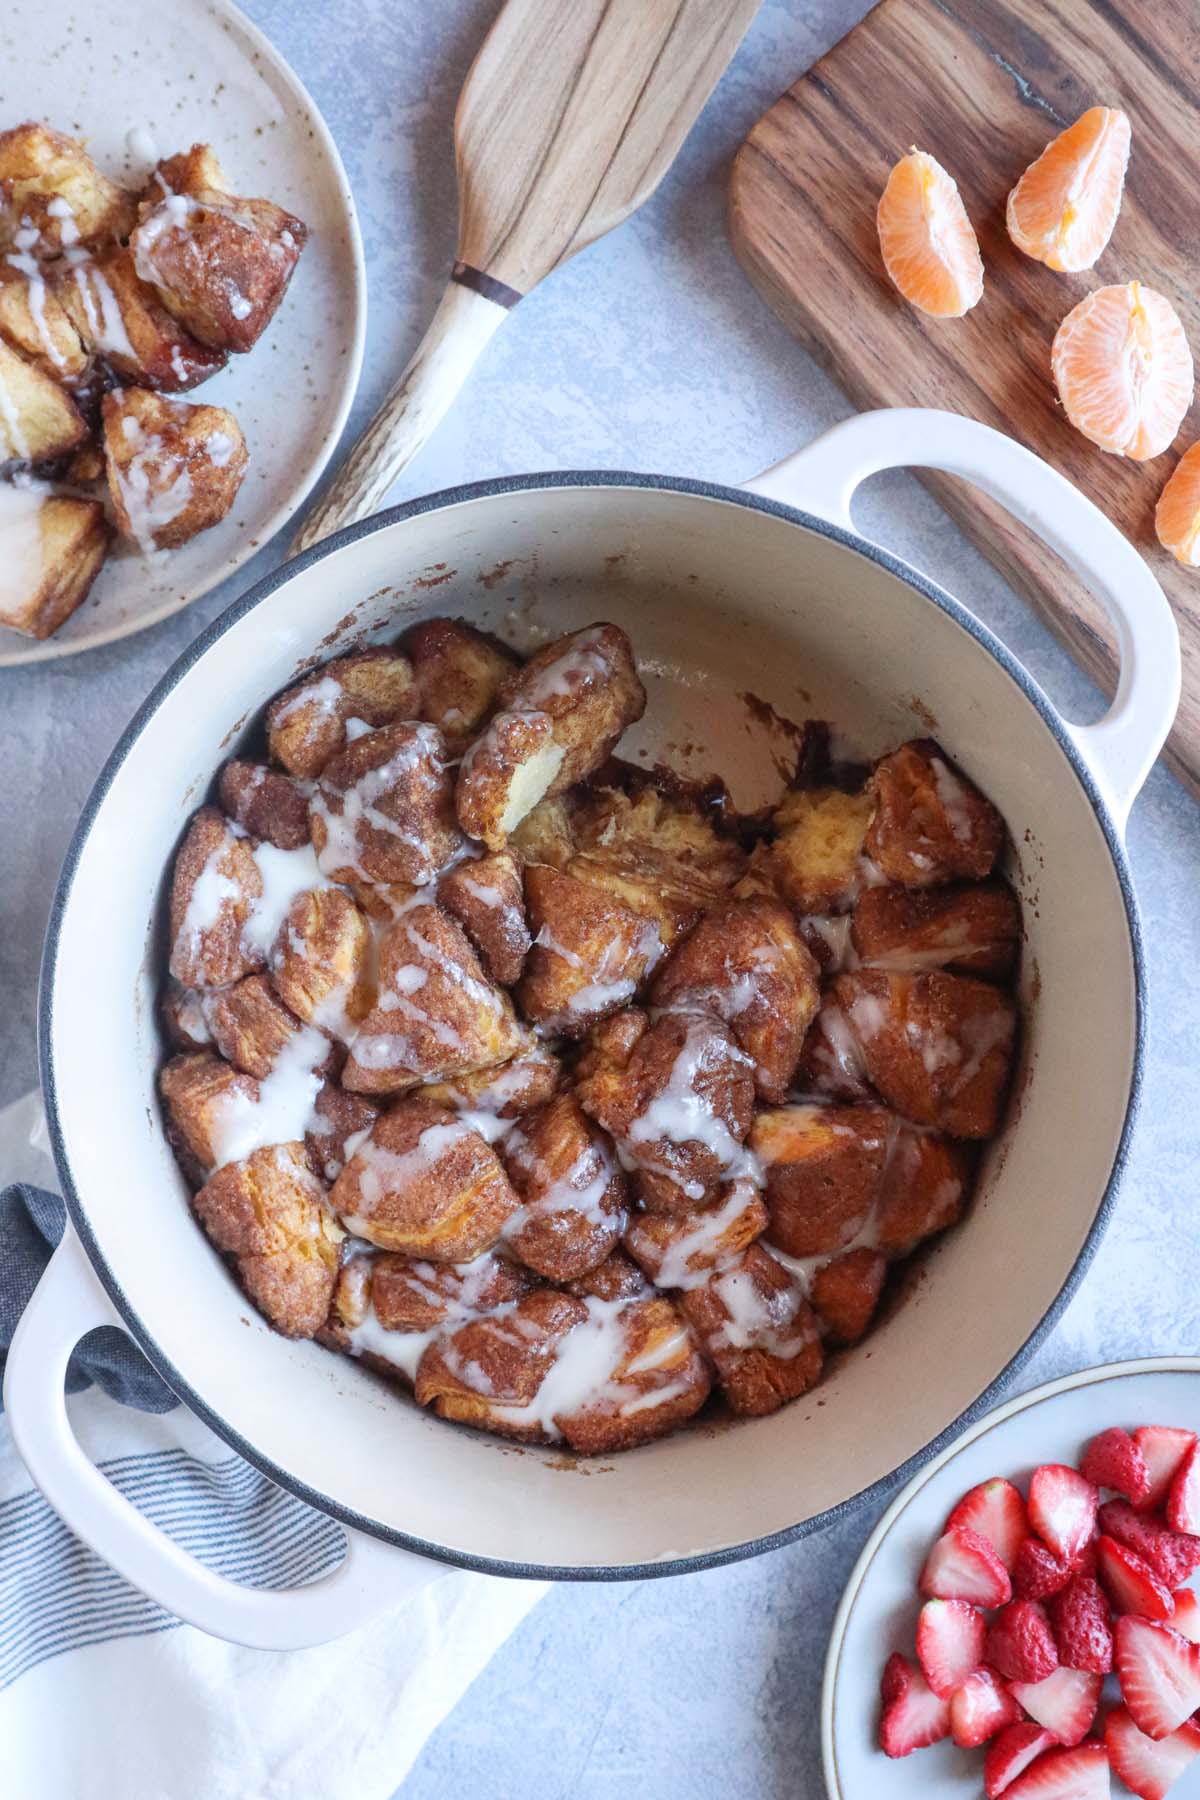
Cinnamon rolls are a classic for a reason. You can make the dough the night before and simply roll it out and bake it in the dutch oven in the morning. A simple glaze made with powdered sugar and milk completes the treat. It's a bit of a splurge, but well worth it.
Breakfast burritos are another great option. Scramble eggs with your favorite fillings (sausage, peppers, onions) and wrap them in tortillas. You can even pre-cook the filling at home and just warm it up in the dutch oven. Biscuits and gravy is a comforting classic, and surprisingly easy to make in a dutch oven.
For something a little different, try an oatmeal bake. Combine oats, milk, eggs, and your favorite toppings (fruit, nuts, spices) and bake until golden brown. It’s a healthy and delicious way to start the day. I recommend adding a handful of blueberries for extra flavor.
- Cinnamon Rolls: Prepare dough the night before.
- Breakfast Burritos: Pre-cook fillings for convenience.
- Biscuits and Gravy: A comforting classic.
- Oat
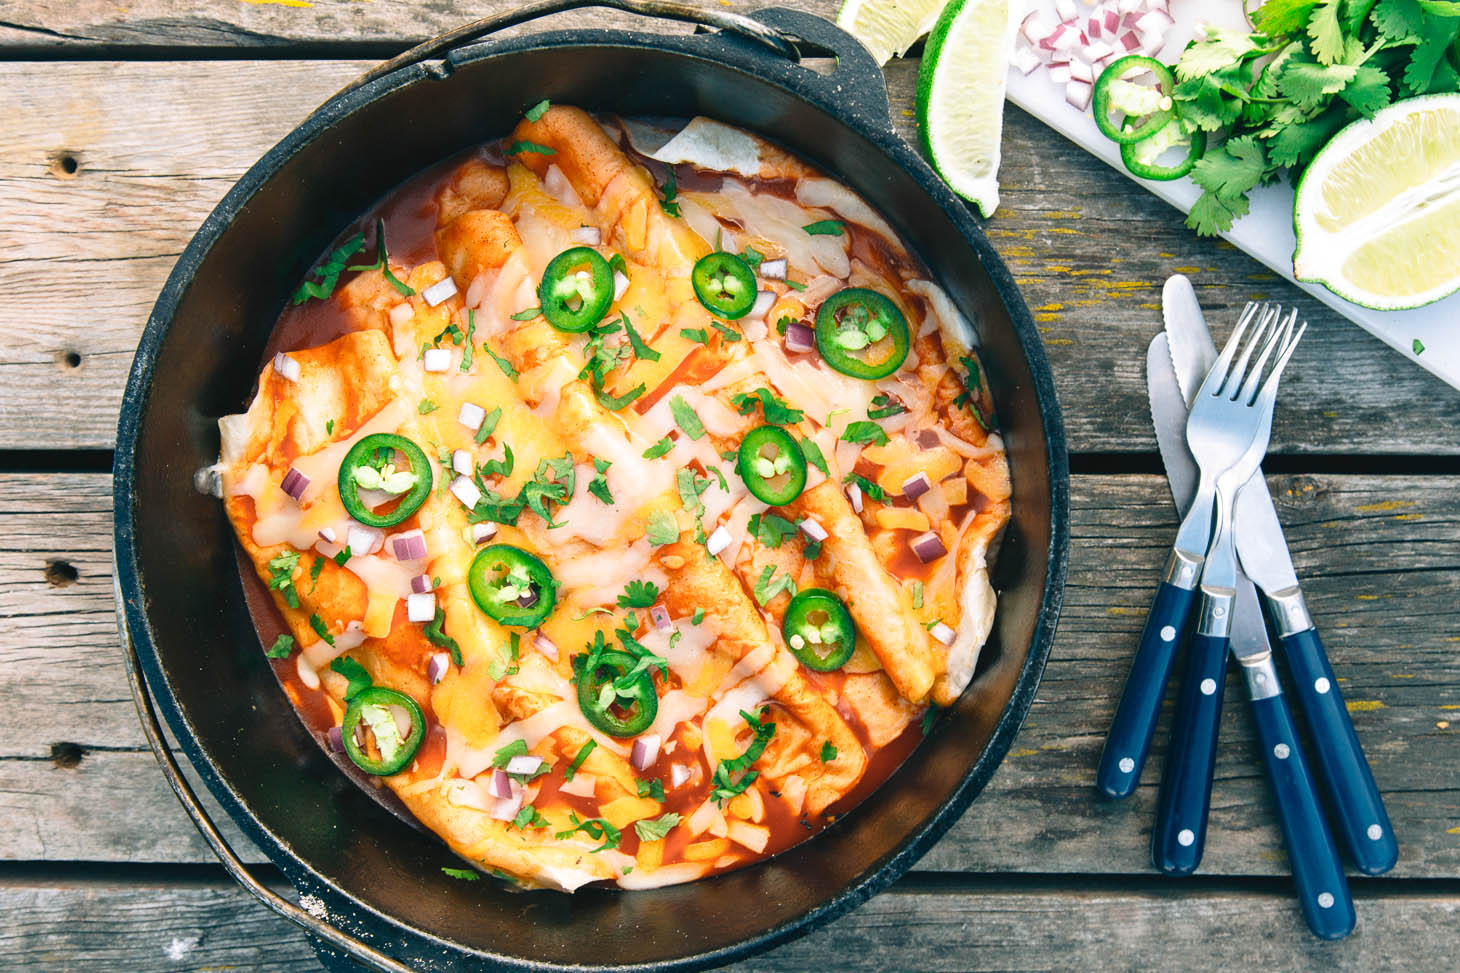
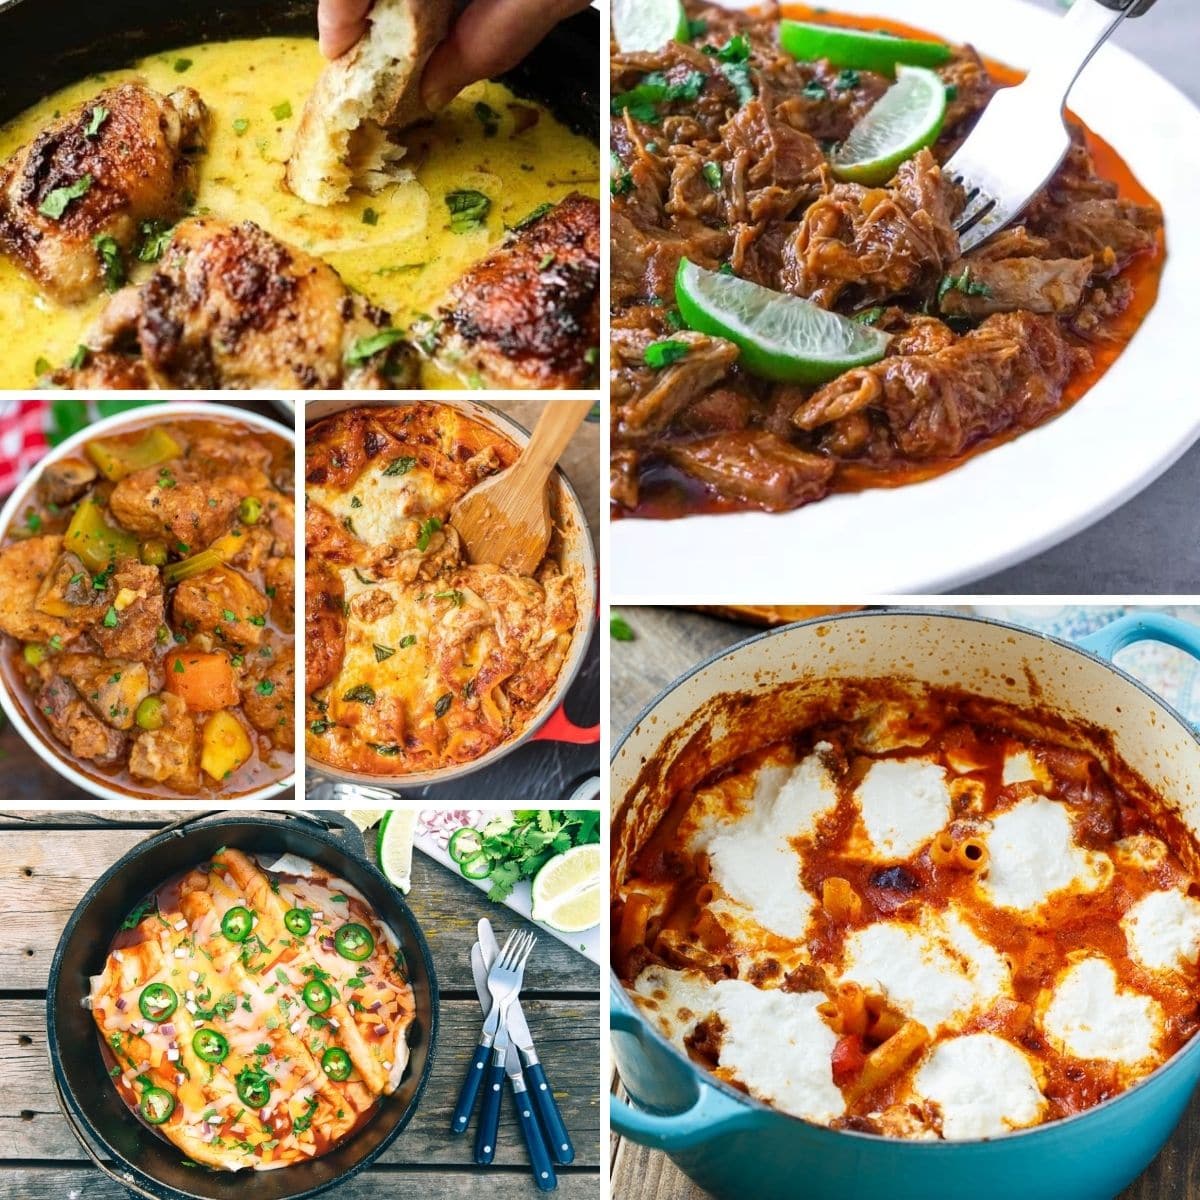
One-Pot Wonders: Dinner Delights
Dinner is the main event, and the dutch oven excels at creating hearty, flavorful meals with minimal cleanup. The key is to focus on one-pot recipes that allow flavors to meld together beautifully. I’ve found that the even heat distribution of a dutch oven really enhances the cooking process.
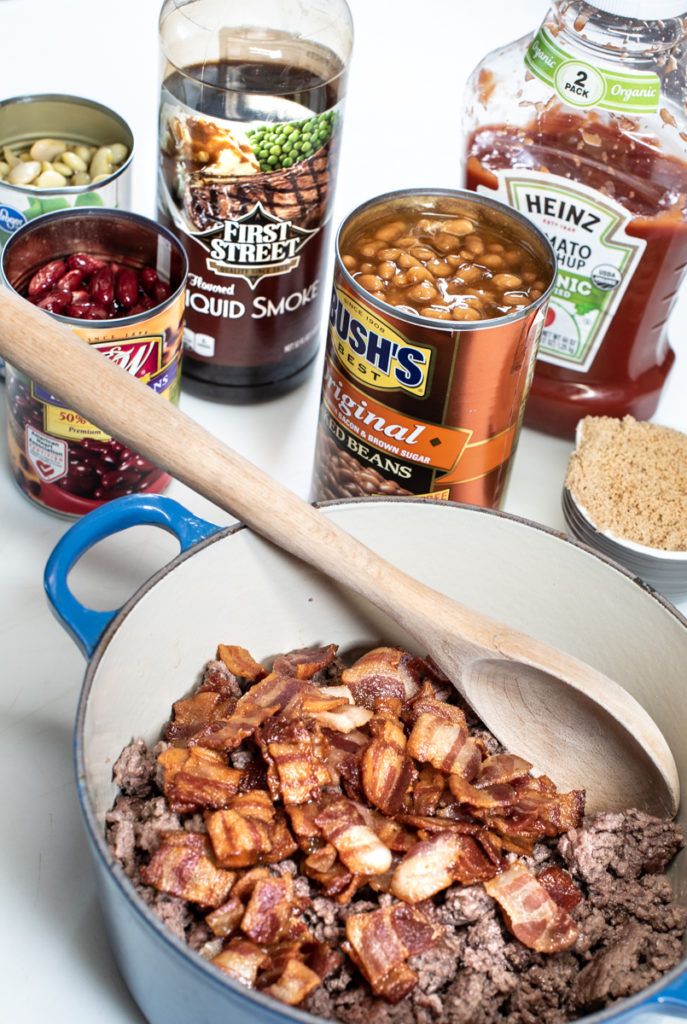
Chili is always a crowd-pleaser. Brown ground beef or turkey, add beans, tomatoes, and spices, and let it simmer for a couple of hours. Top with cheese, sour cream, and onions. A good chili is incredibly versatile – you can adjust the spice level and ingredients to your liking.
Stew is another classic choice. Use beef, chicken, or lamb, and add your favorite vegetables (potatoes, carrots, onions, celery). A rich broth and a little bit of wine or beer add depth of flavor. Pot roast is similar to stew, but the meat is cooked until it’s fall-apart tender.
Jambalaya is a flavorful rice dish with sausage, chicken, and shrimp. It’s a bit more involved than chili or stew, but the results are worth the effort. Shepherd’s pie is a comforting classic – a layer of ground meat and vegetables topped with mashed potatoes. Don't be afraid to adjust the recipes for different group sizes; a larger dutch oven can handle a bigger batch.
Layering flavors is important in dutch oven cooking. Start by browning the meat, then add the aromatics (onions, garlic, celery), and finally the liquids and other ingredients. Allowing the flavors to simmer together for a long time creates a depth of flavor that’s hard to achieve with other cooking methods.
Desserts That Finish Strong
No camping meal is complete without dessert. Dutch oven desserts are surprisingly easy to make and incredibly satisfying. Cobblers are a great option – they’re relatively simple and require minimal ingredients. Peach, apple, and berry cobblers are all delicious choices.
Chocolate cake is another crowd-pleaser. Use a boxed cake mix for convenience, or make your own from scratch. A dusting of powdered sugar or a simple chocolate glaze adds the finishing touch. Bread pudding is a comforting classic, especially on a cool evening.
Using fruit that’s in season is always a good idea. Fresh peaches in the summer, apples in the fall, and berries in the spring – each fruit has its own unique flavor and texture. To prevent burning on the bottom, you can place a layer of sliced apples or peaches on the bottom of the dutch oven before adding the batter.
I’ve had some amazing dutch oven peach cobblers while camping, the warm fruit and flaky crust were the perfect end to a day spent outdoors. The key is to keep a close eye on the heat and adjust it as needed to prevent burning.
Managing Heat & Avoiding Hotspots
Controlling the heat is crucial for successful dutch oven cooking. Uneven heat distribution can lead to burning or undercooking. There are several methods for distributing coals around the dutch oven to achieve even heating. I’ve definitely burned a few things in my time, so I want to help others avoid that.
A common method is to use a ring of coals around the outside of the dutch oven and a smaller number of coals on top of the lid. The ratio of coals on top to coals on the bottom depends on the recipe and the desired temperature. A general rule of thumb is to use more coals on top for baking and less for simmering.
You can also adjust the heat by adding or removing coals. If the food is cooking too quickly, remove some coals. If it’s cooking too slowly, add more. It takes a little practice to get the hang of it, but you’ll quickly learn how to adjust the heat based on the recipe and the weather conditions.
Hotspots can occur if the coals are concentrated in one area. To prevent this, spread the coals out evenly around the dutch oven. You can also rotate the dutch oven periodically to ensure even cooking. It’s always a good idea to check the food frequently and stir it to prevent sticking.
- Ring of coals: Distribute evenly around the oven.
- Coal ratio: Adjust for baking vs. simmering.
- Add/remove coals: Fine-tune the temperature.
- Rotate the oven: Prevent hotspots.
Dutch Oven Camping Troubleshooting Guide
| Problem | Possible Cause | Solution | Prevention |
|---|---|---|---|
| Food is burning | Too many coals on top | Remove some coals. Rotate the dutch oven. | Calculate coal amounts based on temperature and recipe needs. |
| Food is undercooked | Not enough coals underneath | Add more coals underneath. Check coal distribution. | Preheat the dutch oven adequately before adding food. |
| Food is sticking to the bottom | Insufficient oil or fat | Gently scrape the bottom while cooking. Add a little more liquid. | Ensure sufficient oil or fat is used to coat the bottom of the oven. |
| Doughy or soggy crust (for breads/cobblers) | Too much moisture, oven not hot enough | Lift the oven slightly to allow steam to escape. Add coals on top. | Use a recipe specifically designed for dutch oven baking and follow it closely. |
| Uneven cooking | Uneven coal distribution | Rearrange coals for more even heat. Rotate the dutch oven. | Use a consistent coal placement pattern. |
| Lid is difficult to lift | Food has boiled and created a vacuum | Carefully run a knife or spatula around the edge of the lid to break the seal. | Vent the lid slightly during cooking to prevent pressure build-up. |
| Dutch oven is unstable | Uneven ground | Find a more level surface. Use a trivet or rocks to stabilize. | Always set up the dutch oven on a stable, flat surface. |
Illustrative comparison based on the article research brief. Verify current pricing, limits, and product details in the official docs before relying on it.
Cleaning and Caring for Your Cast Iron
Proper maintenance is key to a long-lasting dutch oven. Cast iron requires a little bit of care, but it’s worth the effort. Avoid using soap when cleaning, as it can strip away the seasoning. Instead, use hot water and a stiff brush or a chainmail scrubber.
After cleaning, dry the dutch oven thoroughly and season it with a thin coat of oil. This helps to prevent rust and maintain the non-stick surface. A well-seasoned dutch oven will last for generations. I'm a firm believer in the chainmail scrubber – it makes cleaning so much easier.
Rust prevention is important. If you do notice any rust, remove it with steel wool and re-season the dutch oven. Store the dutch oven in a dry place to prevent rust from forming. Adding a paper towel inside can help absorb any moisture.
Regular seasoning is the key to a happy cast iron life. The more you use it, the better it will become. Don’t be afraid to experiment with different oils and seasoning methods to find what works best for you.
- Avoid soap: Use hot water and a brush.
- Dry thoroughly: Prevent rust.
- Season with oil: Maintain the non-stick surface.
- Store in a dry place: Protect from moisture.
2026 Trends: What's New in Dutch Oven Camping?
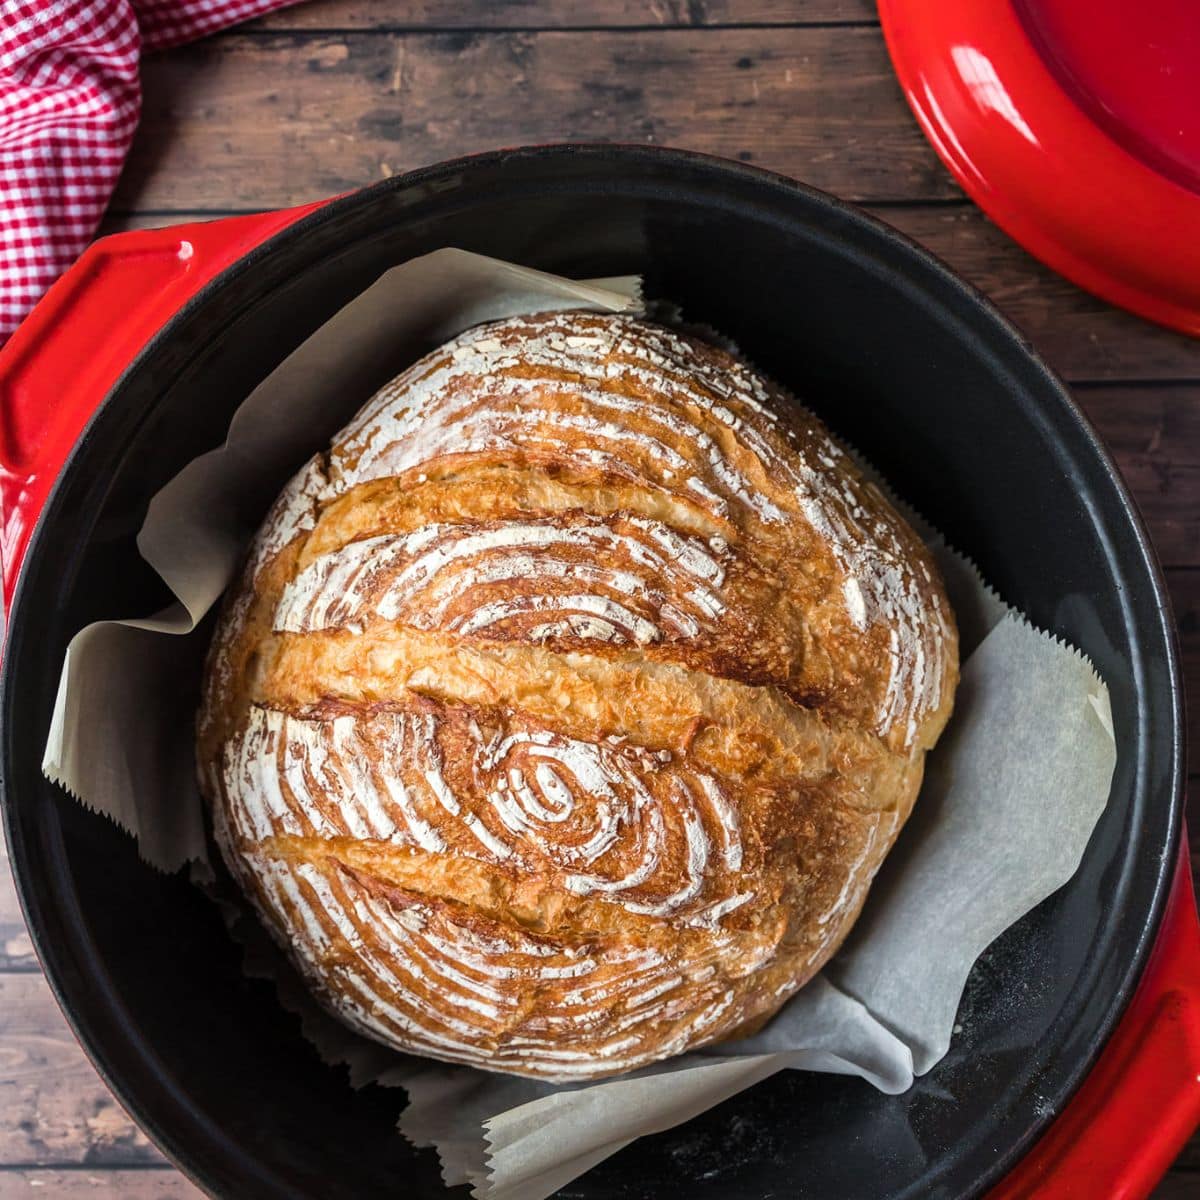
The world of dutch oven camping is always evolving. I’ve noticed a growing interest in sourdough bread baking in dutch ovens while camping. The cast iron provides excellent heat retention, which is essential for creating a crispy crust and a soft, chewy interior. It’s a bit more challenging than some other recipes, but the results are incredibly rewarding.
There's also a trend toward more sustainable camping practices, which is influencing the types of accessories people are using. We're seeing more bamboo utensils, reusable food wraps, and biodegradable cleaning products. People are becoming more aware of their impact on the environment.
New materials are also emerging. Some manufacturers are experimenting with lighter-weight alloys that offer similar heat retention to cast iron. These options are appealing to campers who are looking to reduce their pack weight. Accessories like digital thermometers with remote monitoring are also becoming popular.
Ultimately, the future of dutch oven camping is about combining tradition with innovation. People are still drawn to the simple pleasures of cooking over an open fire, but they’re also embracing new technologies and techniques to make the experience even more enjoyable.
No comments yet. Be the first to share your thoughts!