
Dutch Oven Dinners: Your Weeknight Lifesaver
Weeknights can feel stressful. Between work, school, activities, and family time, getting dinner on the table often feels like a monumental task. Staring into a nearly empty fridge, wondering how to pull something together, is a common scenario. That's where the dutch oven comes in.
A good cast iron dutch oven is a kitchen workhorse, capable of everything from searing a roast to simmering a stew. Its even heating is fantastic, and the ability to go from stovetop to oven in a single pot significantly reduces cleanup.
These 15 one-pot dutch oven recipes are designed for busy schedules and a desire for comforting, flavorful food. They are achievable, adaptable, and will become staples in your weeknight rotation.

15 Weeknight Dutch Oven Recipes
Here are 15 one-pot dutch oven recipes, each with an estimated cook time, difficulty level (easy, medium, or hard), and a brief note on what makes it special.
1. Lemon Herb Roasted Chicken & Veggies: This is a classic for a reason. A whole chicken, tossed with lemon, herbs, and roasted with root vegetables, is incredibly satisfying. Cook time: 90 minutes. Difficulty: Easy. Special: Minimal hands-on time, perfect for a Sunday-style meal on a weeknight.
2. Beef Stew: A hearty beef stew is the ultimate comfort food. Browning the beef properly is key to building flavor. Cook time: 2.5 - 3 hours. Difficulty: Medium. Special: Gets even better the next day!
3. Sausage & White Bean Cassoulet: A rustic, flavorful stew with Italian sausage, white beans, and tomatoes. This is a one-pot wonder that feels surprisingly elegant. Cook time: 1.5 hours. Difficulty: Easy. Special: Uses pantry staples and comes together quickly.
4. Creamy Tomato Pasta Bake: A simple but satisfying pasta bake with a creamy tomato sauce and plenty of cheese. It’s a family favorite. Cook time: 45 minutes. Difficulty: Easy. Special: Kid-friendly and customizable with different veggies.
5. Spicy Chorizo & Chickpea Stew: This stew packs a punch! Chorizo, chickpeas, and a spicy tomato sauce create a flavorful and filling meal. Cook time: 40 minutes. Difficulty: Easy. Special: Quick and easy, with a nice kick.
6. Dutch Oven Lasagna: Yes, you can make lasagna in a dutch oven! It’s a bit unconventional, but it works beautifully, creating a deliciously layered and bubbly dish. Cook time: 1 hour 15 minutes. Difficulty: Medium. Special: Fewer dishes than a traditional lasagna.
7. Pulled Pork: Low and slow is the way to go with pulled pork. A pork shoulder, seasoned and braised in the dutch oven, transforms into tender, flavorful pulled pork. Cook time: 6-8 hours (low and slow). Difficulty: Easy. Special: Great for meal prepping and leftovers.
8. Jambalaya: A Louisiana classic! Rice, sausage, chicken, and shrimp simmered in a flavorful Creole sauce. Cook time: 1 hour. Difficulty: Medium. Special: A complete meal in one pot.
9. Chicken and Dumplings: A comforting classic, perfect for a chilly evening. Tender chicken and fluffy dumplings simmered in a rich broth. Cook time: 1 hour 30 minutes. Difficulty: Medium. Special: A soul-warming dish.
10. Beef and Broccoli: A healthier take on a takeout favorite. Tender beef and crisp-tender broccoli in a savory sauce. Cook time: 30 minutes. Difficulty: Easy. Special: Quick and easy weeknight meal.
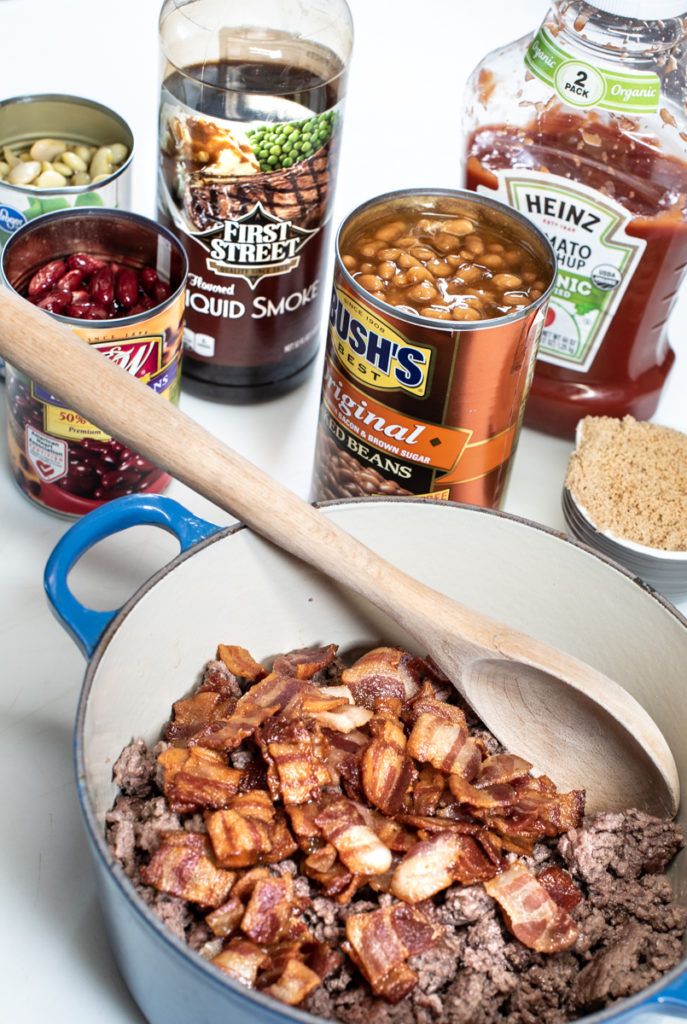
11. Chili: A hearty chili is always a good idea. Ground beef, beans, tomatoes, and spices simmered to perfection. Cook time: 1 hour. Difficulty: Easy. Special: Easily customizable with different toppings.
12. Pot Roast: A classic pot roast with tender beef, potatoes, and carrots. A true comfort food. Cook time: 3-4 hours. Difficulty: Easy. Special: A hearty and satisfying meal.
13. French Onion Soup: A rich and flavorful French onion soup, topped with a crusty baguette and melted cheese. Cook time: 1 hour 45 minutes. Difficulty: Medium. Special: A restaurant-quality soup at home.
14. Shakshuka: A Middle Eastern and North African dish of eggs poached in a spicy tomato sauce. Perfect for brunch or a light dinner. Cook time: 30 minutes. Difficulty: Easy. Special: A flavorful and vibrant dish.
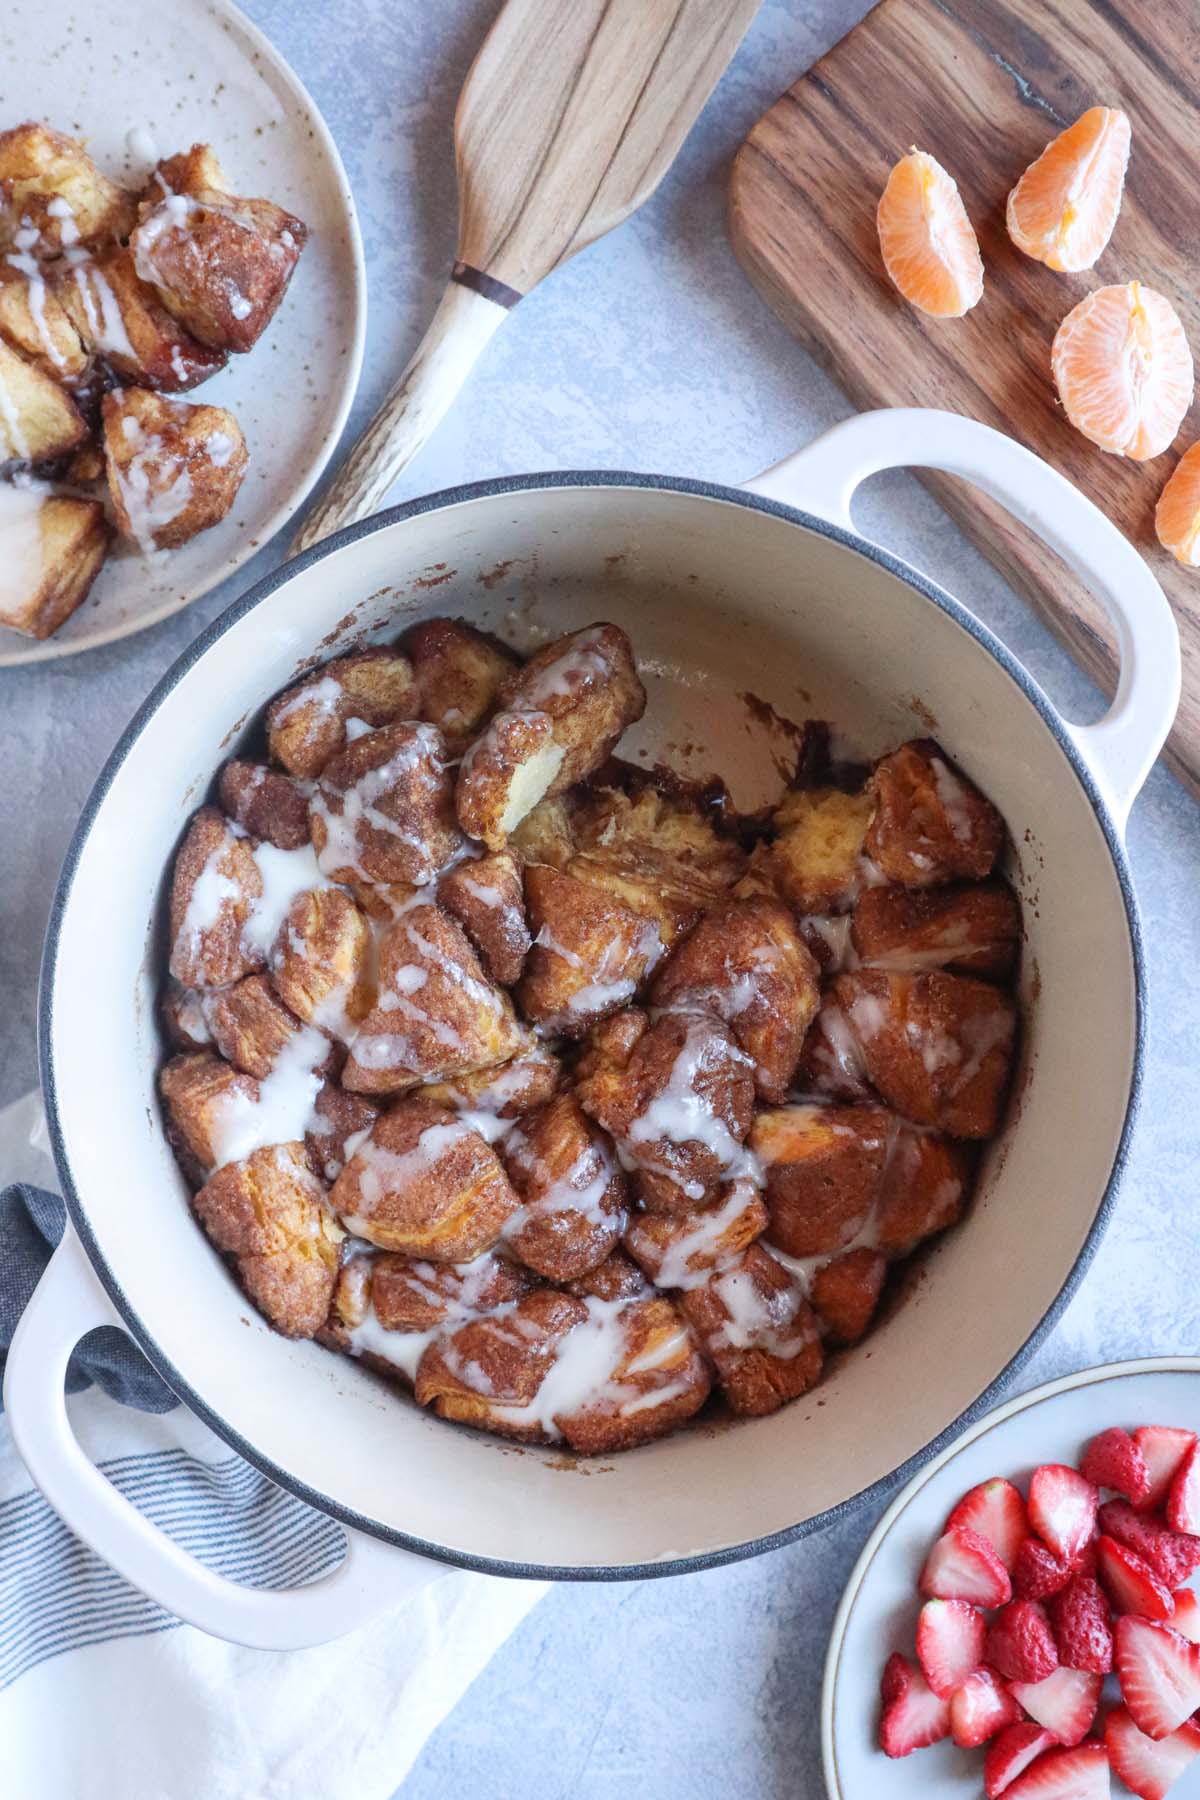
15. Apple Crumble: Because every weeknight deserves a little sweetness. A simple apple crumble with a buttery, oat-filled topping. Cook time: 45 minutes. Difficulty: Easy. Special: A comforting and easy dessert.
Dutch Oven Essentials: Beyond the Recipes
The right tools enhance the dutch oven cooking experience. A good wooden spoon is essential for stirring and scraping.
Heavy-duty oven mitts are necessary for handling a hot dutch oven, and a trivet protects countertops. A sharp knife and cutting board are also useful. A lid lifter is recommended, as lids can become very hot.
Enameled cast iron is easier to clean and doesn't require seasoning, but it's prone to chipping. Bare cast iron needs seasoning to prevent rust but is durable and withstands higher temperatures. Enameled is suitable for everyday use, while seasoned bare cast iron is good for searing and camping.
Maintenance is manageable. For enameled dutch ovens, avoid harsh abrasives. For bare cast iron, regular seasoning is key. Avoid soaking in water and dry thoroughly after washing.
Enameled vs. Bare Cast Iron Dutch Ovens: A Quick Comparison
| Characteristic | Enameled Cast Iron | Bare Cast Iron |
|---|---|---|
| Cleaning | Easier - Non-stick surface & resists staining | Requires seasoning & more effort to clean |
| Reactivity with Acidic Foods | No reaction - Enamel coating prevents food interaction | Can react - May impart metallic taste to acidic dishes |
| Heat Retention | Excellent - Holds heat very well | Excellent - Known for superior heat retention |
| Maintenance | Lower - Less prone to rust; no regular seasoning needed | Higher - Requires regular seasoning to prevent rust & maintain non-stick surface |
| Cost | Generally Higher | Generally Lower |
| Versatility | Better for braising, soups, stews, and colorful dishes | Excellent for searing, frying, baking, and developing fond |
| Initial Seasoning | Not Required | Essential before first use |
Qualitative comparison based on the article research brief. Confirm current product details in the official docs before making implementation choices.
Troubleshooting Common Dutch Oven Issues
Sticking is a common issue, especially with bare cast iron. Ensure the pot is properly heated before adding oil and use sufficient oil. Deglazing with wine or broth can help release stuck-on bits.
Uneven heating can occur with thinner-walled dutch ovens. Rotating the pot during cooking helps distribute heat evenly. A heat diffuser can also be beneficial. For enameled cast iron, avoid extreme temperature changes to prevent cracking.
Seasoning issues (for bare cast iron) can be frustrating. Remove rust by scrubbing and re-season the pot. Regular use and proper cleaning maintain seasoning. Enamel chipping is difficult to repair. The pot remains usable, but avoid acidic foods near the chip. Avoiding thermal shock appears to be the key preventative measure.
Recipe Standouts: Our Top 3 Picks
The Lemon Herb Roasted Chicken & Veggies stands out for its simplicity and versatility. It requires minimal hands-on time and yields enough for several meals, with leftovers great in salads or sandwiches, making it ideal for meal prepping.
The Chili is a crowd-pleaser, easily customizable with different beans, meats, and toppings. It’s perfect for a casual weeknight dinner or game day gathering and freezes well.
The Apple Crumble is a simple yet satisfying dessert requiring minimal ingredients, offering a comforting classic to end a weeknight meal.
Adapting Recipes for Dietary Needs
These recipes easily adapt to different dietary needs. For gluten-free diets, use gluten-free pasta in the Creamy Tomato Pasta Bake or ensure sausage in the Cassoulet is gluten-free.
For dairy-free diets, substitute plant-based milk and cheese alternatives. For vegetarian and vegan diets, swap meat for plant-based proteins like lentils, beans, or tofu, and use vegetable broth instead of chicken broth.
Experiment with substitutions; many recipes are versatile and can be tailored to specific needs and preferences.
Beyond Weeknights: Expanding Your Dutch Oven Skills
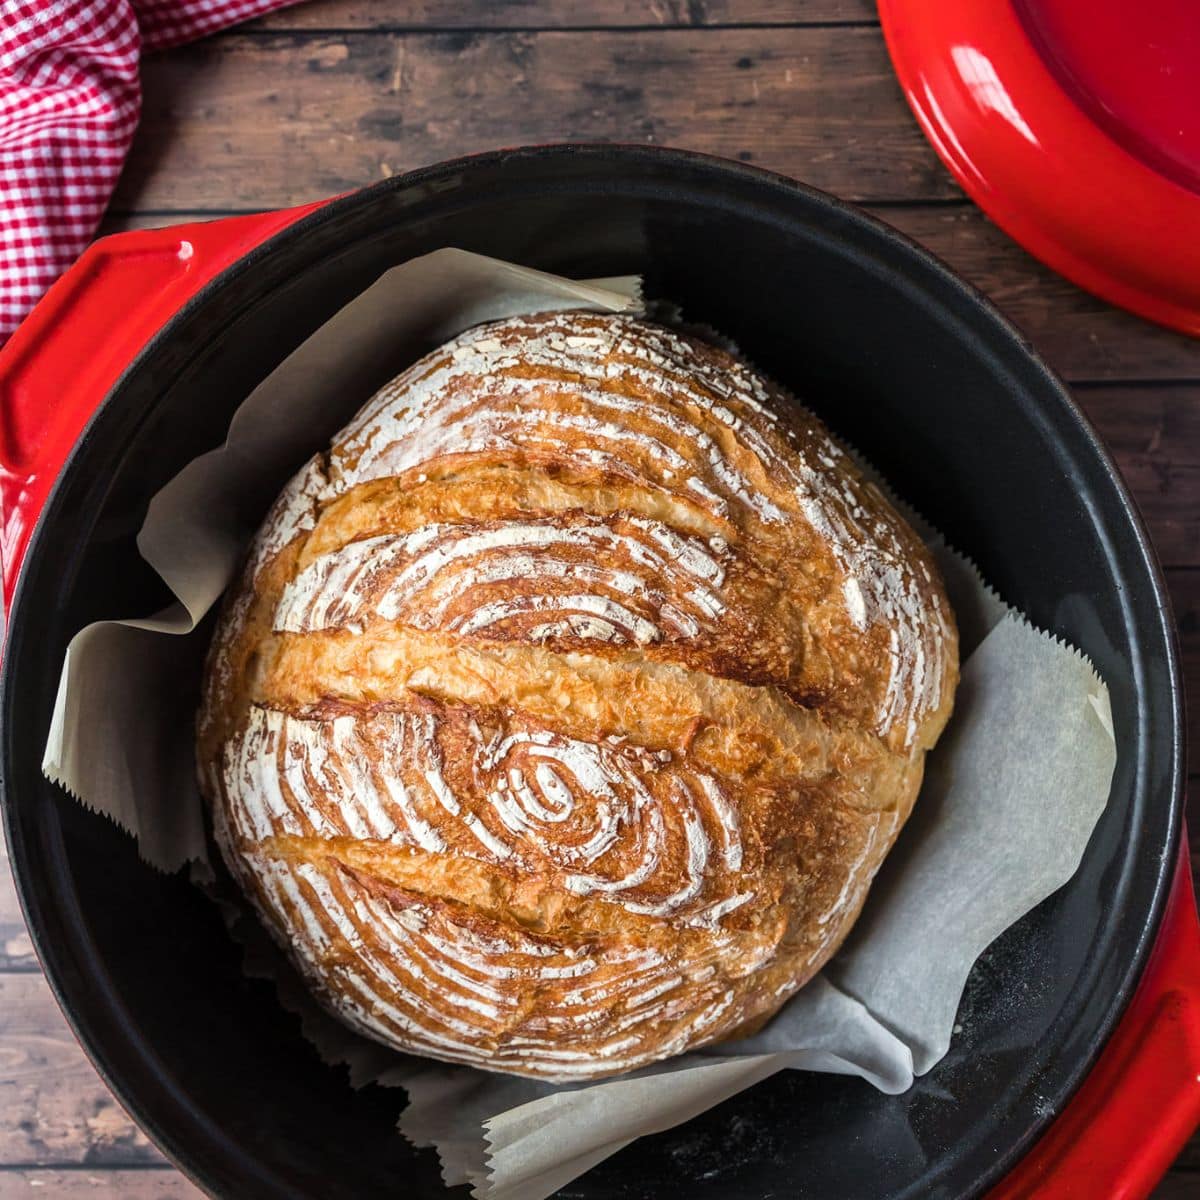
A dutch oven is a versatile tool for many dishes beyond weeknight dinners. It's ideal for sourdough bread, creating a steamy environment for a crusty loaf.
Beyond soups and stews, consider braising meats, making casseroles, or baking cakes. Numerous online and cookbook resources can help expand your dutch oven skills.
Websites like Food52 offer dutch oven recipes and techniques, while YouTube channels dedicated to cast iron cooking provide visual guidance. A dutch oven is an investment that pays off with increased use and appreciation of its versatility.
No comments yet. Be the first to share your thoughts!