
Dutch Oven Meal Prep: Why Now?
Life moves fast. Between work, family, and everything else, finding time to cook a healthy, satisfying meal can feel like a monumental task. That’s where Dutch oven meal prep comes in. It's not just a trend; it’s a practical solution for anyone who wants to enjoy home-cooked food without spending hours in the kitchen every night.
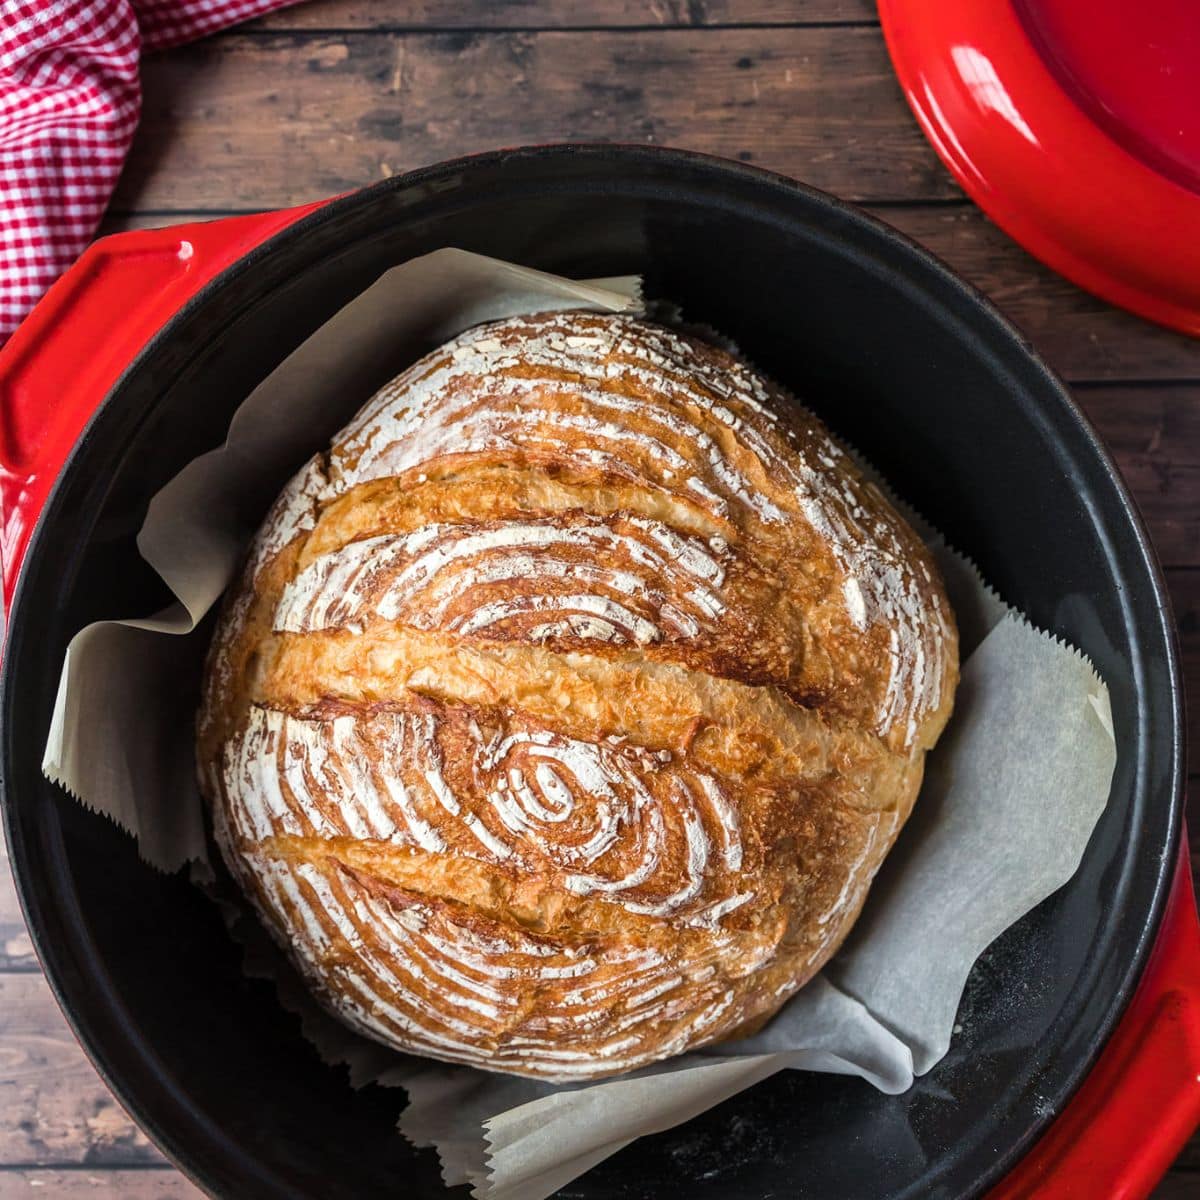
Dutch ovens are having a moment, and for good reason. They’ve transitioned from being your grandmother’s kitchen staple to a must-have for modern cooks. Their versatility is undeniable – they excel at everything from slow-braised stews to crusty no-knead bread. But combining that versatility with the efficiency of meal prepping? That's a game changer.
The beauty of a Dutch oven for meal prep lies in its ability to develop deep, complex flavors over time. Many dishes actually improve with a day or two in the refrigerator. Plus, the one-pot nature of Dutch oven cooking minimizes cleanup, and the cast iron’s excellent heat retention makes reheating a breeze. I’ve personally found that dedicating a Sunday afternoon to prepping meals for the week drastically reduces my stress levels during the week.
This isn’t about sacrificing flavor for convenience. It’s about maximizing both. We’re talking about hearty, flavorful meals that taste like you spent all day making them, even though you got ahead of the game. As we head into 2026, I expect to see even more people embracing this approach to cooking.
Essential Dutch Oven Prep Tools
You’ve got the Dutch oven—excellent! But a few supporting tools will make your meal prep experience significantly smoother. First, invest in a good set of wooden or silicone utensils. Metal can scratch the enamel coating of many Dutch ovens, shortening their lifespan.
A silicone trivet is incredibly useful for lifting hot dishes out of the Dutch oven without damaging the finish. Dutch oven liners are a more controversial topic. While they simplify cleanup, some cooks feel they compromise flavor development. I personally use them for particularly sticky dishes, but avoid them for long braises where I want maximum contact between the food and the cast iron.
Don’t skimp on storage containers. Glass containers are ideal for reheating and won’t absorb odors, but they’re heavier and can break. High-quality plastic containers are lighter and more durable, but choose BPA-free options. Proper seasoning and maintenance are also key. Regularly oiling your Dutch oven after use will help prevent rust and maintain its non-stick properties.
- Wooden or silicone utensils
- Silicone trivet
- Dutch oven liners (optional)
- High-quality storage containers (glass or BPA-free plastic)
- Dutch oven seasoning oil
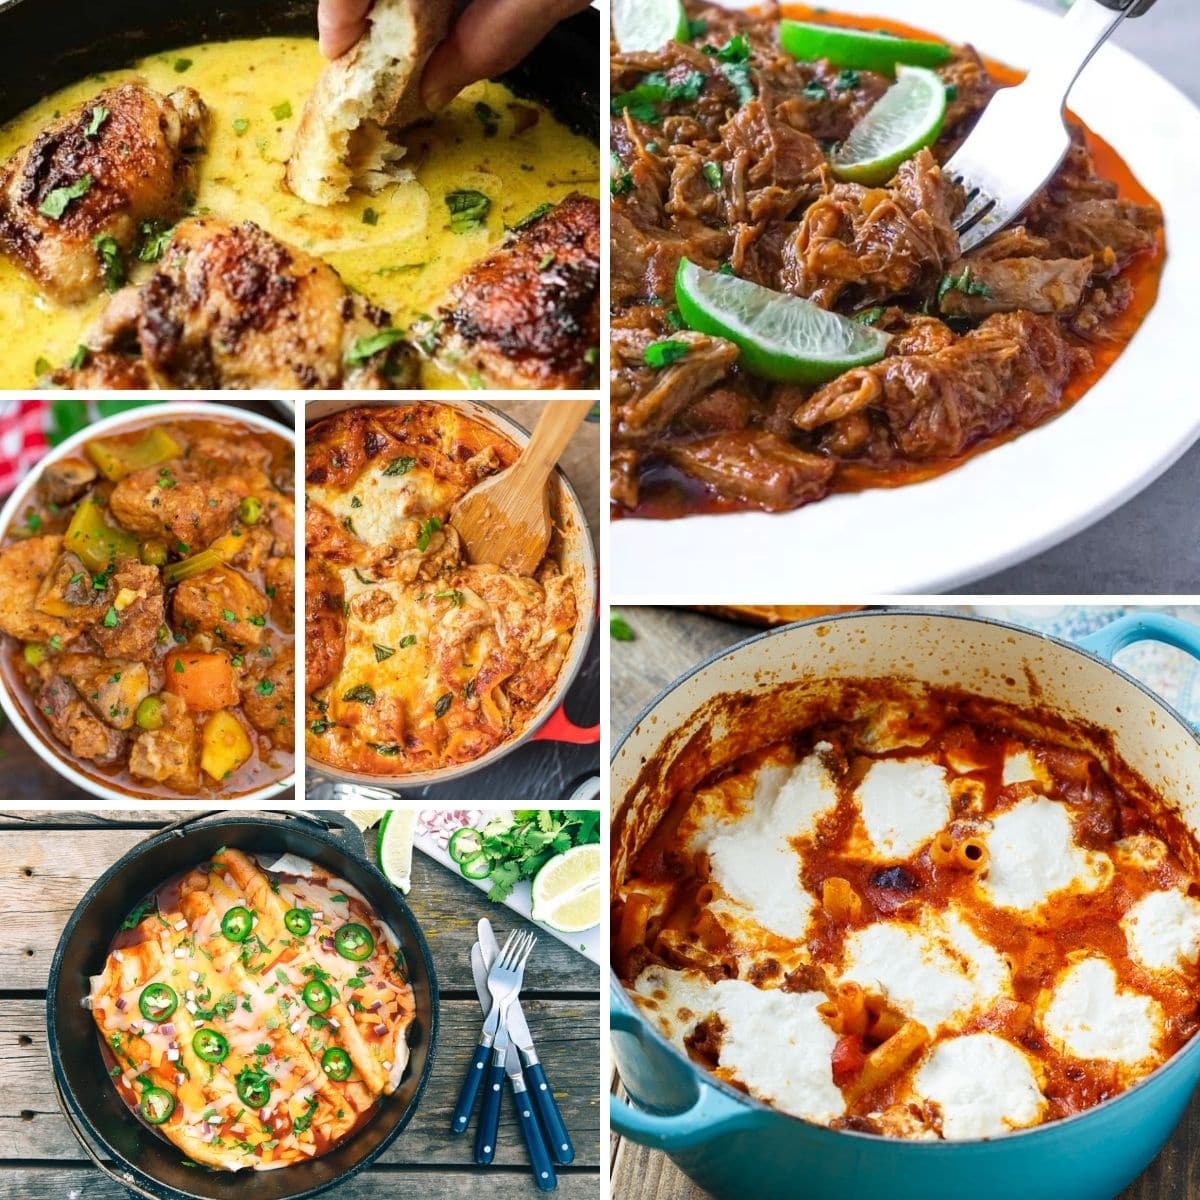
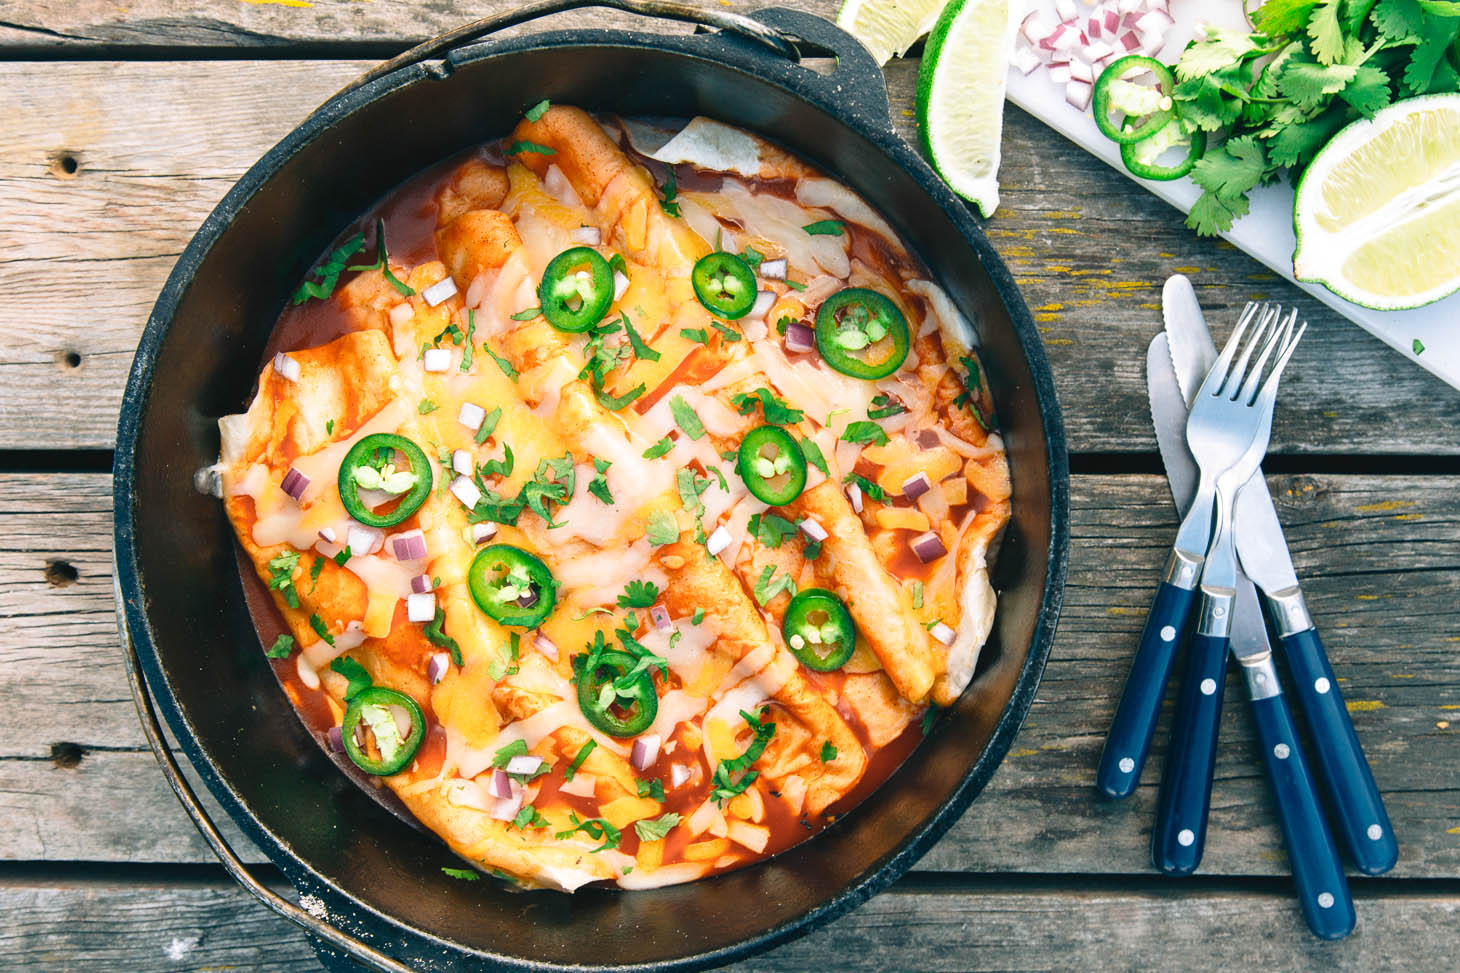
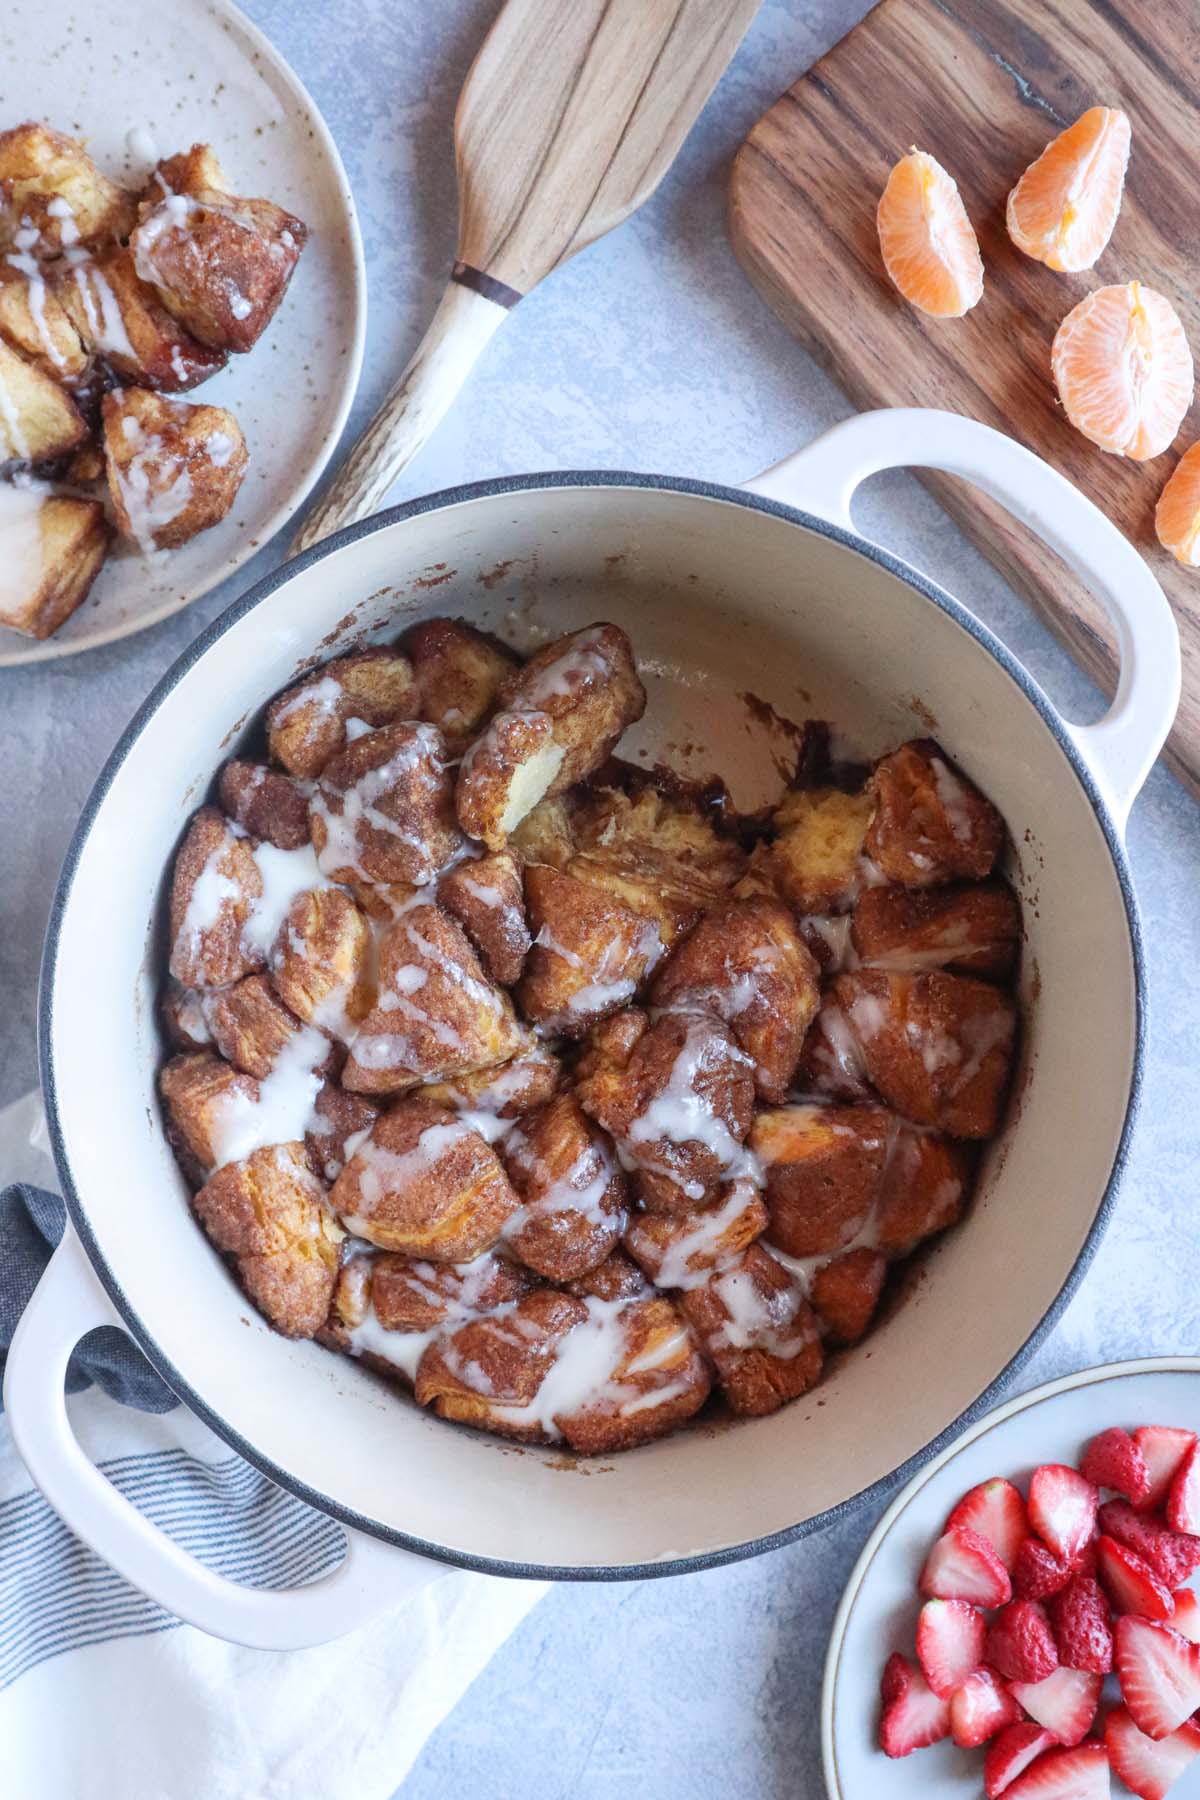
10 Make-Ahead Dutch Oven Dishes for 2026
Now for the heart of the matter: the recipes. These dishes are all designed to be made ahead of time, reheated easily, and taste even better the next day. Prep and cook times are estimates, and reheating instructions will be detailed in the next section.
Beef Bourguignon (Prep: 30 mins, Cook: 3 hrs, Total: 3.5 hrs): This classic French stew is a meal prep superstar. The long braising time tenderizes the beef, and the flavors meld beautifully overnight. Reheats exceptionally well on the stovetop.
Chicken and Dumplings (Prep: 20 mins, Cook: 1.5 hrs, Total: 1.75 hrs): Comfort food at its finest. Make the chicken and broth a day ahead, then add the dumplings just before reheating. The dumplings will soften slightly, but the overall flavor remains fantastic.
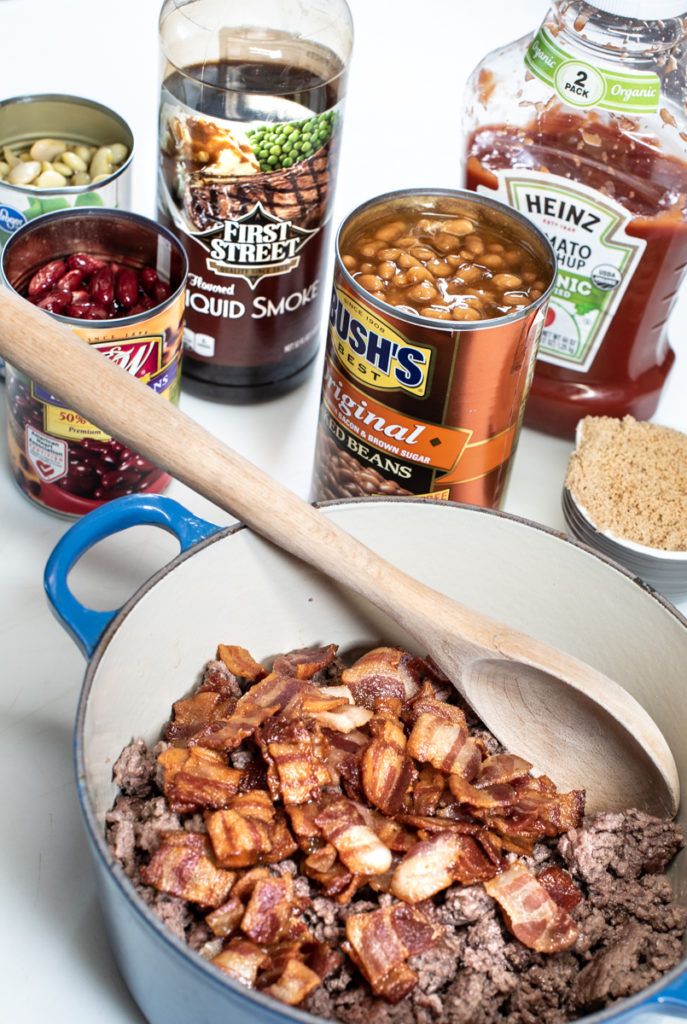
Chili (Prep: 20 mins, Cook: 2 hrs, Total: 2.2 hrs): A crowd-pleaser that only gets better with time. The flavors deepen as it sits, and it’s incredibly versatile – serve with cornbread, rice, or your favorite toppings. Freezes beautifully.
Lentil Soup (Prep: 15 mins, Cook: 45 mins, Total: 1 hr): A hearty and healthy option. This soup is packed with nutrients and flavor. It’s also a great way to use up leftover vegetables. Reheats well on the stovetop or in the microwave.
Jambalaya (Prep: 25 mins, Cook: 1 hr, Total: 1.25 hrs): A flavorful Creole rice dish with chicken, sausage, and shrimp. The flavors really meld together overnight. Reheating on the stovetop is recommended to prevent the rice from drying out.
Pulled Pork (Prep: 15 mins, Cook: 8-10 hrs (low & slow), Total: 8.25-10.25 hrs): While it requires a long cooking time, the hands-on work is minimal. The resulting pulled pork is incredibly tender and flavorful. Perfect for sandwiches, tacos, or sliders. Reheats beautifully in a slow cooker.
Ratatouille (Prep: 30 mins, Cook: 1.5 hrs, Total: 1.75 hrs): A vibrant and flavorful vegetable stew from Provence. The flavors develop beautifully as it sits. Reheats well on the stovetop or in the oven.
Moroccan Tagine (Prep: 25 mins, Cook: 2 hrs, Total: 2.25 hrs): A fragrant and flavorful stew with meat (lamb or chicken) and dried fruits. The spices deepen overnight. Reheating gently on the stovetop is best to preserve the delicate flavors.
Pasta e Fagioli (Prep: 20 mins, Cook: 1 hr, Total: 1.2 hrs): A hearty Italian pasta and bean soup. The pasta will absorb some of the liquid as it sits, so you may need to add a little water or broth when reheating. Reheats well on the stovetop. Hearty Vegetable Stew (Prep: 20 mins, Cook: 1 hr, Total: 1.2 hrs): A customizable stew that’s perfect for using up leftover vegetables. Add beans or lentils for extra protein. Reheats well on the stovetop.
Reheating Strategies: Maximizing Flavor
Reheating isn’t simply about warming up food; it’s about preserving the flavors that developed during the initial cooking process. The microwave is convenient, but it can sometimes result in uneven heating and a loss of flavor. For most Dutch oven meal prep dishes, the stovetop is your best bet.
Slow and gentle is the key. Use medium-low heat and stir frequently to prevent sticking and ensure even heating. For dishes with sauce, adding a splash of water or broth can help prevent them from drying out. The oven is also a good option for dishes like casseroles or gratins. Preheat the oven to 350°F (175°C) and reheat until warmed through.
Slow cookers are ideal for reheating dishes like pulled pork or chili. Set the slow cooker to low and let it warm up for a few hours. This will keep the food moist and flavorful. Don’t be afraid to adjust the seasoning after reheating. A little extra salt, pepper, or herbs can often brighten up the flavors.
Reheating Method Comparison
| Dish Type | Stovetop | Oven | Slow Cooker |
|---|---|---|---|
| Stew (Beef, Lamb) | Flavor is most vibrant; allows for adjustments to seasoning. Convenient for single servings. Requires stirring to prevent sticking. | Gentle, even reheating. May require liquid addition to prevent drying. Good for larger portions. | Excellent for maintaining tenderness, but can dilute flavors if too much liquid is added. Best for set-it-and-forget-it reheating. |
| Soup (Vegetable, Cream-based) | Quickest method, but requires constant attention to prevent scorching, especially cream-based soups. Best for smaller batches. | Good for larger quantities; maintains texture well. Requires monitoring to avoid separation in cream-based soups. | Ideal for bean-based or hearty vegetable soups. Can sometimes alter texture, making it slightly mushy. |
| Chili | Fast and effective. Allows for stirring in fresh toppings. Can become thicker during reheating. | Maintains chili’s texture and spice level well. Requires occasional stirring. Good for large batches. | Keeps chili warm for extended periods. May require liquid addition to maintain desired consistency. |
| Braised Meats (Short Ribs, Pork Shoulder) | Can restore some crispness to the exterior, but requires careful temperature control. Best for smaller portions. | Excellent for reheating large cuts; maintains moisture and tenderness. May take longer. | Ideal for fall-apart tenderness. Flavor may meld further during extended reheating. |
| Beans (Baked, Cassoulet) | Good for quick reheating, but requires stirring to prevent sticking and burning. Can dry out quickly. | Provides even heating and helps retain moisture. Best for larger portions. | Maintains bean texture well and allows flavors to meld further. Requires monitoring to prevent overcooking. |
| Pasta Dishes (Baked Ziti, Lasagna) | Not recommended; can result in uneven heating and sticking. Best avoided. | Ideal for maintaining texture and preventing sticking. Requires covering to prevent drying. | Can work, but may result in a softer texture. Requires careful monitoring to prevent overcooking. |
| Curries | Fast and allows for flavor adjustments. Requires stirring to prevent sticking and burning. | Gentle and even reheating. Good for maintaining sauce consistency. Requires covering. | Excellent for melding flavors further, but may alter the texture slightly. |
Illustrative comparison based on the article research brief. Verify current pricing, limits, and product details in the official docs before relying on it.
Storage Solutions: Keeping it Fresh
Proper storage is essential for maintaining food safety and quality. Generally, Dutch oven meal prep can be safely stored in the refrigerator for up to 3-4 days. For longer storage, freezing is the way to go. Most dishes can be frozen for up to 2-3 months without significant loss of quality.
When freezing, allow the food to cool completely before transferring it to airtight containers or freezer bags. This helps prevent freezer burn. Glass containers are great for reheating, but plastic containers are more freezer-friendly. I've found that the reusable silicone bags are a particularly good choice – they’re durable, airtight, and easy to clean.
To thaw frozen meals, transfer them to the refrigerator overnight. Avoid thawing at room temperature, as this can increase the risk of bacterial growth. Once thawed, use the meal within 1-2 days. I personally prefer to portion out meals into individual containers before freezing, making it even easier to grab and go during the week.
Dutch Oven Size & Recipe Scaling
Choosing the right Dutch oven size is crucial for successful meal prep. A 5-quart Dutch oven is ideal for smaller families or individuals, while a 6-quart or 7-quart Dutch oven is better suited for larger families or batch cooking. It’s frustrating to start a recipe only to realize it won’t all fit!
As a general rule, a 5-quart Dutch oven can comfortably serve 4-6 people, a 6-quart Dutch oven can serve 6-8 people, and a 7-quart Dutch oven can serve 8-10 people. However, these are just estimates. The amount of food you can cook will also depend on the specific recipe.
When scaling recipes up or down, it’s important to adjust the cooking time accordingly. Larger quantities of food will require longer cooking times, while smaller quantities will require shorter cooking times. A good rule of thumb is to increase the cooking time by 15-20% for each doubling of the recipe.
Flavor Boosters: Taking it to the Next Level
undefined It requires a little extra effort, but the difference in flavor is noticeable.
Dry-frying your spices before adding them to the dish can also unlock their full potential. This process releases the essential oils in the spices, resulting in a more intense and aromatic flavor. A quick toast in the dry Dutch oven for a minute or two is all it takes.
Finishing your dishes with fresh herbs is another great way to elevate the flavor. Parsley, cilantro, thyme, and rosemary are all excellent choices. A sprinkle of fresh herbs just before serving adds a bright and vibrant touch. Don’t be afraid to experiment with unexpected ingredient combinations – a pinch of smoked paprika in your chili or a splash of balsamic vinegar in your ratatouille can create surprisingly delicious results.
Standout Recipes: Worth a Second Look
While all the recipes mentioned earlier are fantastic, a few really shine when it comes to meal prep and flavor complexity. The Moroccan Tagine is a standout. The combination of sweet and savory flavors, along with the tender meat and fragrant spices, makes it a truly unforgettable dish. I suggest adding a handful of chopped apricots during the last 30 minutes of cooking for extra sweetness and texture.
The Pulled Pork is another winner. It’s incredibly versatile and can be used in a variety of dishes throughout the week. For a twist, try adding a tablespoon of coffee to the rub – it enhances the smoky flavor. I also recommend making a large batch of coleslaw to serve alongside the pulled pork.
Finally, don’t underestimate the power of a well-made Beef Bourguignon. It's a classic for a reason. Make sure to use a good quality red wine, and don’t skimp on the bacon! A little patience during the braising process will reward you with a truly exceptional meal.
No comments yet. Be the first to share your thoughts!