
Beyond Stew: Dutch Oven Camping's Rise
Outdoor cooking is seeing a shift back towards flavor and shared experiences, moving away from a sole focus on lightweight gear. Dutch ovens are experiencing a resurgence, with many campers rediscovering the joys of cooking with cast iron.
For generations, the Dutch oven was the standard for cooking outdoors. Before the proliferation of backpacking stoves and streamlined cookware, it was the workhorse of camp kitchens. Its durability and versatility meant it could handle anything from baking bread to simmering stews. Then, lighter options took over, but now people are realizing what was lost: the depth of flavor and the communal aspect of cooking in cast iron.
Beyond nostalgia, a Dutch oven's even heat distribution leads to consistently delicious results. It's a single vessel capable of searing, simmering, baking, and frying, with cast iron imparting a unique flavor. This method rewards patience with excellent food.
Campers are now experimenting with a wide range of recipes, from elaborate roasts to delicate desserts, moving beyond traditional stews. The Dutch oven is capable of elevating outdoor cooking for every meal, from quick lunches to impressive dinners, designed for the challenges of outdoor cooking.

Essential Gear: Dutch Ovens & Accessories
Choosing the right Dutch oven is the first step toward successful outdoor cooking. The two main materials you’ll encounter are cast iron and enameled cast iron. Traditional cast iron is incredibly durable, holds heat exceptionally well, and develops a natural non-stick seasoning over time. However, it requires regular maintenance to prevent rust.
Enameled cast iron offers the benefits of cast iron with the added convenience of being rust-resistant and easier to clean. The enamel coating also doesn’t impart any flavor to the food, which some cooks prefer. The downside is that enamel can chip if mishandled, and it generally costs more upfront. For camping, traditional cast iron is recommended for its resilience, though enameled is a good option for those prioritizing ease of cleaning.
Size is another important consideration. A 12-inch Dutch oven is a versatile size for a group of 4-6 people. It's large enough to cook a whole chicken or a substantial stew but not so large that it’s unwieldy to transport. For smaller groups, a 10-inch Dutch oven might suffice. Larger groups might benefit from a 14-inch or even larger option.
Beyond the oven itself, a few accessories are essential. A lid lifter is crucial for safely removing the hot lid. A charcoal chimney makes lighting charcoal much easier and more efficient. A trivet is helpful for keeping food elevated above the heat source, preventing burning. Finally, a good-quality brush is needed for cleaning.
Cast Iron vs. Enameled Cast Iron Dutch Ovens for Camping
| Factor | Cast Iron | Enameled Cast Iron |
|---|---|---|
| Weight | Generally Heavier 🧱 | Generally Lighter |
| Heat Retention | Excellent, very stable | Very Good, but can fluctuate more |
| Cleaning | Requires seasoning & more effort | Easier, often dishwasher safe (check manufacturer) |
| Rust Resistance | Low, prone to rust if not maintained | High, enamel coating prevents rust |
| Durability | Extremely Durable, can last generations | Durable, but enamel can chip or crack with impact |
| Reactivity with Foods | Can react with acidic foods 🍋 | Non-reactive, safe for all foods |
| Cost | Typically Lower | Typically Higher |
Qualitative comparison based on the article research brief. Confirm current product details in the official docs before making implementation choices.
Breakfasts to Fuel Your Adventures
A hearty breakfast is essential for a successful camping trip. Dutch ovens create comforting, filling meals to keep you energized. The following recipes are relatively easy to prepare in an outdoor setting.
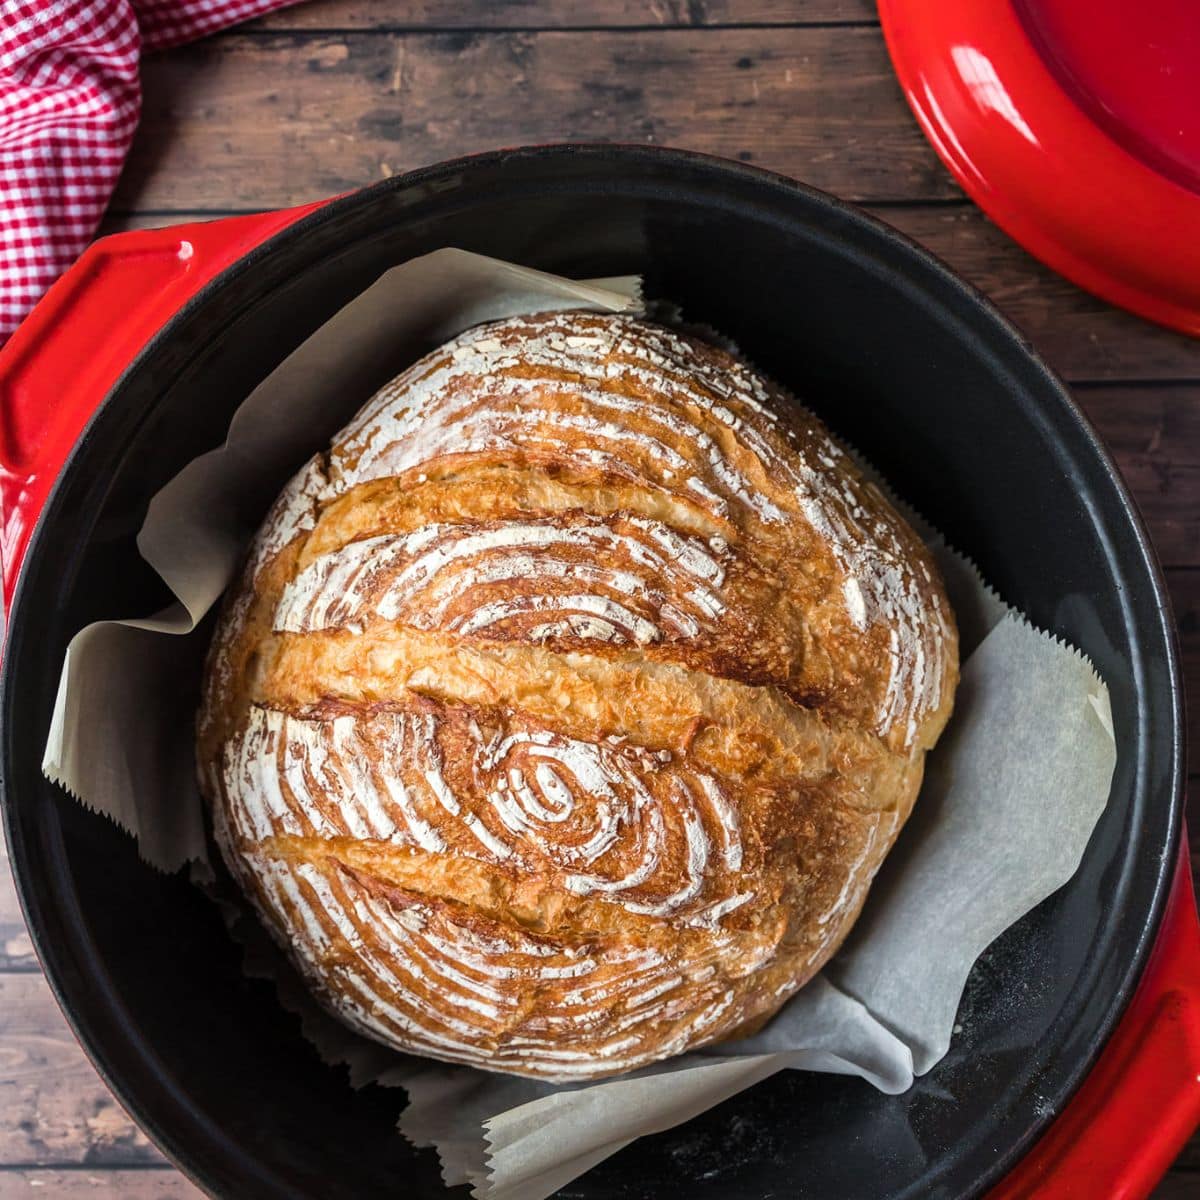
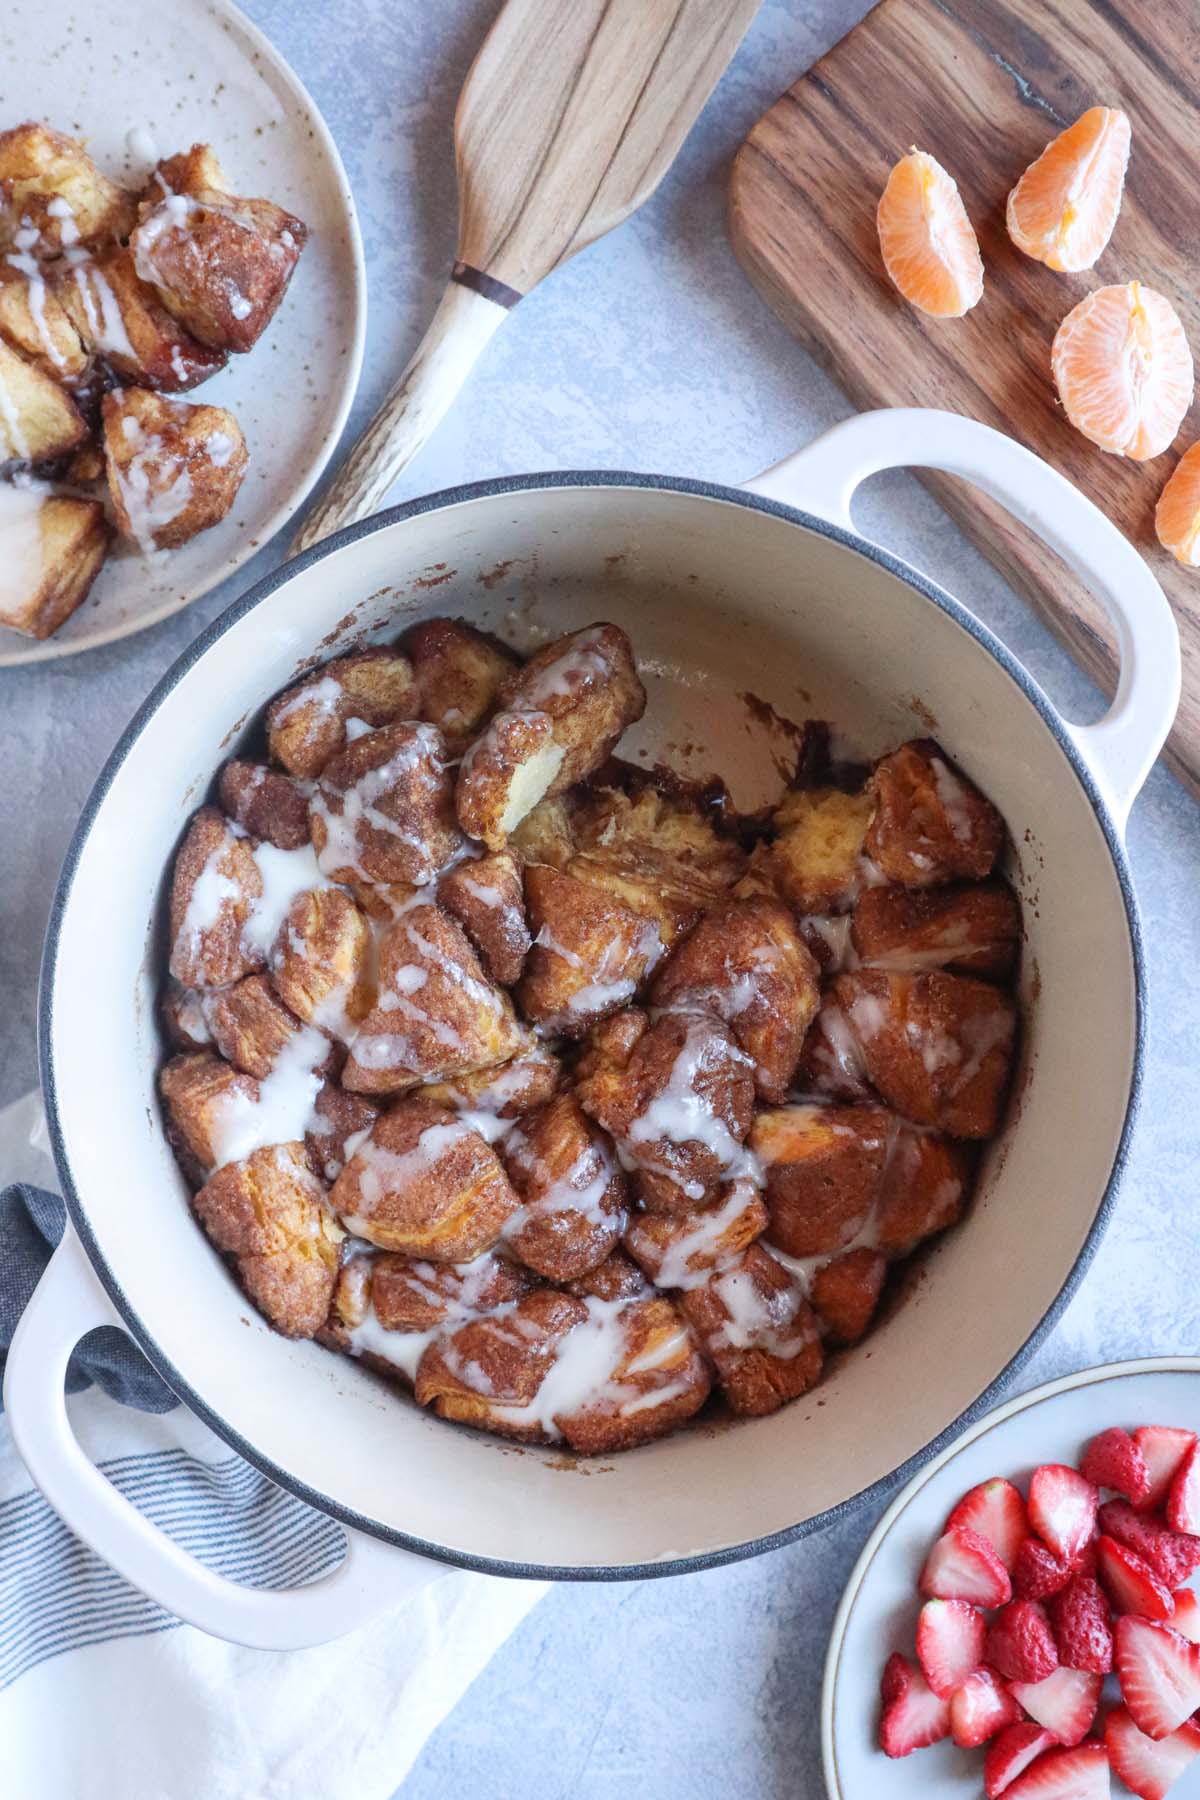
Dutch Oven Cinnamon Rolls: For simplicity, use pre-made cinnamon roll dough. Place the rolls in a greased Dutch oven, cover, and bake over medium heat (about 350°F) for 20-25 minutes, or until golden brown and cooked through. The Dutch oven traps steam, resulting in soft and fluffy cinnamon rolls.
Breakfast Hash: Dice potatoes, onions, and your choice of protein (sausage, bacon, or chorizo). Sauté in the Dutch oven until browned and crispy. Add diced vegetables like peppers and mushrooms, and cook until tender. Crack in some eggs and cook to your desired doneness. This is a good way to use up leftover ingredients.
Dutch Oven Pancakes: Prepare your favorite pancake batter at home to save time. Melt butter in the Dutch oven, pour in the batter, and cook over medium heat. Rotate the Dutch oven frequently to ensure even cooking. To keep pancakes warm while you cook batches, place them on a wire rack inside a cooler lined with towels.
Lunchtime Winners: Quick & Easy Options
Lunch at the campsite should be quick, easy, and satisfying, prioritizing minimal cleanup and maximum flavor. Prepping ingredients at home before your trip will streamline the process.
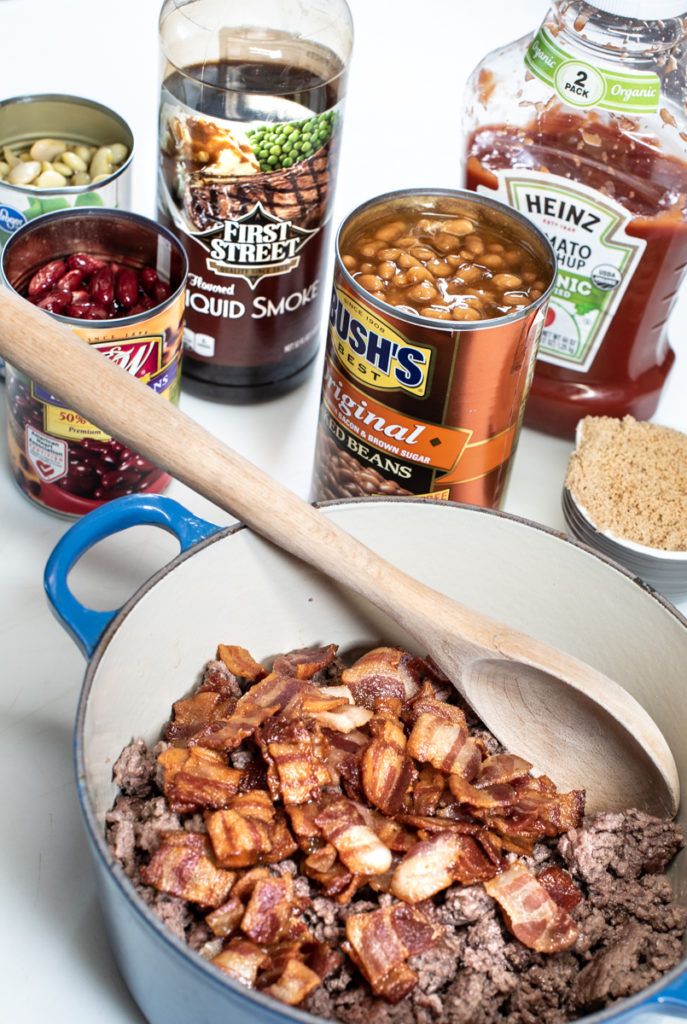
Dutch Oven Chili is a camping classic. Brown ground beef or turkey in the Dutch oven, then add diced onions, peppers, and your favorite chili seasonings. Pour in canned tomatoes, beans, and broth, and simmer for at least 30 minutes. The longer it simmers, the more flavorful it becomes. It’s a fantastic make-ahead option – you can even fully prepare it at home and reheat it at the campsite.
For comfort food, try Dutch Oven Mac and Cheese: Cook elbow macaroni according to package directions. While the pasta is cooking, make a cheese sauce in the Dutch oven using butter, flour, milk, and cheddar cheese. Combine the cooked pasta and cheese sauce, and bake in the Dutch oven until bubbly and golden brown. Using a blend of cheeses adds depth of flavor.
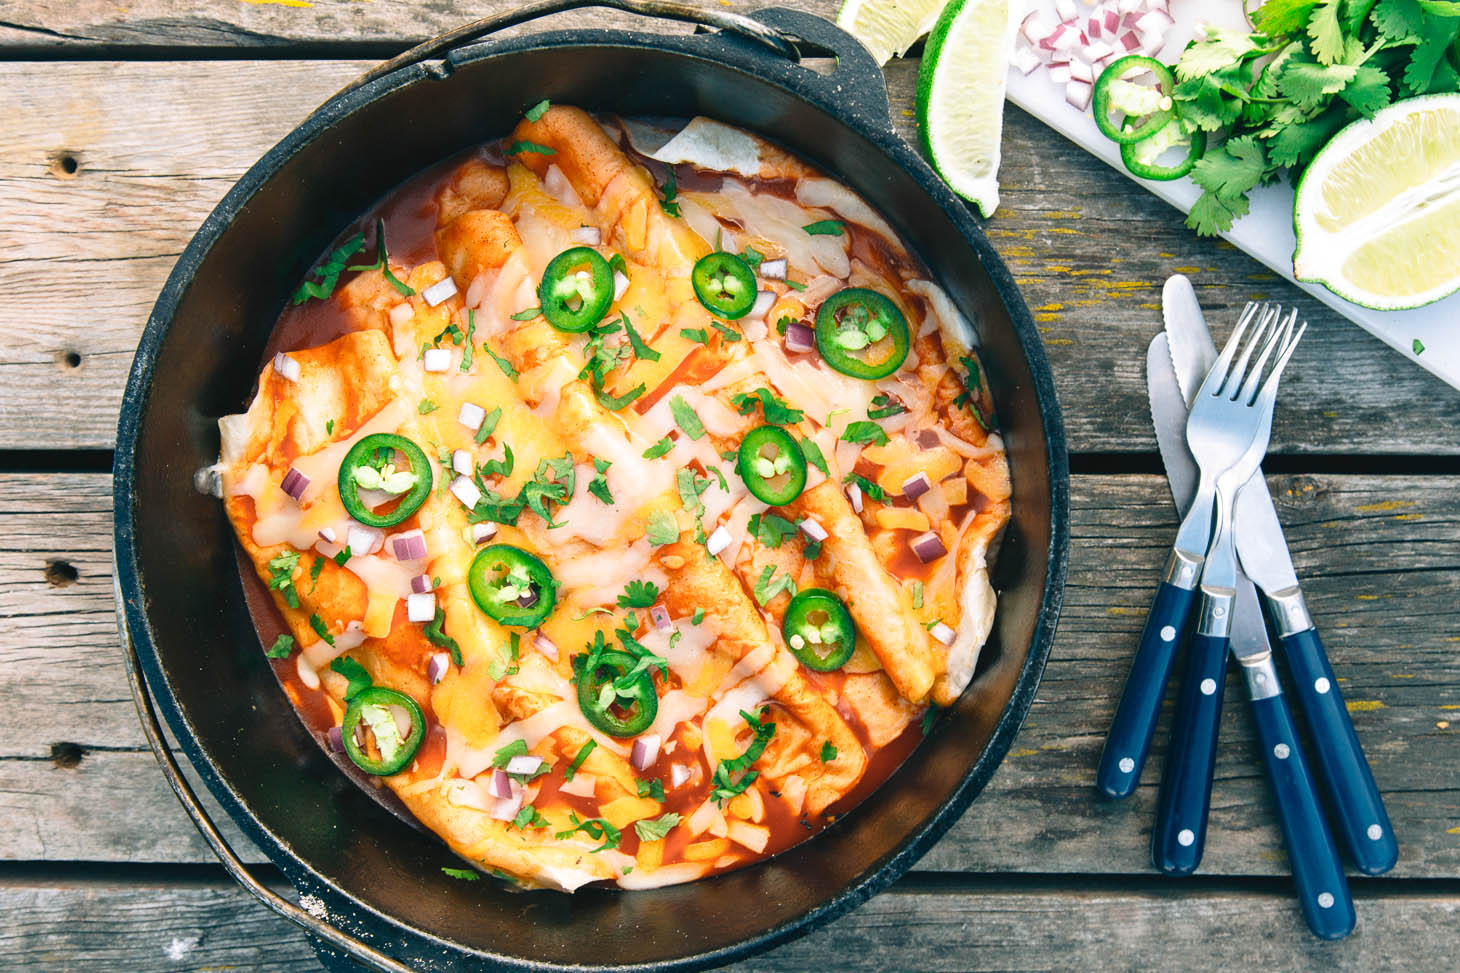
Dutch Oven Quesadillas: Spread refried beans and shredded cheese on tortillas, fold them in half, and cook in the Dutch oven until the tortillas are golden brown and the cheese is melted. Add cooked chicken, vegetables, or other fillings as desired. This is a good way to use up leftovers.
Dinner Delights: Hearty Camping Meals
The Dutch oven excels at creating hearty, satisfying dinners. These recipes require a bit more effort but are well worth the reward. Adapting recipes for different fuel sources, such as charcoal or wood, is key to successful outdoor cooking.
Dutch Oven Roast Chicken with Root Vegetables: Season a whole chicken with salt, pepper, and your favorite herbs. Place it in the Dutch oven with chopped root vegetables (potatoes, carrots, parsnips) and drizzle with olive oil. Cover and cook over medium heat until the chicken is cooked through and the vegetables are tender. The Dutch oven creates a self-basting effect, resulting in juicy chicken.
Dutch Oven Beef Stew: Brown beef cubes in the Dutch oven, then add diced onions, carrots, celery, and potatoes. Pour in beef broth and red wine, and season with herbs and spices. Simmer for at least 2-3 hours, or until the beef is tender. The long simmering time allows the flavors to meld together.
Dutch Oven Paella: Sauté chicken and chorizo in the Dutch oven, then add rice, saffron, and vegetable broth. Add shrimp, mussels, and peas, and cook until the rice is tender and the seafood is cooked through. Paella is a flavorful dish perfect for sharing. Using charcoal allows for more precise heat control, essential for achieving the socarrat (the crispy layer of rice at the bottom).
Desserts Around the Campfire
A sweet treat is a great addition to any camping trip. Dutch ovens can bake desserts that satisfy your sweet tooth.
Dutch Oven Cobbler is a simple and delicious option. Use canned fruit (peaches, berries, or apples) as a base. Top with a biscuit-like batter made from flour, sugar, baking powder, and butter. Bake in the Dutch oven until the topping is golden brown and the fruit is bubbly. It’s a classic for a reason.
Dutch Oven Chocolate Cake: Use a boxed cake mix for convenience. Prepare the batter according to package directions and pour it into a greased Dutch oven. Bake over medium heat until a toothpick inserted into the center comes out clean. It's easy and decadent.
Dutch Oven Apple Crisp: Combine sliced apples with cinnamon, sugar, and a crumble topping made from flour, oats, butter, and brown sugar. Bake in the Dutch oven until the apples are tender and the topping is golden brown.
- Campfire S’mores Variations: Try adding peanut butter, Nutella, or caramel to your s’mores for a twist.
S'mores Variations
- Peanut Butter Cup S'mores - Classic graham crackers, milk chocolate, marshmallows, and a Reese’s Peanut Butter Cup. The combination of chocolate and peanut butter adds a salty-sweet dimension. 🍫
- Salted Caramel S'mores - Graham crackers, milk chocolate, marshmallows, and a square of Ghirardelli Salted Caramel chocolate. The caramel provides a chewy texture and rich flavor, enhanced by the salt. 🍬
- Raspberry White Chocolate S'mores - Graham crackers, white chocolate (like Lindt Lindor White Chocolate), marshmallows, and fresh or freeze-dried raspberries. This variation offers a fruity and creamy contrast to traditional s'mores. 🍓
- Pretzel S'mores - Graham crackers are replaced with mini pretzels, milk chocolate, and marshmallows. The saltiness of the pretzels complements the sweetness of the chocolate and marshmallow.🥨
- Maple Bacon S'mores - Graham crackers, milk chocolate, marshmallows, and a strip of cooked, crispy bacon drizzled with real maple syrup (like Vermont Maple Syrup). This delivers a sweet, smoky, and savory flavor profile.🥓
- Nutella S'mores - Graham crackers, marshmallows, and a generous spread of Nutella hazelnut spread instead of traditional chocolate. Offers a rich, nutty, and chocolatey experience. 🌰
- Espresso S'mores - Graham crackers, dark chocolate (such as Ghirardelli Intense Dark), marshmallows, and a dusting of instant espresso powder. Provides a mocha-like flavor and a caffeine kick.☕
Dutch Oven Safety & Maintenance
Safety is paramount when cooking with a Dutch oven, especially outdoors. Always use a lid lifter to remove the hot lid, and be mindful of escaping steam. Avoid placing the Dutch oven on unstable surfaces. Never leave a hot Dutch oven unattended.
Proper charcoal placement is crucial for maintaining the desired temperature. Distribute the charcoal evenly around the bottom and sides of the Dutch oven. Use fewer coals for lower temperatures and more coals for higher temperatures. A good rule of thumb is a 2:1 ratio of coals on top to coals on the bottom for baking.
Cleaning and seasoning cast iron requires a bit of care. After each use, scrape out any food residue and wash the Dutch oven with hot water and a mild soap. Dry it thoroughly and apply a thin coat of oil to prevent rust. For more detailed seasoning instructions, consult resources like the Lodge website.
Finally, remember to practice Leave No Trace principles. Properly dispose of ashes in a designated fire pit or container. Pack out all trash and leave the campsite cleaner than you found it. Responsible camping ensures that future generations can enjoy the outdoors as much as we do.
- Always use a lid lifter.
- Distribute coals evenly.
- Dry thoroughly after washing.
- Apply a thin coat of oil.
- Dispose of ashes responsibly.
Troubleshooting Common Issues
Even with careful planning, you may encounter some challenges when cooking with a Dutch oven outdoors. Knowing how to troubleshoot common problems can save your meal.
If your food is burning, reduce the heat by removing some of the coals. You can also elevate the Dutch oven slightly by placing it on a trivet. Uneven cooking can be caused by uneven heat distribution. Rotate the Dutch oven periodically to ensure even cooking. If one side is cooking faster, move some coals to the cooler side.
Maintaining a consistent temperature can be difficult, especially in windy conditions. Use a windbreak to shield the Dutch oven from the wind. Adding more or fewer coals will also help regulate the temperature. Keep in mind that a Dutch oven retains heat very well, so it's better to start with less heat and add more if needed.
Cooking times may need to be adjusted based on altitude. At higher altitudes, water boils at a lower temperature, which means food will take longer to cook. Increase cooking times by 15-20% for every 1,000 feet above sea level. It's always a good idea to check the internal temperature of the food to ensure it's cooked through.
No comments yet. Be the first to share your thoughts!