
why the dutch oven wins for meal prep
I started using my Dutch oven for meal prep because I was tired of spending $15 on mediocre takeout salads. It isn't a new concept—it's just batch cooking with a heavy lid. The goal is to spend two hours on a Sunday so you don't have to think about the stove on a Tuesday night when you're exhausted.
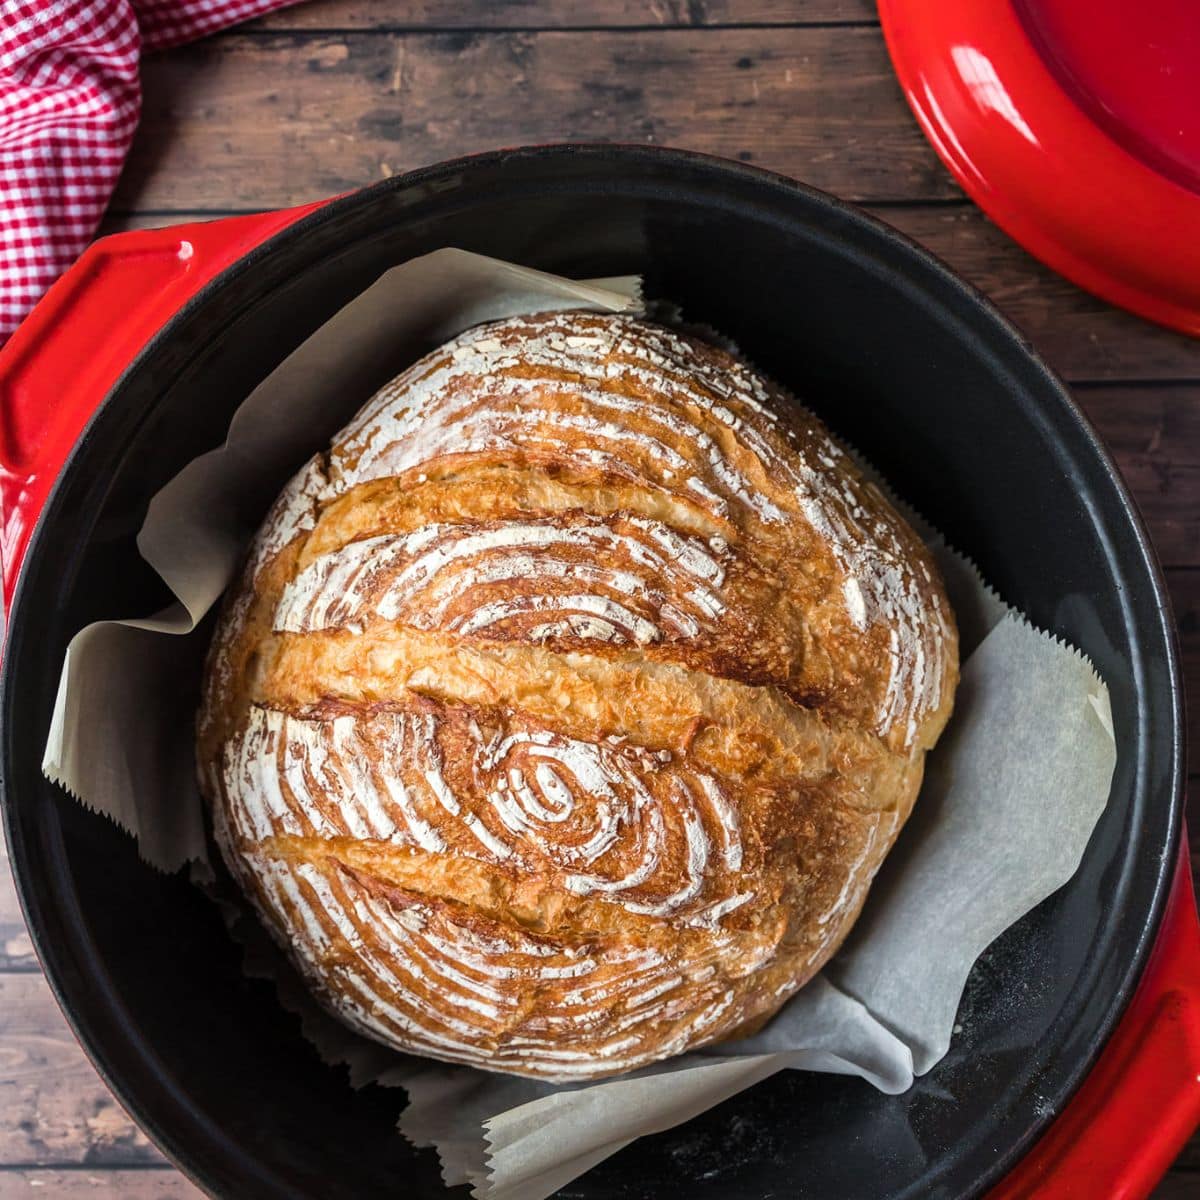
What’s different now is the renewed interest in home cooking and a desire for genuinely flavorful, nourishing food. We're seeing a pushback against ultra-processed convenience foods. But convenience is still key, and that’s where the Dutch oven shines. It’s a single piece of cookware that can handle almost anything – searing, simmering, braising, baking. It’s incredibly versatile, distributes heat beautifully, and transitions seamlessly from stovetop to oven. This isn't about complicated techniques or hours in the kitchen; it’s about working with the pot to create delicious, make-ahead meals.
I’ve always been drawn to the simplicity of one-pot cooking. Fewer dishes, more flavor, and a slower pace that forces you to be present in the kitchen – even if it's just for an hour on Sunday afternoon. A good Dutch oven is an investment, certainly, but it’s one that pays off in both time and enjoyment. It’s a workhorse that will become a staple in your kitchen for years to come, and with a little planning, it can be the key to stress-free weeknight dinners.
the only gear you actually need
Having the right tools makes all the difference when you’re tackling a big batch of meal prep. Obviously, the Dutch oven is the star, but a few supporting players will make your life much easier. Good quality storage containers are essential. I prefer glass containers for reheating and avoiding plastic leaching, but they are heavier and can break. For lighter options, I’ve had good luck with BPA-free plastic containers from Rubbermaid. Think about a variety of sizes – small containers for individual portions, larger ones for family-style servings.
Beyond containers, a reliable sheet pan is incredibly useful for cooling cooked ingredients before portioning them out. A sharp chef’s knife is a must for efficient chopping, and a kitchen scale can help with precise portion control if you’re following a specific diet or tracking macros. I’m a big fan of the OXO Good Grips chef’s knife – it’s comfortable to hold and stays sharp for a long time. Finally, don’t forget about Dutch oven care. A good scraper (I love the Lodge cast iron scraper) is essential for removing stuck-on food, and a chainmail scrubber can help with stubborn messes.
If you have an enameled pot, you don't need to worry about seasoning. For raw cast iron, just rub a tiny bit of oil into the surface after you dry it. Don't overthink the 'no soap' rule; a little mild dish soap won't ruin a good seasoning, but leaving it wet in the sink will definitely cause rust.
- Glass containers. Pyrex or Rubbermaid Brilliance work best because they don't hold onto smells from spicy stews.
- Plastic Storage Containers: BPA-free options from Rubbermaid or similar brands.
- Sheet Pans: Heavy-duty aluminum sheet pans are best.
- Chef’s Knife: OXO Good Grips or Wüsthof Classic.
- Kitchen Scale: OXO Good Grips Food Scale with Pull-Out Display.
- Dutch Oven Scraper: Lodge Cast Iron Scraper.
- Chainmail Scrubber: For stubborn stuck-on food.
Meal Prep Container Comparison: Choosing the Right Material
| Material | Cost | Durability | Microwave/Freezer Safety | Staining Potential |
|---|---|---|---|---|
| Glass | Generally mid-range; individual containers relatively inexpensive, but sets can add up. | Good – resistant to shattering with temperature changes if thermal shock is avoided, but can break if dropped. | Generally microwave-safe and freezer-safe, but check manufacturer’s instructions. Some tempered glass is not suitable for extreme temperature swings. | Low – glass is non-porous and doesn’t absorb odors or colors easily. |
| BPA-Free Plastic | Typically the most affordable option. | Moderate – can be prone to cracking or warping with repeated use or high heat. Quality varies significantly. | Most are microwave-safe (check for specific labeling) and freezer-safe, but some may become brittle when frozen for extended periods. | Moderate to High – plastic can absorb colors and odors from strongly flavored foods over time. |
| Stainless Steel | Often the most expensive upfront. | Excellent – very durable and resistant to dents, rust, and breakage. | Generally not microwave-safe (metal reflects microwaves). Freezer-safe. | Very Low – stainless steel is non-porous and highly resistant to staining, though some foods may leave a metallic taste if stored long-term. |
| Silicone | Mid-range cost, comparable to glass. | Flexible and durable, but can tear or degrade over time with repeated use or exposure to sharp objects. | Generally microwave-safe and freezer-safe, but check manufacturer instructions, as quality varies. | Low – Silicone is non-porous but can sometimes absorb odors. |
| Combination (Glass/Plastic) | Cost varies depending on the combination. | Durability depends on the materials used; often combines the benefits of both. | Microwave/freezer safety depends on the specific components – check labeling. | Staining potential varies; glass components are less prone to staining than plastic. |
Illustrative comparison based on the article research brief. Verify current pricing, limits, and product details in the official docs before relying on it.
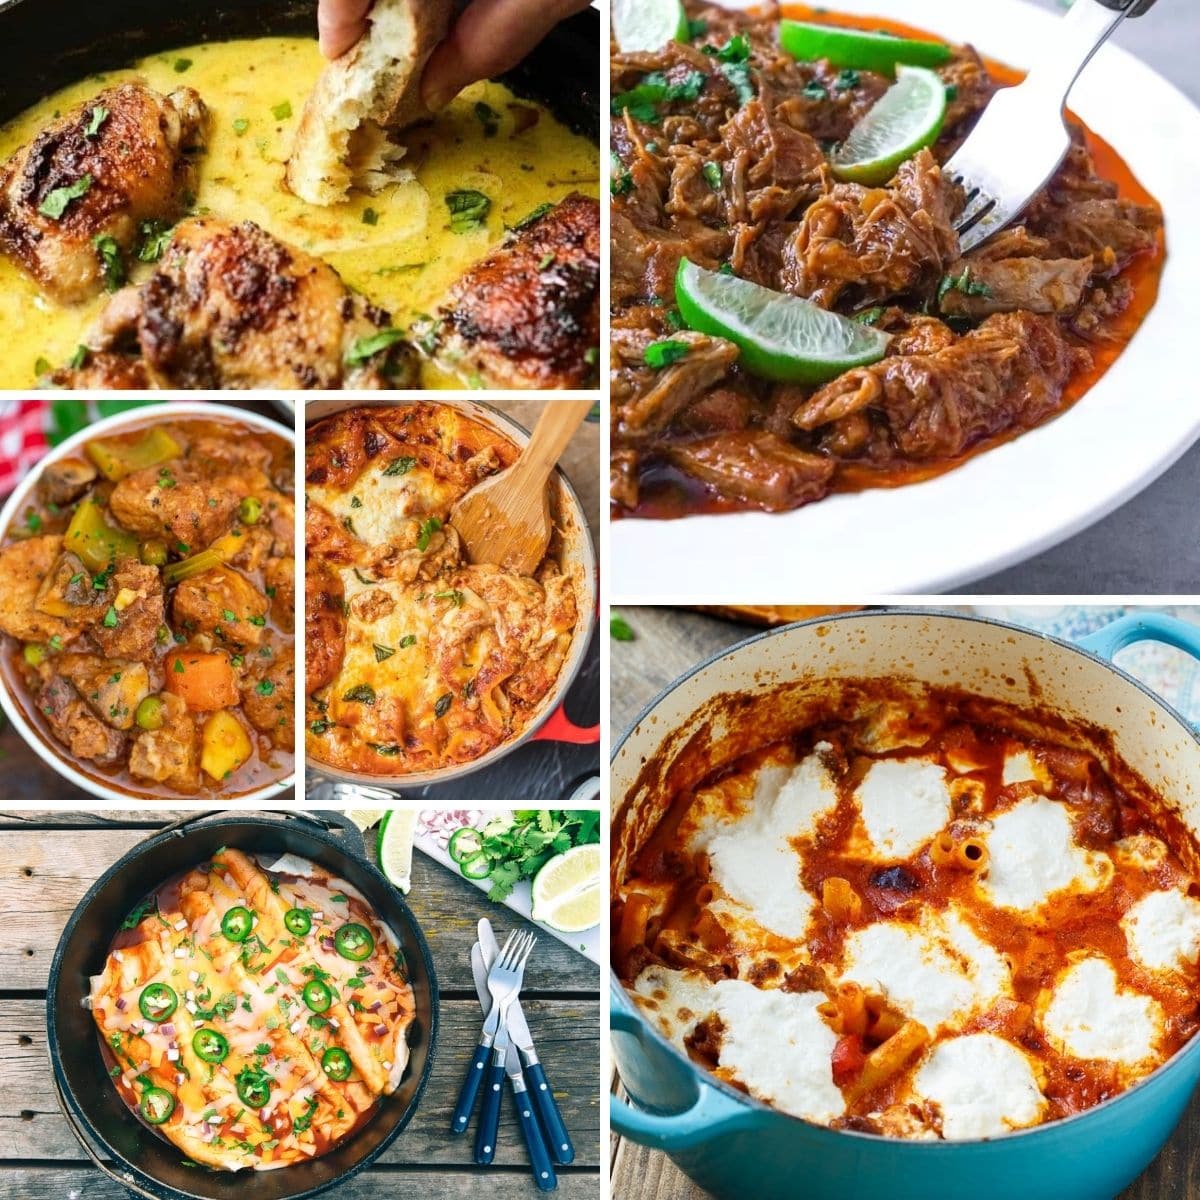
15 Make-Ahead Dutch Oven Recipes
Now for the good stuff. Here are 15 recipes designed for Dutch oven meal prep, covering a range of tastes and dietary needs. I’ve tried to prioritize recipes that truly benefit from the Dutch oven’s even heating and ability to handle long cooking times. I've drawn inspiration from sites like The Irishman's Wife and Food52, but these are all adapted for the meal-prep mindset.
Breakfast/Brunch: 1. Overnight Steel-Cut Oatmeal: Prep on Sunday, enjoy all week. 2. Dutch Oven Frittata: Load it up with veggies and cheese. 3. Apple Cinnamon Baked Oatmeal: A cozy and comforting breakfast.
Soups/Stews: 4. Classic Beef Stew: A hearty and satisfying classic. 5. Chicken and Vegetable Soup: Perfect for a cold day. 6. Spicy Sausage and White Bean Stew: A flavorful and filling option. 7. Lentil Soup: A budget-friendly and nutritious choice. 8. Tomato Soup: Great for freezing and enjoying later.
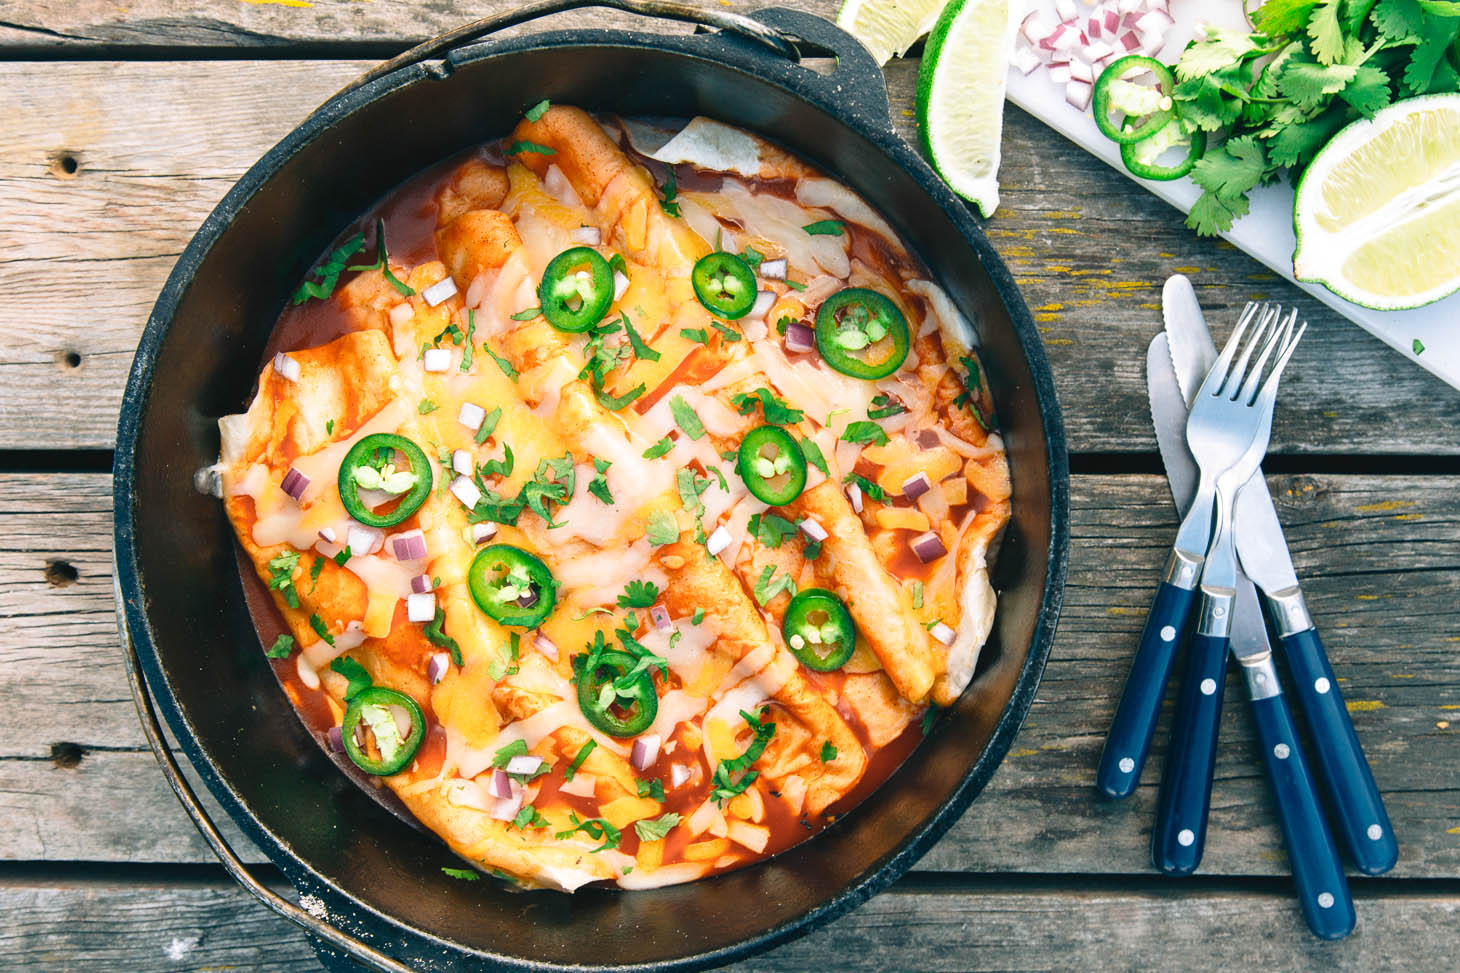
Main Courses: 9. Slow-Cooked Pulled Pork: Shred and freeze for tacos, sandwiches, or sliders. 10. Braised Short Ribs: A decadent and flavorful meal. 11. Chili: A meal-prep staple – freezes beautifully. 12. Chicken Cacciatore: A rustic Italian stew. 13. Moroccan Tagine: A flavorful and aromatic stew with chicken or lamb.
Sides/Other: 14. Roasted Root Vegetables: Carrots, potatoes, parsnips – all roast beautifully in a Dutch oven. 15. Dutch Oven Risotto: A surprisingly easy one-pot risotto.
- 1. Overnight steel-cut oatmeal. 2. Dutch oven frittata. 3. Apple cinnamon baked oatmeal. 4. Classic beef stew. 5. Chicken and vegetable soup. 6. Spicy sausage and white bean stew. 7. Lentil soup. 8. Tomato soup. 9. Slow-cooked pulled pork. 10. Braised short ribs. 11. Chili. 12. Chicken cacciatore. 13. Moroccan tagine. 14. Roasted root vegetables. 15. Dutch oven risotto.
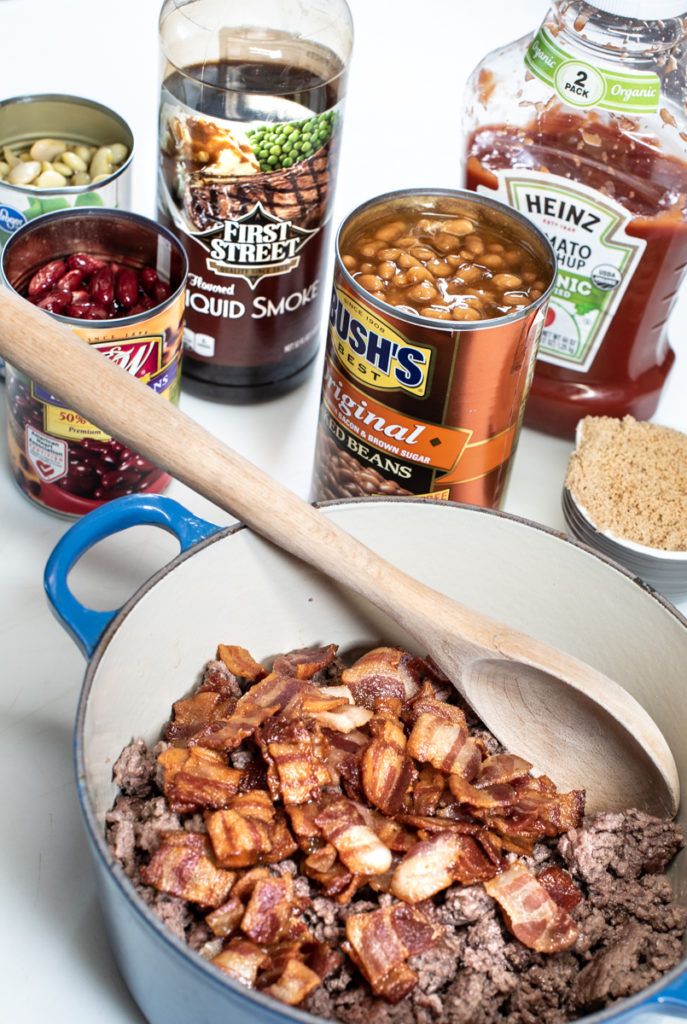
- Spicy Sausage and White Bean Stew: Brown sausage, add beans, tomatoes, and spices. Simmer for 30-45 minutes. Freezes well.
- Slow-Cooked Pulled Pork: Season pork shoulder, sear, then slow cook in the Dutch oven with BBQ sauce. Shred and enjoy. Great for freezing.
- Dutch Oven Risotto: Sauté onions and rice, add broth gradually, stirring constantly. Stir in cheese and herbs at the end. Best enjoyed fresh, but leftovers are good too.
Recipe Standouts: Deep Dive
Let’s take a closer look at a few of these recipes. The Classic Beef Stew is a true workhorse. I often use chuck roast, but brisket also works wonderfully, though it will require a longer cooking time – closer to 3.5-4 hours. For a richer flavor, deglaze the pot with a cup of red wine after searing the beef. A good Cabernet Sauvignon or Merlot works well. Don't be afraid to experiment with different root vegetables, too – turnips, celeriac, and sweet potatoes all add unique flavors.
The Slow-Cooked Pulled Pork is another winner. I like to use a dry rub with smoked paprika, brown sugar, and chili powder. For a smoky flavor without a smoker, add a teaspoon of liquid smoke to the sauce. You can also control the heat level by adjusting the amount of chili powder. This pork is incredibly versatile – use it for tacos, sandwiches, nachos, or even on top of baked potatoes.
Finally, the Dutch Oven Risotto is surprisingly easy. The key is to add the broth gradually, stirring constantly. This releases the starches from the rice, creating a creamy texture. I prefer Arborio rice for risotto, but Carnaroli rice is also a good option. For a vegetarian risotto, use vegetable broth and add sautéed mushrooms and asparagus.
Scaling Recipes for Batch Cooking
Doubling or tripling a Dutch oven recipe is often straightforward, but there are a few things to keep in mind. The most important is to adjust the cooking time. As a general rule, you’ll need to increase the cooking time by about 25-50% when doubling a recipe and by 50-100% when tripling it. It’s always better to err on the side of longer cooking times to ensure everything is cooked through.
Another potential challenge is overcrowding the Dutch oven. If you’re trying to cook too much food at once, it can lower the temperature and result in uneven cooking. It’s better to cook in batches if necessary. Also, pay attention to liquid amounts. You may need to add a little extra liquid when scaling up a recipe, especially for soups and stews. Start with a small amount and add more as needed.
When storing large batches of food, make sure to cool them completely before refrigerating or freezing. Divide the food into smaller portions for easier reheating. Properly sealed containers are crucial to prevent freezer burn. Label and date everything clearly so you know what it is and when you made it.
how to freeze and reheat without losing texture
Freezing and reheating are essential skills for successful Dutch oven meal prep. For best results, use freezer-safe containers or heavy-duty freezer bags. Remove as much air as possible from the containers to prevent freezer burn. Most Dutch oven meals can be frozen for up to 3 months, but the quality will start to decline after that. Soups, stews, and chili freeze particularly well; recipes with potatoes can sometimes become a bit mushy upon thawing, though.
When thawing, it’s best to transfer the food from the freezer to the refrigerator overnight. This allows it to thaw slowly and evenly. You can also thaw food in the microwave, but be sure to use a microwave-safe container and follow the manufacturer’s instructions. For reheating, the stovetop is often the best option, as it allows you to control the temperature and prevent the food from drying out. You can also reheat food in the oven, but it may take longer.
I've learned the hard way that some ingredients don't freeze well. Cream-based sauces tend to separate, and delicate herbs lose their flavor. It's best to add these ingredients after reheating. Also, be mindful of textures – some vegetables, like lettuce, become limp and watery when frozen. A little experimentation will help you figure out what works best for your favorite recipes.
Beyond the Basics: Flavor Boosters
Once you’ve mastered the basic recipes, it’s time to start experimenting with flavors. Spice blends are a great way to add complexity and depth. I’m a big fan of Moroccan ras el hanout, Indian garam masala, and Cajun seasoning. Herb combinations can also elevate your dishes. Try pairing rosemary and thyme with roasted chicken, or basil and oregano with tomato-based sauces.
Don’t underestimate the power of a good sauce. A drizzle of pesto, a dollop of Greek yogurt, or a splash of hot sauce can transform a simple meal. Finishing touches like toasted nuts, fresh herbs, or a squeeze of lemon juice can add brightness and texture. Explore different vinegars too – balsamic, apple cider, or sherry vinegar can all add a unique flavor dimension.
For inspiration, check out websites like Spiceology (spiceology.com) and The Spice House (thespicehouse.com). They offer a wide variety of high-quality spices and blends, as well as recipe ideas. Don't be afraid to get creative and experiment with different flavor combinations – that's where the real fun begins.
What's your biggest challenge when it comes to Dutch oven maintenance?
We all love cooking up big batch meals in our Dutch ovens, but keeping that cast iron in top shape between meal prep sessions can be a whole thing. Whether you are prepping fifteen recipes in a weekend or just tackling one hearty stew, maintenance matters. Vote below and let us know where you struggle most!
No comments yet. Be the first to share your thoughts!