
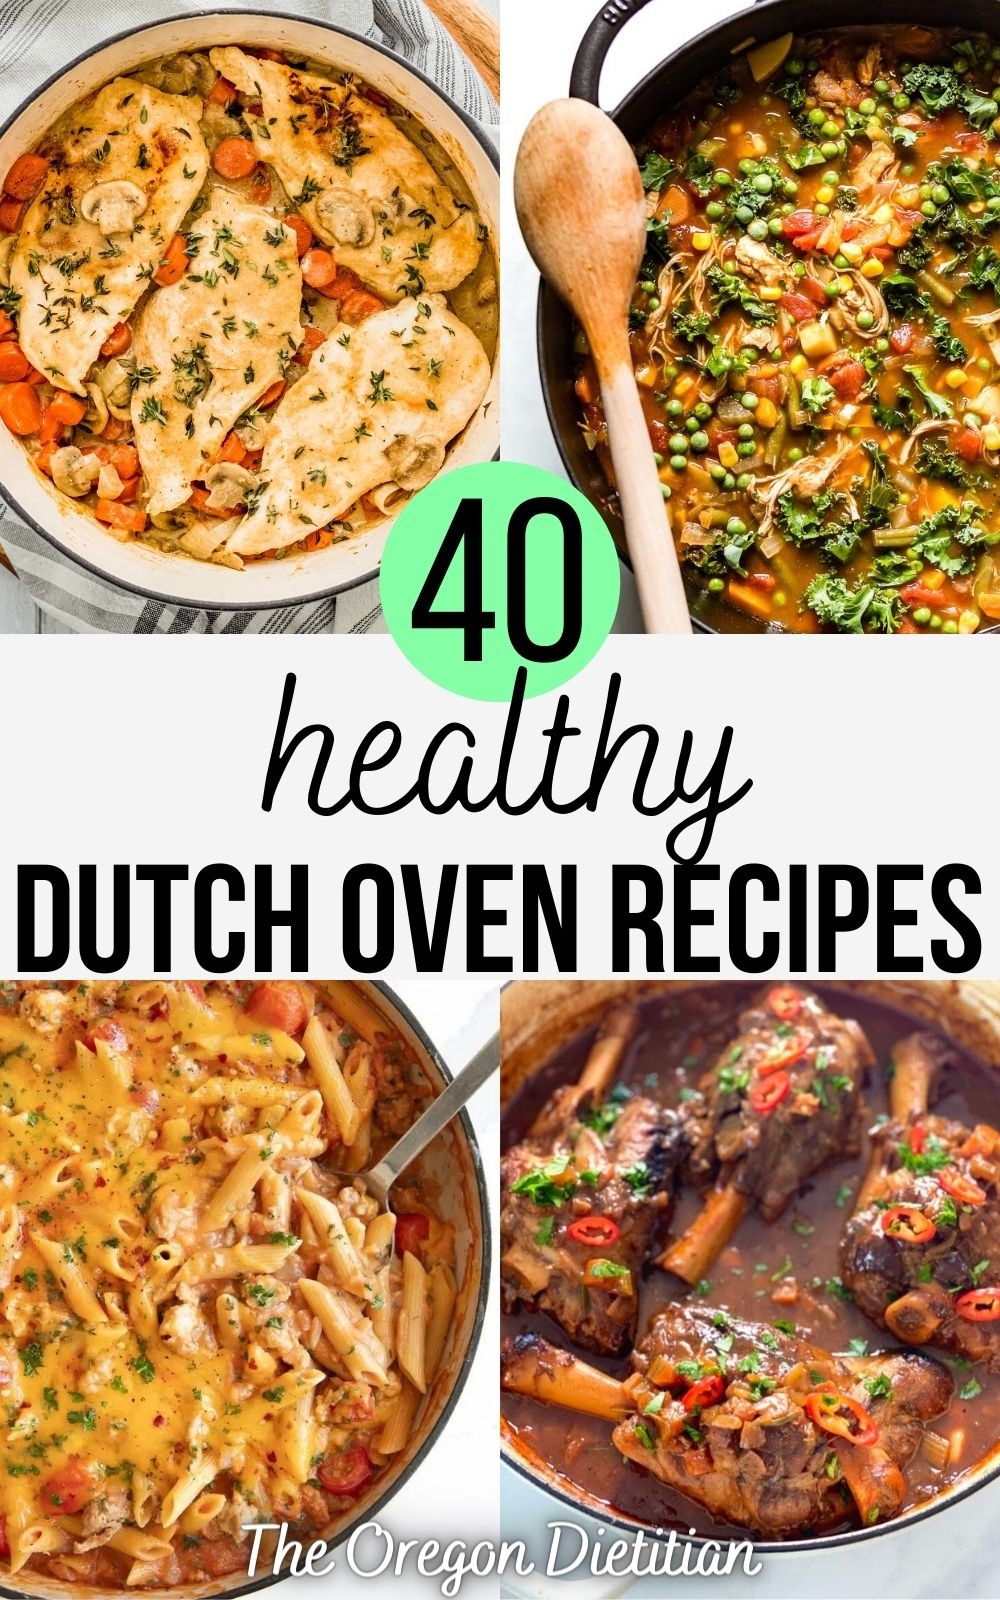
Why use a Dutch oven for meal prep?
Weeknights used to feel chaotic. Between work, errands, and trying to unwind, cooking a healthy meal often felt impossible. Then I discovered the power of Dutch oven meal prep. It wasn’t just about having food ready to eat; it was about reclaiming those evenings, reducing stress, and consistently nourishing myself and my family with good food.
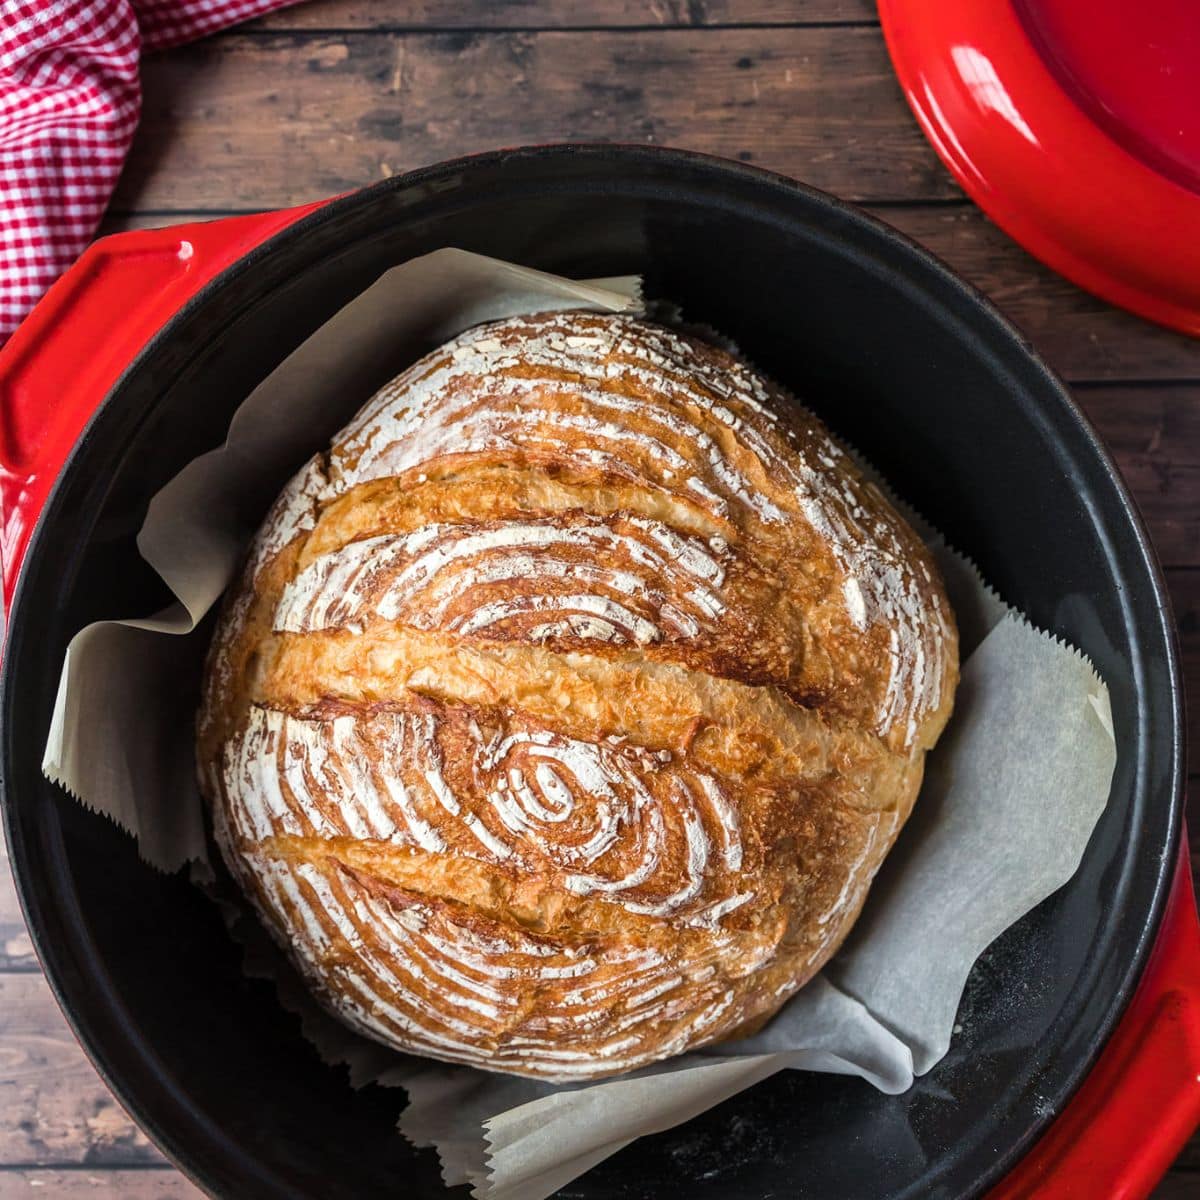
A Dutch oven is uniquely suited for this kind of cooking. Its even heat distribution prevents scorching, and its heavy lid locks in moisture, making it ideal for braising, stewing, and simmering – all techniques that lend themselves beautifully to make-ahead meals. Plus, it's incredibly versatile. You can use it on the stovetop, in the oven, or even over a campfire!
The 'one-pot' nature of many Dutch oven recipes is a huge time-saver. Fewer dishes mean less cleanup. Beyond the practical benefits, there's something deeply satisfying about creating a hearty, flavorful meal that will sustain you throughout the week. It’s about building a rhythm that supports your health and well-being, rather than constantly reacting to the demands of a busy life.
This isn't about restrictive dieting or complicated recipes. It’s about setting yourself up for success, making healthy eating convenient and enjoyable. Knowing that even on the busiest days, a delicious, home-cooked meal is just a reheat away makes all the difference.
Essential tools and tips
Beyond a good quality Dutch oven (Lodge’s cast iron is a personal favorite), having the right tools makes meal prep significantly smoother. You don’t need a ton of fancy gadgets, but a few key items make all the difference. Invest in a set of glass storage containers. They’re non-reactive, easy to clean, and allow you to see what’s inside, encouraging you to actually eat what you’ve prepped.
Consider varying sizes. Smaller containers are perfect for single-serving lunches, while larger ones are ideal for family-sized dinners. Portioning tools, like a kitchen scale or measuring cups, can help you ensure consistent serving sizes. And don't underestimate the power of a sharp knife and a good cutting board. Efficient chopping is key to speeding up the prep process.
Food safety is paramount. Always allow cooked food to cool completely before refrigerating to prevent condensation and bacterial growth. Store food in airtight containers and consume within 3-4 days for optimal freshness.
Advocating for mise en place – a French term meaning “everything in its place” – streamlines the cooking process and minimizes stress. Before you even turn on the stove, chop all your vegetables, measure out your spices, and have all your ingredients prepped and ready to go.
10 make-ahead Dutch oven recipes
These recipes are designed to be made ahead, reheated, and enjoyed throughout the week, with a variety of flavors and protein sources to keep things interesting. Prep times are estimates and can vary depending on your chopping speed.
1. Chicken and Vegetable Stew
A classic comfort food, this stew is packed with flavor and nutrients. It’s perfect for a chilly evening and reheats beautifully.
Ingredients: 1.5 lbs boneless, skinless chicken thighs, 1 tbsp olive oil, 1 onion (chopped), 2 carrots (chopped), 2 celery stalks (chopped), 4 cloves garlic (minced), 6 cups chicken broth, 1 tsp dried thyme, 1/2 tsp salt, 1/4 tsp black pepper, 1 lb potatoes (cubed), 1 cup frozen peas.
Instructions: Brown chicken in Dutch oven. Add onion, carrots, and celery; cook until softened. Add garlic, broth, thyme, salt, and pepper. Bring to a boil, then reduce heat and simmer for 30 minutes. Add potatoes and cook for another 15 minutes. Stir in peas during the last 5 minutes.
Prep Time: 20 minutes, Cook Time: 45 minutes, Storage: Refrigerate for up to 4 days.
2. Lentil Soup
Hearty, healthy, and incredibly flavorful, this lentil soup is a vegetarian powerhouse.
Ingredients: 1 tbsp olive oil, 1 onion (chopped), 2 carrots (chopped), 2 celery stalks (chopped), 4 cloves garlic (minced), 1 cup brown lentils, 6 cups vegetable broth, 1 tsp cumin, 1/2 tsp turmeric, 1/4 tsp cayenne pepper, salt and pepper to taste.
Instructions: Sauté onion, carrots, and celery in Dutch oven. Add garlic and cook for 1 minute. Add lentils, broth, cumin, turmeric, and cayenne pepper. Bring to a boil, then reduce heat and simmer for 30-40 minutes, or until lentils are tender.
Prep Time: 15 minutes, Cook Time: 40 minutes, Storage: Refrigerate for up to 5 days.
Scaling recipes for bigger batches
A robust and filling soup, perfect for a cold day. The barley adds a wonderful texture.
Ingredients: 1 lb beef stew meat, 1 tbsp olive oil, 1 onion (chopped), 2 carrots (chopped), 2 celery stalks (chopped), 6 cups beef broth, 1/2 cup pearl barley, 1 tsp dried thyme, 1 bay leaf, salt and pepper to taste.
Instructions: Brown beef in Dutch oven. Add onion, carrots, and celery; cook until softened. Add broth, barley, thyme, and bay leaf. Bring to a boil, then reduce heat and simmer for 1.5-2 hours, or until beef is tender.
Prep Time: 20 minutes, Cook Time: 2 hours, Storage: Refrigerate for up to 4 days.
Troubleshooting Dutch oven meal prep
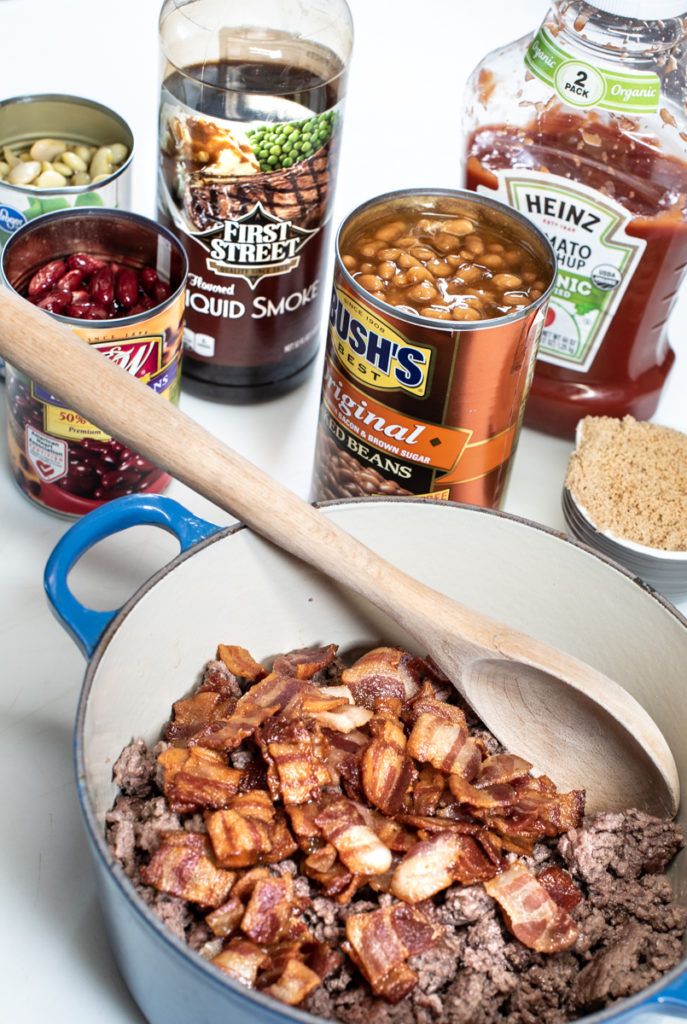
A versatile and satisfying chili that can be customized to your liking.
Ingredients: 1 lb ground beef, 1 onion (chopped), 2 cloves garlic (minced), 1 tbsp chili powder, 1 tsp cumin, 1/2 tsp smoked paprika, 1 (28 oz) can crushed tomatoes, 1 (15 oz) can kidney beans (drained and rinsed), 1 (15 oz) can black beans (drained and rinsed).
Instructions: Brown beef in Dutch oven. Add onion and garlic; cook until softened. Stir in chili powder, cumin, and smoked paprika. Add crushed tomatoes, kidney beans, and black beans. Bring to a boil, then reduce heat and simmer for 30 minutes.
Prep Time: 15 minutes, Cook Time: 30 minutes, Storage: Refrigerate for up to 5 days, or freeze for up to 3 months.
5. Pulled Pork
Slow-cooked to perfection, this pulled pork is incredibly tender and flavorful. It's great for sandwiches, tacos, or salads.
Ingredients: 3-4 lb pork shoulder, 1 tbsp olive oil, 1 onion (chopped), 2 cloves garlic (minced), 1 cup barbecue sauce, 1/4 cup apple cider vinegar, 1 tbsp brown sugar, 1 tsp smoked paprika.
Instructions: Sear pork shoulder in Dutch oven. Add onion and garlic; cook until softened. Add barbecue sauce, apple cider vinegar, brown sugar, and smoked paprika. Bring to a boil, then reduce heat and simmer for 3-4 hours, or until pork is fork-tender. Shred with two forks.
Prep Time: 20 minutes, Cook Time: 4 hours, Storage: Refrigerate for up to 4 days, or freeze for up to 3 months.
6. Moroccan Tagine
A fragrant and flavorful stew with tender meat and sweet dried fruit.
Ingredients: 1.5 lbs lamb shoulder (cubed), 1 tbsp olive oil, 1 onion (chopped), 2 cloves garlic (minced), 1 tsp ginger, 1 tsp cumin, 1/2 tsp turmeric, 1/4 tsp cinnamon, 1 (14.5 oz) can diced tomatoes, 1 cup chicken broth, 1/2 cup dried apricots, 1/4 cup raisins.
Instructions: Brown lamb in Dutch oven. Add onion and garlic; cook until softened. Add ginger, cumin, turmeric, and cinnamon. Add diced tomatoes and chicken broth. Bring to a boil, then reduce heat and simmer for 2-2.5 hours, or until lamb is tender. Stir in apricots and raisins during the last 30 minutes.
Prep Time: 20 minutes, Cook Time: 2.5 hours, Storage: Refrigerate for up to 4 days.
7. Sausage and White Bean Cassoulet
A hearty, rustic stew with Italian sausage and creamy white beans.
Ingredients: 1 lb Italian sausage (removed from casings), 1 onion (chopped), 2 cloves garlic (minced), 1 (28 oz) can crushed tomatoes, 2 (15 oz) cans cannellini beans (drained and rinsed), 1 cup chicken broth, 1 tsp dried thyme, 1/2 tsp red pepper flakes.
Instructions: Brown sausage in Dutch oven. Add onion and garlic; cook until softened. Add crushed tomatoes, cannellini beans, chicken broth, thyme, and red pepper flakes. Bring to a boil, then reduce heat and simmer for 45 minutes.
Prep Time: 15 minutes, Cook Time: 45 minutes, Storage: Refrigerate for up to 4 days.
8. Lemon Herb Roasted Chicken and Potatoes
A simple, flavorful roast chicken with crispy potatoes.
Ingredients: 1 whole chicken (about 3-4 lbs), 1 lb potatoes (quartered), 1 lemon (quartered), 2 sprigs rosemary, 2 sprigs thyme, 2 tbsp olive oil, salt and pepper to taste.
Instructions: Toss potatoes with olive oil, salt, and pepper. Place chicken on top of potatoes in Dutch oven. Stuff cavity with lemon quarters, rosemary, and thyme. Roast at 375°F (190°C) for 1.5-2 hours, or until chicken is cooked through.
Prep Time: 15 minutes, Cook Time: 2 hours, Storage: Refrigerate for up to 4 days.
9. Pasta e Fagioli
A classic Italian soup with pasta and beans.
Ingredients: 1 tbsp olive oil, 1 onion (chopped), 2 cloves garlic (minced), 1 (28 oz) can crushed tomatoes, 1 (15 oz) can kidney beans (drained and rinsed), 4 cups vegetable broth, 1/2 cup ditalini pasta, 1 tsp dried oregano, salt and pepper to taste.
Instructions: Sauté onion and garlic in Dutch oven. Add crushed tomatoes, kidney beans, and vegetable broth. Bring to a boil, then add pasta and oregano. Cook until pasta is tender.
Prep Time: 15 minutes, Cook Time: 20 minutes, Storage: Refrigerate for up to 3 days.
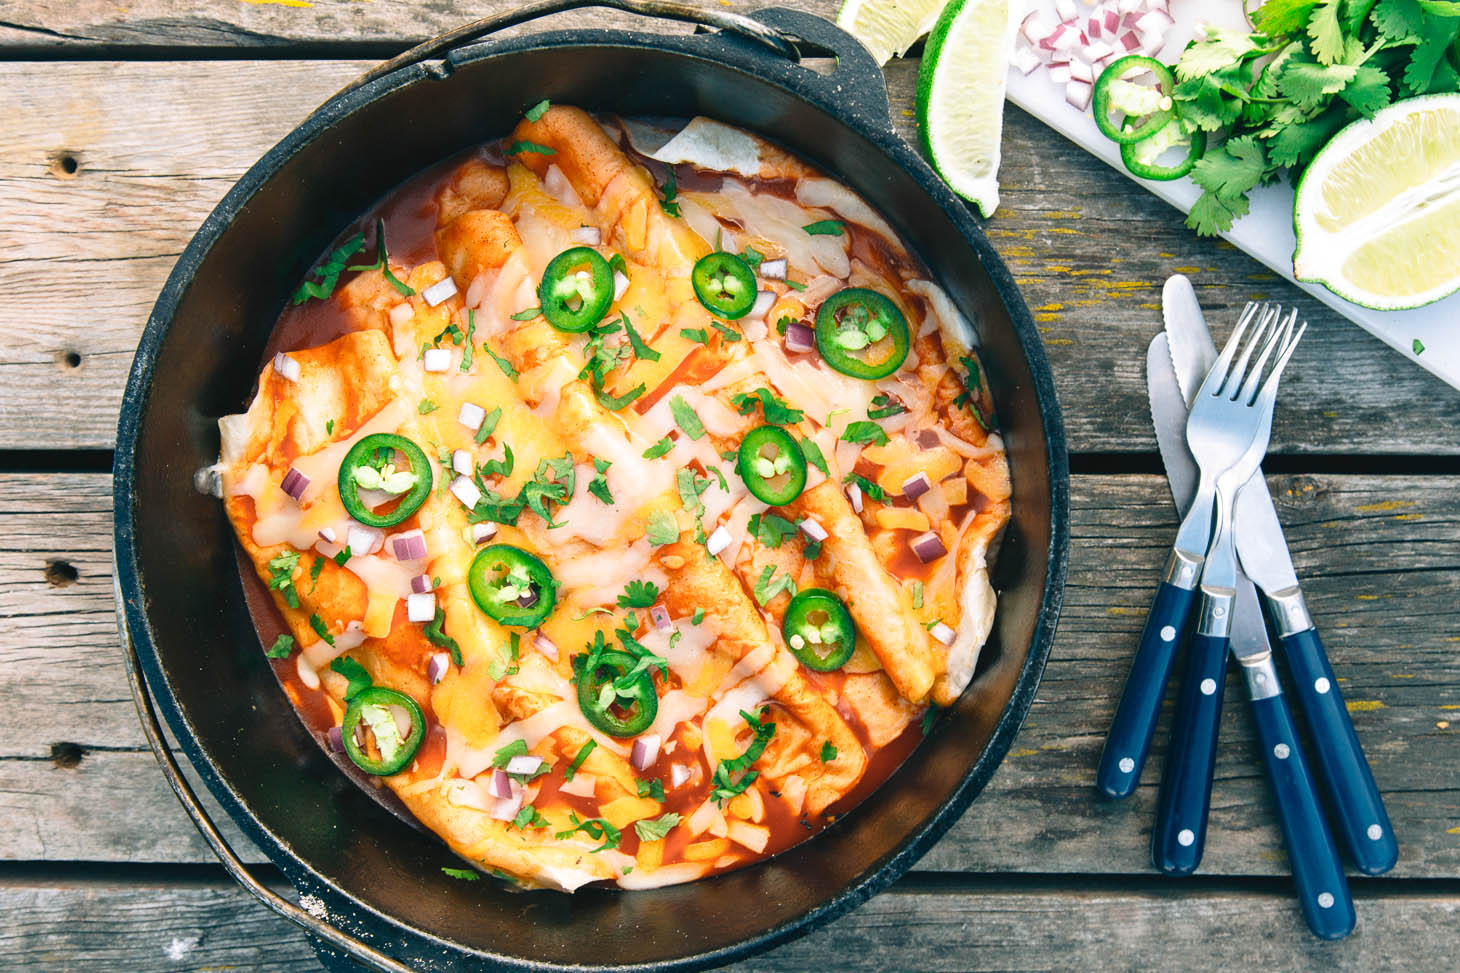
10. Vegetarian Curry
A flavorful and aromatic curry packed with vegetables.
Ingredients: 1 tbsp coconut oil, 1 onion (chopped), 2 cloves garlic (minced), 1 tbsp ginger (grated), 1 tbsp curry powder, 1/2 tsp turmeric, 1 (14.5 oz) can diced tomatoes, 1 (13.5 oz) can coconut milk, 1 cup chopped vegetables (e.g., cauliflower, broccoli, peas, carrots).
Instructions: Sauté onion, garlic, and ginger in Dutch oven. Add curry powder and turmeric; cook for 1 minute. Add diced tomatoes and coconut milk. Bring to a boil, then add vegetables. Simmer until vegetables are tender.
Prep Time: 20 minutes, Cook Time: 30 minutes, Storage: Refrigerate for up to 4 days.
Scaling Recipes for Larger Batches
Doubling or tripling a recipe is often straightforward, but there are a few things to keep in mind. For most recipes, you can simply multiply all the ingredients by the desired factor. However, be mindful of liquid levels. A larger volume of ingredients may require slightly more liquid to prevent sticking or drying out.
Overcrowding the Dutch oven can lead to uneven cooking. If you’re making a very large batch, it might be better to divide it between two Dutch ovens or cook in stages. Always ensure the internal temperature of the food reaches a safe level. Use a food thermometer to verify.
When storing large quantities of food, divide it into smaller, manageable containers. This helps with faster cooling and makes it easier to reheat only what you need. Label and date each container for easy identification.
Dutch Oven Meal Prep: Troubleshooting
Sometimes, even with careful planning, things don’t go quite as expected. If food is sticking, try adding a little more liquid or using a higher-quality Dutch oven with a well-seasoned surface. Uneven cooking can often be resolved by stirring the dish more frequently or reducing the heat.
Bland flavors can be rescued with a generous pinch of salt, a squeeze of lemon juice, or a dash of your favorite spice blend. If a recipe becomes too watery, simmer it uncovered for a while to allow some of the liquid to evaporate. Don’t be afraid to taste and adjust seasonings as needed.
If you accidentally overcook a dish, try pureeing it into a soup or sauce. If it’s undercooked, simply continue simmering it until it reaches the desired consistency. The beauty of Dutch oven cooking is its forgiving nature. A little experimentation can often turn a mistake into a happy accident.
- Food sticking: Add more liquid, use a well-seasoned Dutch oven.
- Uneven cooking: Stir more frequently, reduce heat.
- Bland flavors: Add salt, lemon juice, or spices.
- Too watery: Simmer uncovered.
- Overcooked: Puree into a soup or sauce.
- Undercooked: Continue simmering.
Flavor Boosters & Variations
Once you’ve mastered the basic recipes, feel free to get creative and experiment with different flavors. Spice blends are a great way to add complexity and depth. Try using Italian seasoning for a Mediterranean flair, or garam masala for an Indian-inspired twist.
Fresh herbs can also elevate your dishes. Parsley, cilantro, basil, and thyme are all excellent choices. A squeeze of lemon or lime juice can brighten up any meal. And don’t be afraid to experiment with different sauces, such as pesto, chimichurri, or sriracha.
To adapt recipes to different dietary needs, consider swapping proteins. For example, you can substitute tofu or tempeh for meat in the vegetarian curry. Use gluten-free pasta in the Pasta e Fagioli. And for a vegan version of the chili, omit the meat and use vegetable broth.
Think about toppings too! A dollop of Greek yogurt, a sprinkle of chopped nuts, or a handful of fresh herbs can add texture and flavor. The possibilities are endless. Don’t be afraid to make these recipes your own.
Dutch Oven Care After Meal Prep
Properly caring for your Dutch oven is essential for its longevity. Avoid using harsh soaps, as they can strip away the seasoning. Instead, wash it with warm water and a non-abrasive sponge. For stuck-on food, try simmering water in the Dutch oven for a few minutes to loosen the debris.
After washing, dry the Dutch oven thoroughly with a clean towel. Then, lightly coat the interior with a thin layer of oil. This helps to prevent rust and maintain the seasoning. If you notice any rust forming, scrub it away with steel wool and re-season the Dutch oven.
Avoid putting a hot Dutch oven into cold water, as this can cause it to crack. Allow it to cool down gradually before washing. With a little care and attention, your Dutch oven will last for generations. It’s an investment in your kitchen and your cooking.
- Wash with warm water and a non-abrasive sponge.
- Dry thoroughly with a clean towel.
- Coat with a thin layer of oil.
- Avoid harsh soaps and sudden temperature changes.
Recipe Standouts: My Weekly Rotation
From the ten recipes I’ve shared, there are a few that consistently make their way into my weekly meal prep routine. The Moroccan Tagine is a particular favorite. The combination of sweet dried fruit, tender lamb, and aromatic spices is just irresistible. It’s a dish that always feels special, even on a busy weeknight.
The Chili is another staple. It’s incredibly versatile – I’ve served it with cornbread, over rice, and even as a topping for nachos. It’s also a great way to use up leftover vegetables. And it freezes beautifully, so I always have a batch on hand for those extra-busy weeks.
Finally, the Lemon Herb Roasted Chicken and Potatoes is a go-to for its simplicity and flavor. It’s a complete meal in one pot, and the crispy potatoes are always a hit with my family. It reheats well, making it perfect for lunches throughout the week. These three recipes, for me, represent the best of Dutch oven meal prep: flavor, convenience, and versatility.
No comments yet. Be the first to share your thoughts!