
Dutch Ovens in 2026: What’s New?
The Dutch oven market feels surprisingly stable, which isn't to say it’s stagnant. We’re not seeing radical overhauls, but instead a refinement of existing technology and a growing awareness of what cooks actually need. For years, the focus was on matching the aesthetic of Le Creuset, but now more brands are prioritizing performance and addressing pain points like weight. This is good news for the home cook.
One of the biggest shifts I’ve observed is in the alloys used for cast iron. Manufacturers are experimenting with blends that reduce the overall weight of the pot without sacrificing heat retention. This is a major benefit for those of us who struggle with lifting a fully loaded 8-quart Dutch oven. We’re also seeing more attention to lid design – self-basting knobs are becoming standard, and some companies are offering lids that double as griddles.
Despite these innovations, the core appeal of the Dutch oven remains unchanged. It’s still a remarkably versatile tool, capable of everything from slow-braised stews to no-knead breads. The classic designs, the ones that have been around for generations, continue to be popular for a reason. They simply work. In 2026, it's less about finding the newest Dutch oven and more about finding the one that best suits your cooking style and needs.
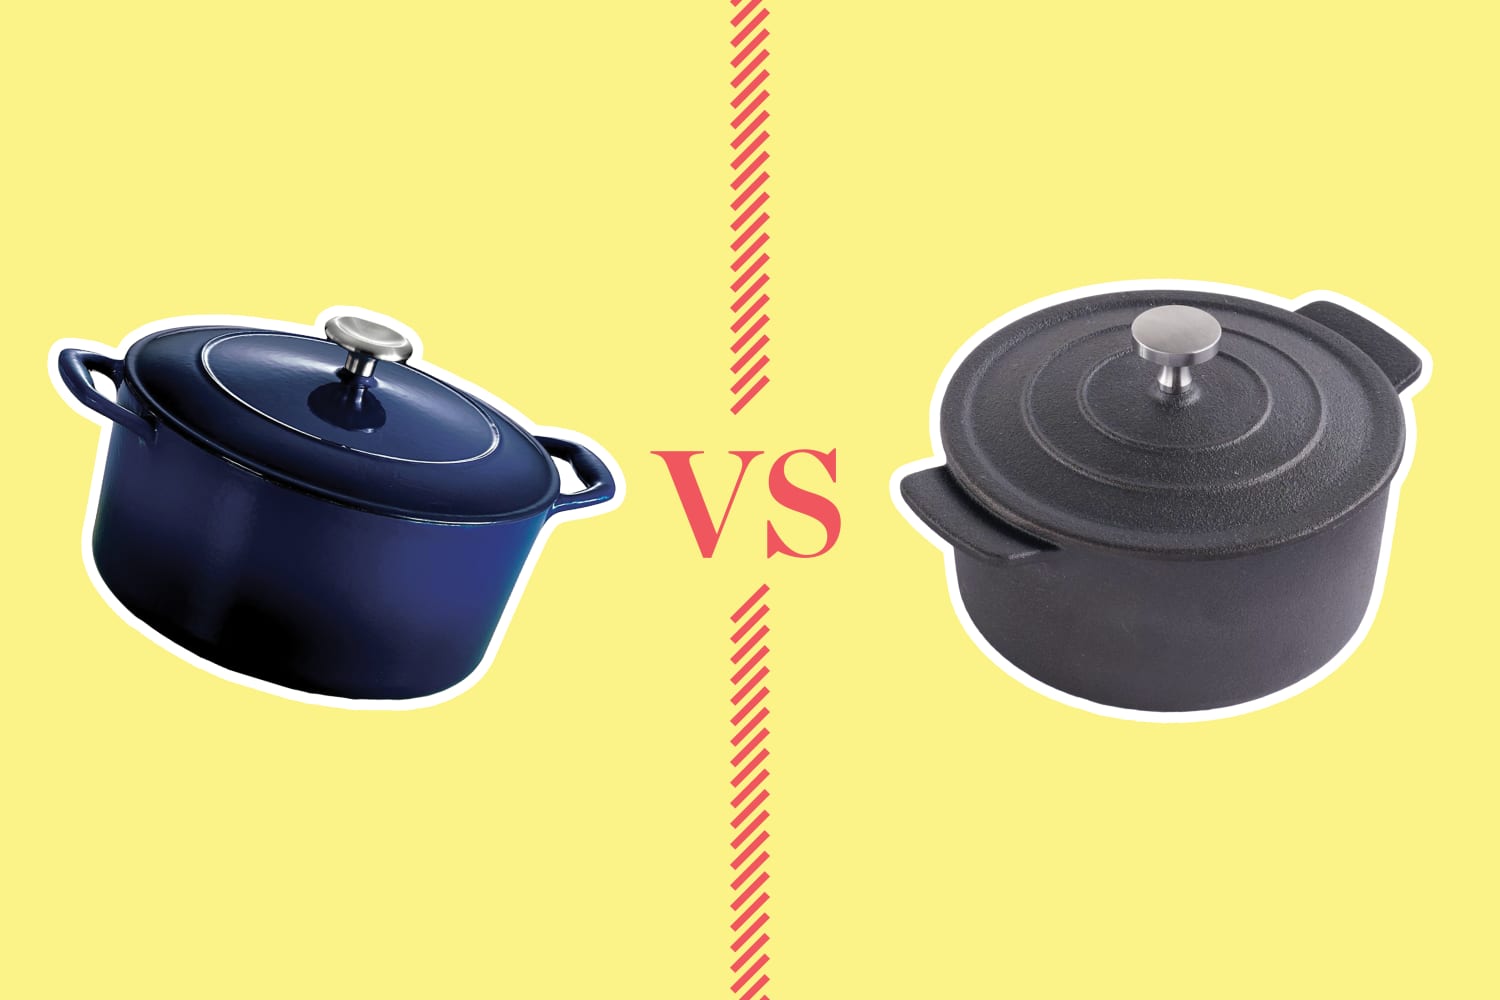
Materials: Cast Iron vs. Enameled
The first big decision when buying a Dutch oven is choosing between bare cast iron and enameled cast iron. Both have their strengths and weaknesses. Traditional cast iron, the kind pioneers relied on, requires seasoning – a process of baking oil into the pores of the metal to create a natural, non-stick surface. This takes time and effort, but the result is a durable, naturally non-stick cooking surface that improves with age.
Bare cast iron excels at heat retention, making it ideal for searing, frying, and maintaining consistent temperatures during slow cooking. It’s also generally more affordable than enameled options. However, it’s reactive, meaning acidic foods like tomatoes can impart a metallic taste and strip the seasoning. It also requires consistent maintenance to prevent rust.
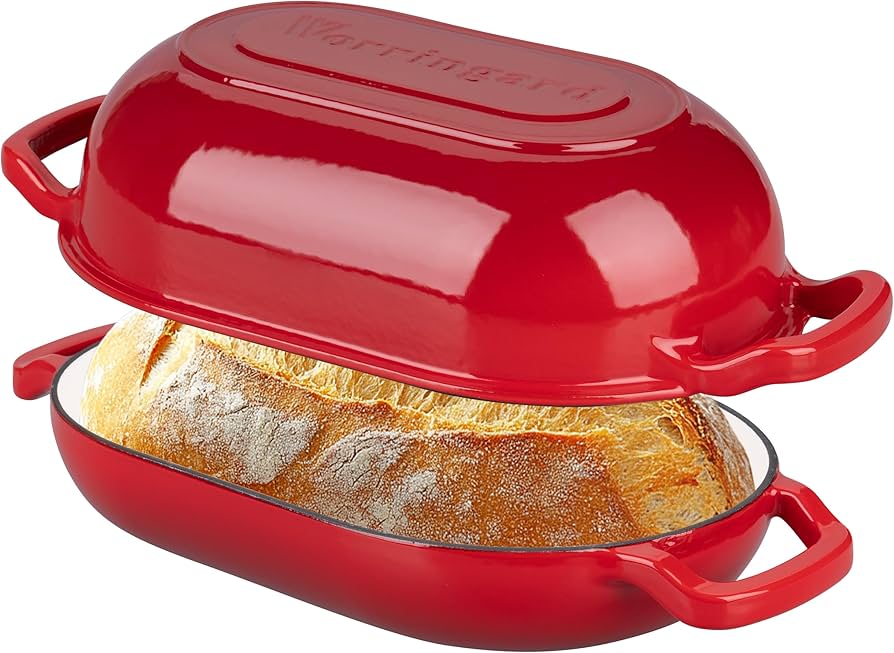
Enameled cast iron, on the other hand, offers convenience. The enamel coating eliminates the need for seasoning and makes cleaning a breeze. It’s non-reactive, so you can cook anything you like without worrying about flavors or damage to the pot. Plus, enameled Dutch ovens come in a wide array of colors, making them a beautiful addition to any kitchen.
The downside of enameled cast iron is that the enamel can chip or crack with rough handling or sudden temperature changes. It’s also typically more expensive than bare cast iron. While enamel is generally durable, it's not indestructible. It's important to be mindful of how you use and care for it. Ultimately, the best material depends on your lifestyle and how much effort you're willing to put into maintenance.
- Cast Iron Pros: Excellent heat retention, durable, affordable, naturally non-stick (when seasoned)
- Cast Iron Cons: Requires seasoning, reactive to acidic foods, prone to rust if not maintained
- Enameled Cast Iron Pros: No seasoning required, non-reactive, easy to clean, available in various colors
- Enameled Cast Iron Cons: Can chip or crack, generally more expensive
Cast Iron vs. Enameled Dutch Oven: A Comparison
| Feature | Cast Iron | Enameled Cast Iron |
|---|---|---|
| Price | Generally Lower | Generally Higher |
| Maintenance | High | Medium |
| Explanation of Maintenance | Requires regular seasoning to prevent rust and maintain non-stick properties. | Enameled surface reduces the need for seasoning, but chipping can occur. |
| Heat Retention | High | High |
| Explanation of Heat Retention | Cast iron excels at retaining heat, providing even cooking temperatures. | Enameled cast iron also retains heat very well, though some argue slightly less than bare cast iron. |
| Reactivity | Medium | Low |
| Explanation of Reactivity | Can react with acidic foods, potentially imparting a metallic taste and drawing iron into the food. | Enameled surface prevents reactivity with acidic ingredients. |
| Weight | High | High |
| Explanation of Weight | Both types are heavy due to the cast iron construction. | Weight is comparable, though some enameled versions may be slightly lighter depending on the enamel coating. |
| Durability | High | Medium |
| Explanation of Durability | Extremely durable if properly maintained; can last generations. | Susceptible to chipping or cracking of the enamel coating if mishandled. |
| Cleaning | Medium | High |
| Explanation of Cleaning | Handwashing recommended; avoid harsh soaps. Requires drying and re-seasoning if needed. | Often dishwasher safe (check manufacturer's instructions), easier to clean due to non-reactive surface. |
Illustrative comparison based on the article research brief. Verify current pricing, limits, and product details in the official docs before relying on it.
Size Matters: Choosing the Right Capacity
Dutch oven sizes typically range from 4-quart to 8-quart and beyond. Choosing the right size depends on how many people you’re cooking for and what you plan to make. A 4-quart Dutch oven is a great option for smaller households (1-2 people) or for cooking side dishes like mac and cheese or baked beans.
A 6-quart Dutch oven is the most versatile size for many home cooks. It's large enough to handle a 3-4 pound chicken or a decent-sized stew, but not so large that it’s unwieldy. It’s a good all-around choice if you’re unsure which size to get. This is the size I recommend most often to people just starting out.
An 8-quart or larger Dutch oven is ideal for large batch cooking, roasting a whole chicken or turkey, or making soups and stews for a crowd. However, these larger sizes can be quite heavy, even when empty. Consider your strength and storage space before opting for a larger size. Weight is a significant factor.
Don’t underestimate the value of having multiple Dutch ovens. I personally have a 5-quart for daily cooking and an 8-quart for special occasions. It allows me to tackle a wider range of recipes without being limited by size. Think about your typical cooking habits and choose a size that fits your needs.
Top 6 Dutch Ovens for 2026
Choosing the 'best' Dutch oven is subjective, but these six models consistently rank high in performance, durability, and value. I've tried to cover a range of price points and features to suit different needs. Let's start with Lodge.
Lodge (6-Quart): Lodge is a classic for a reason. Their cast iron Dutch ovens are incredibly durable and offer excellent heat retention. The 6-quart size is a sweet spot for versatility. It's pre-seasoned, making it ready to use right out of the box. However, it’s quite heavy and the seasoning isn't always perfect, requiring some initial seasoning work. Price: around $80. Pros: Affordable, durable, excellent heat retention. Cons: Heavy, seasoning can be uneven.
Staub (5.5-Quart): Staub Dutch ovens are known for their exceptional quality and beautiful design. They feature a textured interior that promotes even browning and prevents food from sticking. The self-basting lid helps to retain moisture during slow cooking. Staub is a significant investment, though. Price: around $400. Pros: Superior heat retention, self-basting lid, beautiful design. Cons: Expensive, heavy.
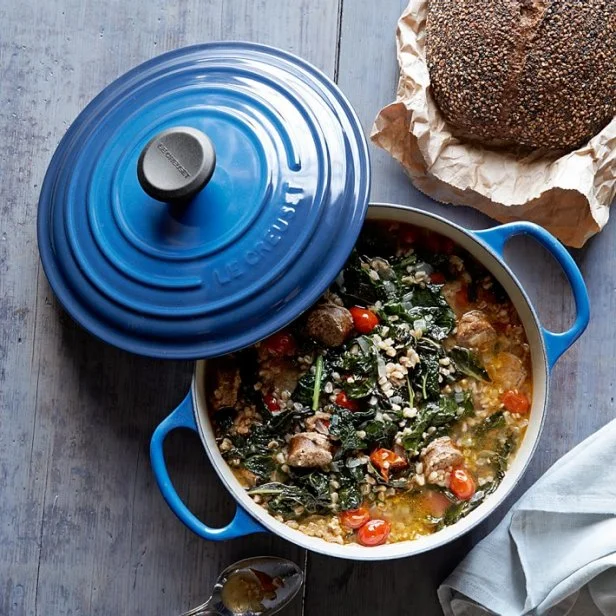
Le Creuset (5.5-Quart): Le Creuset is the benchmark for enameled cast iron Dutch ovens. Their pots are renowned for their durability, even heating, and vibrant colors. The enamel coating is resistant to chipping and scratching. Like Staub, it comes with a premium price tag. Price: around $380. Pros: Durable enamel, even heating, wide range of colors. Cons: Expensive, enamel can chip with misuse.
Great Jones (6.75-Quart): Great Jones offers a stylish and functional Dutch oven at a more accessible price point than Le Creuset or Staub. Their pots are made from enameled cast iron and come in a variety of modern colors. It’s a good option for those who want a quality enameled Dutch oven without breaking the bank. Price: around $160. Pros: Affordable, stylish design, good performance. Cons: Enamel quality not quite as high as Le Creuset or Staub.
Milo (6.5-Quart): Milo is a newer brand that’s quickly gaining popularity for its high-quality Dutch ovens at a competitive price. Their pots are made from enameled cast iron and are designed to be both beautiful and functional. They offer a lifetime warranty, which speaks to their confidence in their product. Price: around $200. Pros: Good value, durable enamel, lifetime warranty. Cons: Less brand recognition than established brands.
Beyond the Basics: Features to Consider
Once you’ve decided on the material and size, there are a few other features to consider. Lid design is important. Self-basting knobs create a condensation cycle, keeping food moist during slow cooking. Flat lids are more versatile and can be used as griddles. Handle design also matters. Loop handles are classic, but can be difficult to grip with oven mitts. Side handles offer a more secure grip.
Oven compatibility is a must-have for most cooks. Ensure the Dutch oven can withstand high oven temperatures without damage. Induction compatibility is important if you have an induction cooktop. Not all cast iron Dutch ovens are compatible with induction, so check the manufacturer’s specifications. Some lids are also designed for better heat circulation.
Warranty and customer support are often overlooked but can be crucial. A good warranty protects your investment in case of defects. Responsive customer support can be a lifesaver if you encounter any issues. Don’t be afraid to research a brand’s reputation for customer service before making a purchase. Price/performance is key: a more expensive pot isn't automatically better.
Care and Maintenance: Keeping Your Dutch Oven Happy
Proper care and maintenance will extend the life of your Dutch oven. For bare cast iron, seasoning is essential. After each use, clean the pot with warm water and a gentle scrub brush. Dry it thoroughly and apply a thin layer of oil. Heat the pot in the oven for an hour to bake in the oil and maintain the seasoning. Avoid using soap, as it can strip the seasoning.
Enameled cast iron is easier to care for. Simply wash it with warm water and a mild detergent. Avoid using abrasive cleaners or scouring pads, as they can damage the enamel. To prevent chipping, avoid dropping the pot or subjecting it to sudden temperature changes. Don’t use metal utensils that could scratch the enamel.
Rust is the enemy of bare cast iron. If rust appears, scrub it off with steel wool and re-season the pot. To prevent rust, always dry the pot thoroughly after washing and apply a thin layer of oil. Proper storage is also important. Store your Dutch oven in a dry place to prevent rust and damage.
Dutch Oven Standouts: Worth a Closer Look
While the six Dutch ovens mentioned earlier represent the best of the best, there are a few other options that deserve consideration depending on your specific needs. Amazon Basics offers a surprisingly capable enameled cast iron Dutch oven at a very affordable price point. It’s a great option for those on a tight budget.
Cuisinart also makes a solid enameled cast iron Dutch oven that consistently receives positive reviews. It’s a good middle-ground option between the more expensive brands like Le Creuset and Staub and the more affordable options like Great Jones. It’s a reliable performer without breaking the bank.
Finally, if weight is a major concern, consider a Dutch oven made with a lighter cast iron alloy. These pots offer many of the benefits of traditional cast iron without the added weight. They’re a good choice for those who struggle with lifting heavy pots.
No comments yet. Be the first to share your thoughts!