
Sourdough & Dutch Ovens: A Perfect Pairing
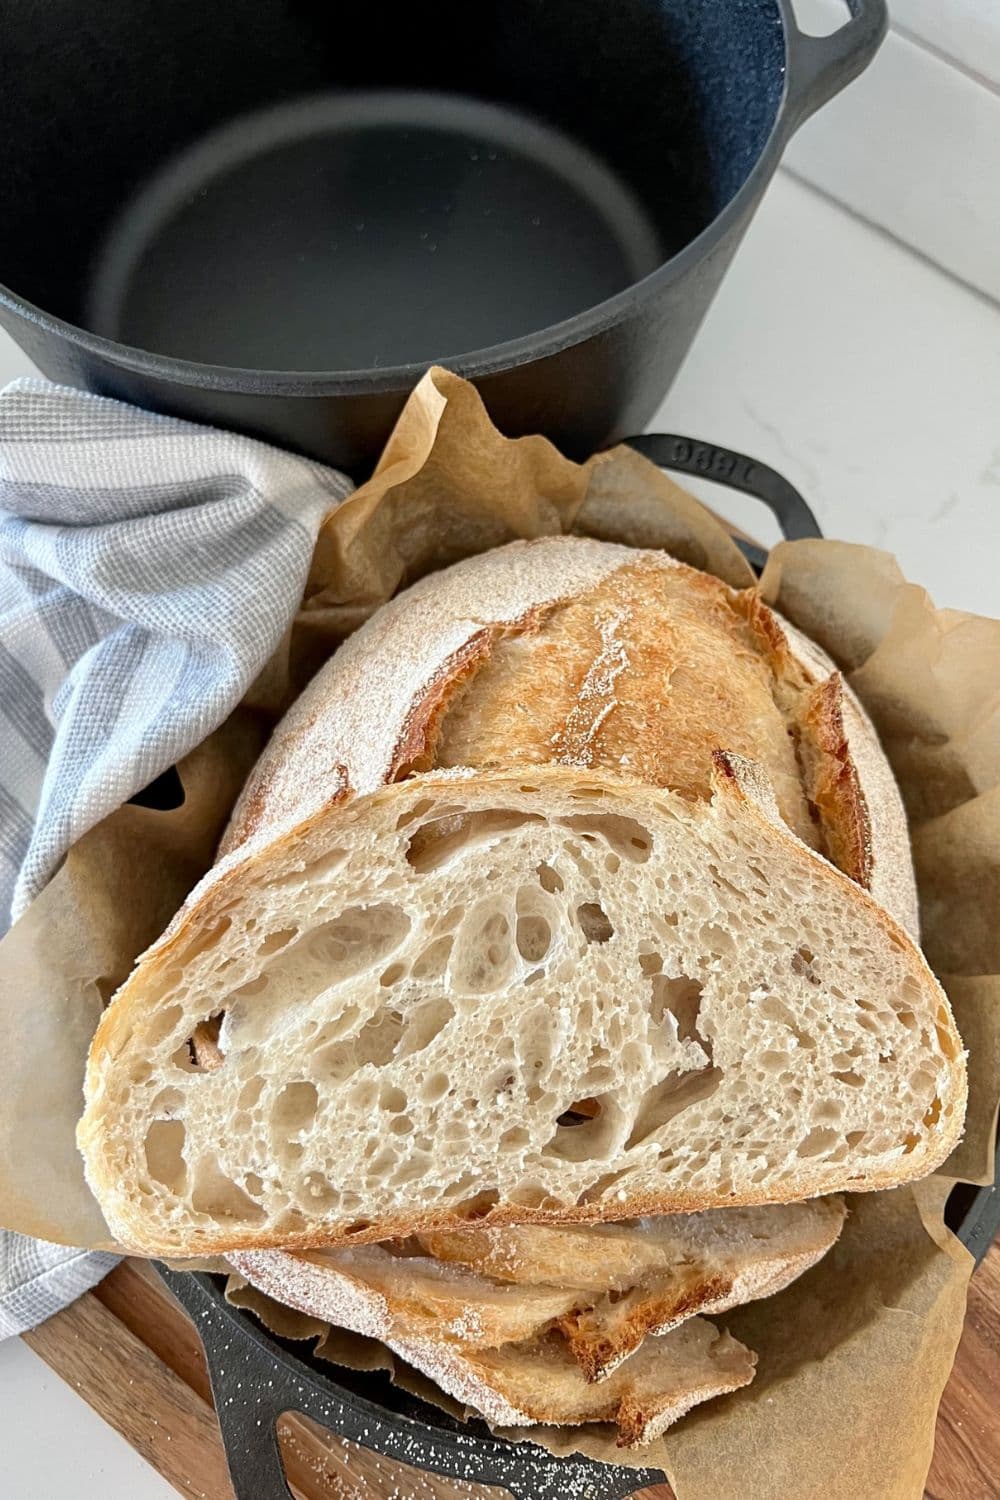
The Dutch oven is essential for sourdough. It mimics professional bread ovens by trapping steam, which is crucial for oven spring and a blistered crust.
Dutch ovens have a long history. Developed in the 17th century by Dutch metalworkers, these cast iron pots were used by pioneers for their versatility in baking, stewing, frying, and roasting.
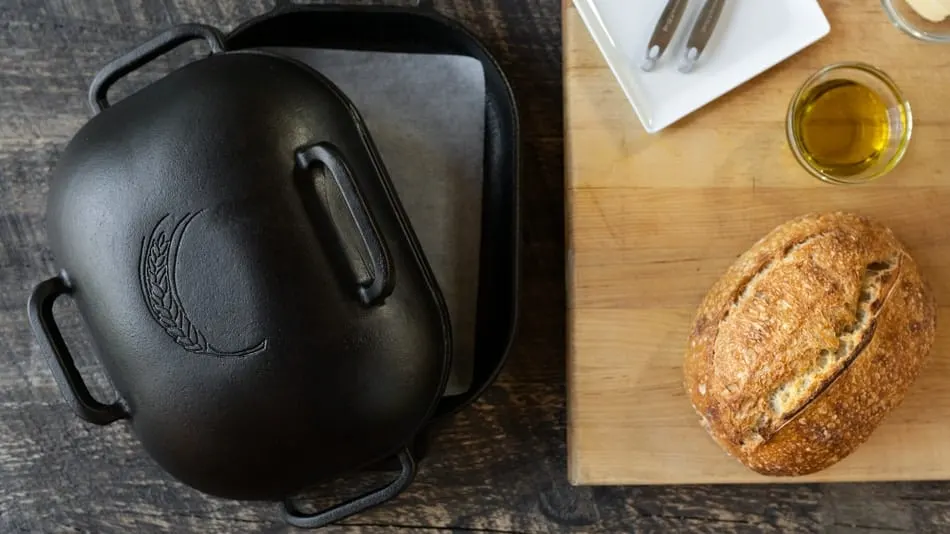
A Dutch oven's even heat distribution and steam retention make it ideal for sourdough. Cast iron holds heat consistently, while the lid traps steam. This allows the loaf to expand fully, creating a light interior and crisp exterior.
The enclosed environment acts like a mini-oven, beneficial for home bakers without professional equipment. A Dutch oven helps achieve bakery-quality sourdough at home.
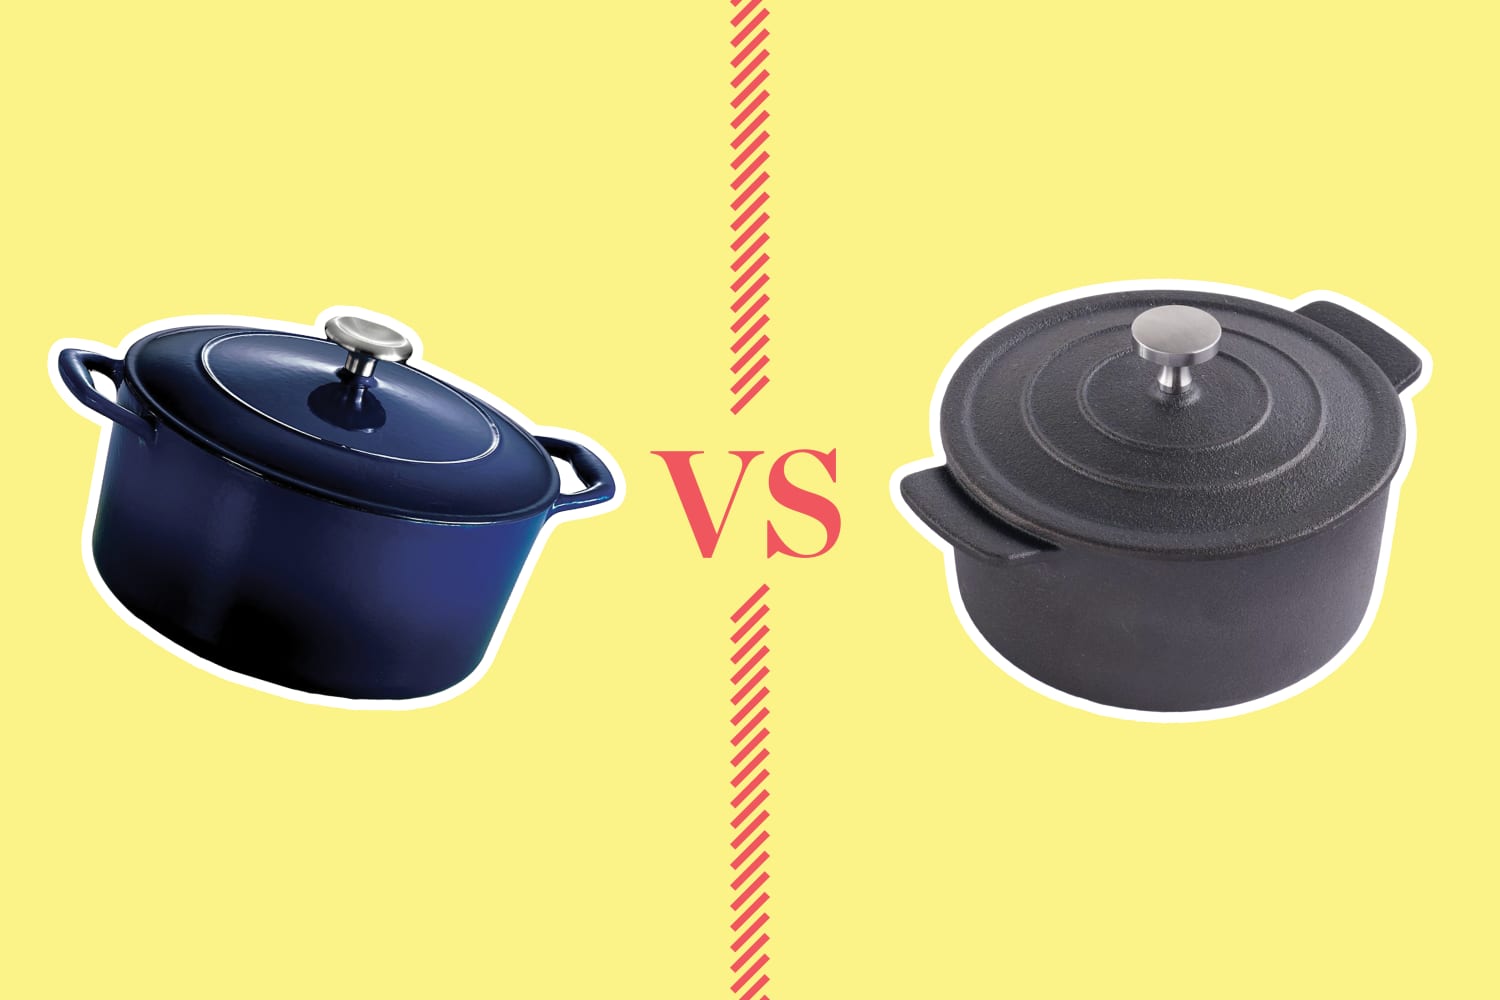
Cast Iron vs. Enameled: Which Wins?
Both cast iron and enameled Dutch ovens have pros and cons for sourdough. Traditional cast iron offers excellent heat retention and durability, lasting generations. However, it needs regular seasoning to prevent rust and can react with acidic doughs if not properly seasoned.
Enameled cast iron is more convenient, requiring no seasoning and resisting acidic ingredients. Cleaning is simpler, without worry of stripping seasoning. Enameled ovens are typically more expensive and the coating can chip. Some say they retain heat slightly less effectively than bare cast iron, though the difference is often small.
Seasoning cast iron isn't as difficult as many believe. Applying multiple thin coats of oil and baking at a high temperature creates a durable, non-stick surface.
Cast iron's reactivity with acidic doughs is manageable with proper seasoning. For frequent baking with highly acidic doughs, enameled cast iron may be better. The best material depends on personal preference and baking habits.
- Cast Iron Pros: Exceptional heat retention, incredibly durable, can last a lifetime, relatively affordable.
- Cast Iron Cons: Requires seasoning, prone to rust if not maintained, can react with acidic foods.
- Enameled Cast Iron Pros: No seasoning required, easy to clean, doesn’t react with acidic foods, wide range of colors.
- Enameled Cast Iron Cons: More expensive, enamel can chip, potentially slightly less heat retention than bare cast iron.
Dutch Oven Comparison for Sourdough Bread Baking
| Feature | Cast Iron Dutch Oven | Enameled Cast Iron Dutch Oven |
|---|---|---|
| Heat Retention | High | High |
| Cleaning Effort | Low | Medium |
| Reactivity | High | Low |
| Durability | High | Medium |
| Weight | High | Medium |
| Cost | Medium | High |
Illustrative comparison based on the article research brief. Verify current pricing, limits, and product details in the official docs before relying on it.
Top 6 Dutch Ovens for Sourdough (2026)
Finding the right Dutch oven for sourdough can be challenging. Here are six top contenders for 2026, based on testing and research, covering various price points and features. These models receive positive reviews and were available in late 2025.
1. Le Creuset 5.5-Quart Round Dutch Oven: This is the gold standard. Le Creuset is renowned for its quality and durability. The enamel coating is exceptionally resistant to chipping, and the heat distribution is superb. Sourdough Performance: Excellent oven spring and a beautifully browned crust. Pros: Exceptional quality, even heating, durable enamel. Cons: Very expensive (around $400). Capacity: 5.5 quarts. Weight: 12.5 lbs. Material: Enameled Cast Iron. Lid Type: Domed.
2. Staub 5.5-Quart Round Cocotte: A close competitor to Le Creuset, Staub offers similar quality and performance at a slightly lower price point. Their 'black matte' interior is particularly well-suited for baking, promoting even browning. Sourdough Performance: Consistently produces loaves with excellent crust and crumb. Pros: Excellent heat retention, durable enamel, slightly more affordable than Le Creuset. Cons: Still expensive (around $350). Capacity: 5.5 quarts. Weight: 13.2 lbs. Material: Enameled Cast Iron. Lid Type: Domed.
3. Lodge 6-Quart Cast Iron Dutch Oven: Lodge is the go-to brand for affordable, high-quality cast iron. This Dutch oven requires seasoning, but offers exceptional value for the price. Sourdough Performance: Provides excellent heat retention and produces a good crust, but requires a well-seasoned surface. Pros: Very affordable (around $80), durable, excellent heat retention. Cons: Requires seasoning, heavier than enameled options. Capacity: 6 quarts. Weight: 16.75 lbs. Material: Cast Iron. Lid Type: Flat.
4. Cuisinart 7-Quart Chef's Classic Enameled Cast Iron Dutch Oven: A solid mid-range option, offering a good balance of quality and price. The enamel coating is durable and easy to clean. Sourdough Performance: Performs well for larger loaves, but may not achieve the same level of crust crispness as Le Creuset or Staub. Pros: Affordable (around $150), durable enamel, large capacity. Cons: Heat retention isn't quite as good as premium brands. Capacity: 7 quarts. Weight: 13 lbs. Material: Enameled Cast Iron. Lid Type: Domed.
5. Great Jones 6-Quart Dutch Oven: A newer contender gaining popularity for its stylish design and solid performance. The enamel coating is durable and available in a variety of colors. Sourdough Performance: Produces consistently good results, with a crisp crust and airy crumb. Pros: Stylish design, durable enamel, good value. Cons: Not as widely available as other brands. Capacity: 6 quarts. Weight: 11.3 lbs. Material: Enameled Cast Iron. Lid Type: Domed.
6. Amazon Basics 6-Quart Enameled Cast Iron Dutch Oven: A budget-friendly option that offers surprisingly good performance for the price. While not as refined as premium brands, it’s a great starting point for beginners. Sourdough Performance: Capable of producing decent sourdough loaves, but may require some experimentation with baking times. Pros: Extremely affordable (around $60), easy to clean, decent capacity. Cons: Enamel quality isn’t as high as premium brands, heat retention is moderate. Capacity: 6 quarts. Weight: 12.1 lbs. Material: Enameled Cast Iron. Lid Type: Domed.
Capacity & Shape: Getting the Right Size
Dutch oven capacity affects sourdough baking. A 4-5 quart oven is good for smaller loaves (500-750g dough), creating a more concentrated steam environment. Larger 6-7 quart ovens suit bigger loaves (over 800g) or batch baking.
Round Dutch ovens are common and offer even heat distribution. Oval ovens are better for longer loaves like baguettes, allowing lengthwise expansion. A wider Dutch oven, round or oval, provides more room for dough to rise upwards.
Choose capacity based on loaf size and baking frequency. A 5-quart oven is suitable for smaller loaves for a family of two or three. For larger loaves or experimentation, a 6- or 7-quart oven is a better choice.
Lid Types: Flat vs. Domed
Lid shape impacts baking. Flat lids trap more steam for a crispier crust but offer less headspace, potentially hindering rise. Domed lids provide more headspace for greater oven spring.
Cast iron lids retain heat well for consistent temperatures. Glass lids allow monitoring without releasing steam but retain heat less effectively. A domed lid is often preferred for prioritizing oven spring over extreme crust crispness.
Choose a flat lid for a super-crispy crust if you don't mind limiting rise. Opt for a domed lid to prioritize oven spring and a lighter crumb.
Beyond the Bake: Dutch Oven Care & Maintenance
Proper care extends Dutch oven life. For cast iron, seasoning is key. After use, clean with hot water and a soft sponge, dry thoroughly, and apply a thin coat of oil (flaxseed, grapeseed, or canola). Bake upside down at 350°F (175°C) for an hour to reinforce seasoning.
Rust damages cast iron. Scrub rust with steel wool and re-season. Prevent rust by ensuring the Dutch oven is completely dry before storing. Enameled Dutch ovens are simpler to clean: use hot water, soap, and a soft sponge, avoiding abrasive cleaners that can damage the enamel.
Store Dutch ovens in a dry place. To prevent enamel chipping in enameled ovens when stacking, place a paper towel or cloth between surfaces. Regular maintenance ensures years of reliable performance.
Troubleshooting: Enamel chipping can sometimes be repaired, but significant damage may require replacement. Rust on cast iron needs scrubbing and re-seasoning. Sticky residue can be removed by simmering water with baking soda.
- Seasoning Cast Iron: Clean, dry, apply thin coat of oil, bake upside down at 350°F for 1 hour.
- Cleaning Enameled Dutch Ovens: Hot water, soap, soft sponge. Avoid abrasive cleaners.
- Rust Removal (Cast Iron): Scrub with steel wool, re-season.
- Preventing Rust (Cast Iron): Ensure complete dryness before storing.
Sourdough Recipes to Test Your Dutch Oven
nulls.com, focusing on simplicity and flavor.
Basic Country Sourdough: Ingredients: 500g bread flour, 350g water, 100g sourdough starter, 10g salt. Instructions: Combine all ingredients, autolyse for 30 minutes, bulk ferment for 4-6 hours with folds, shape, proof in the refrigerator overnight, bake in a preheated Dutch oven at 450°F (230°C) for 20 minutes covered, then 25 minutes uncovered.
Seeded Sourdough: Ingredients: Same as basic recipe, plus 50g mixed seeds (sunflower, pumpkin, flax). Instructions: Add seeds during the bulk fermentation stage. Follow the same baking instructions as the basic recipe. The seeds add texture and flavor.
These recipes are starting points—feel free to experiment with different flours, hydration levels, and additions. The key is to understand how your Dutch oven behaves and adjust the baking time accordingly. Don't be afraid to make mistakes, that's how you learn!
Dutch Oven Standouts: Worth a Closer Look
From the six Dutch ovens discussed, a few stand out as particularly exceptional or offering unique value. The Lodge 6-Quart Cast Iron Dutch Oven is a clear winner for budget-conscious bakers. It delivers excellent performance at a fraction of the cost of premium brands, and with proper seasoning, it will last a lifetime.
The Great Jones 6-Quart Dutch Oven is another standout. Its stylish design and durable enamel coating make it a visually appealing and functional addition to any kitchen. It offers a good balance of quality and price, making it a great choice for both beginners and experienced bakers.
Finally, the Le Creuset 5.5-Quart Round Dutch Oven remains the gold standard. While expensive, its exceptional quality, even heating, and durability justify the investment for serious sourdough enthusiasts. It's a piece of cookware that will be passed down through generations.

No comments yet. Be the first to share your thoughts!