
Why you need a heavy pot for bread
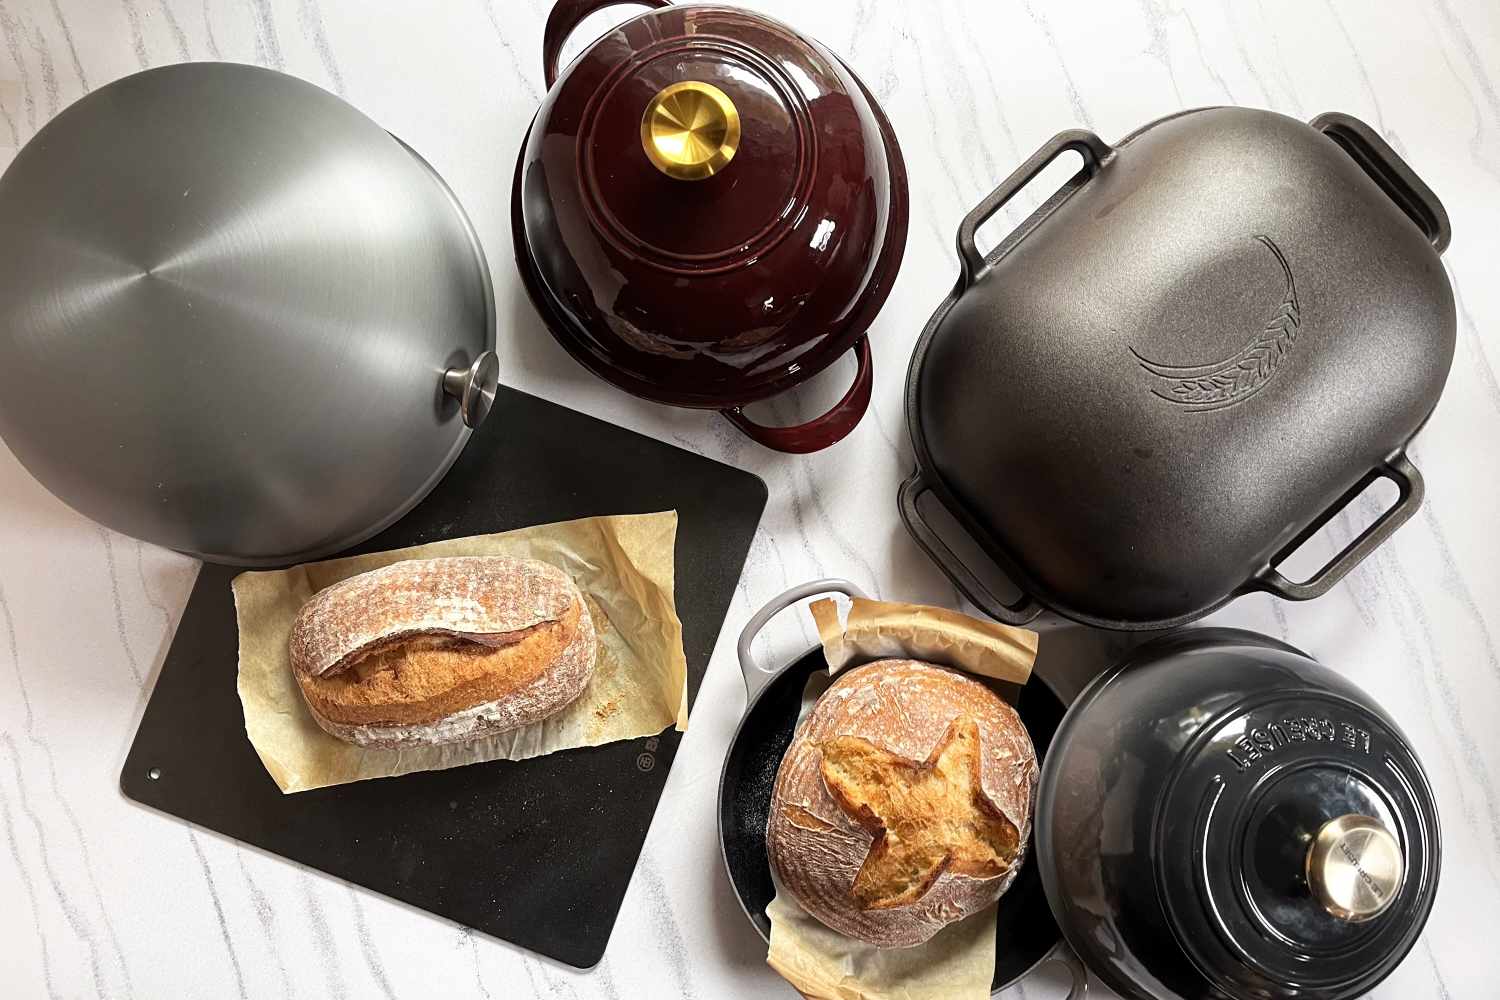
If you want to bake great sourdough at home, you need a Dutch oven. It traps steam to give the bread a thin, crispy crust and helps the dough expand fully before it sets. These heavy pots have been around for centuries—Utah State University Extension notes they were staples for pioneers—and they remain the best tool for the job today.
But it’s not just nostalgia that makes them ideal. The thick walls of a Dutch oven provide incredible heat retention, ensuring consistent temperatures throughout the baking process. This is critical for sourdough, which requires a sustained, even heat to develop its full flavor and structure. More importantly, that tight-fitting lid traps steam. This steam initially prevents the crust from forming too quickly, allowing the loaf to fully expand – that’s what gives sourdough its signature "oven spring."
The science behind this is pretty straightforward. Steam slows down the starch gelatinization process, giving the dough more time to rise. It also keeps the surface of the dough moist, preventing a tough, leathery crust. Without that initial steam, you’ll likely end up with a dense, pale loaf. While Dutch ovens excel at bread baking, their versatility shouldn't be overlooked. From hearty stews and slow-roasted meats to even desserts, a Dutch oven is a true workhorse in the kitchen.
Investing in a good Dutch oven isn’t just about making better sourdough; it’s about investing in a piece of cooking equipment that will last for generations and open up a world of culinary possibilities. It's a significant purchase, yes, but the results – a truly exceptional loaf of bread – are well worth it. It’s a connection to a long tradition of baking, and a way to consistently create something truly special.
What to look for in a bread pot
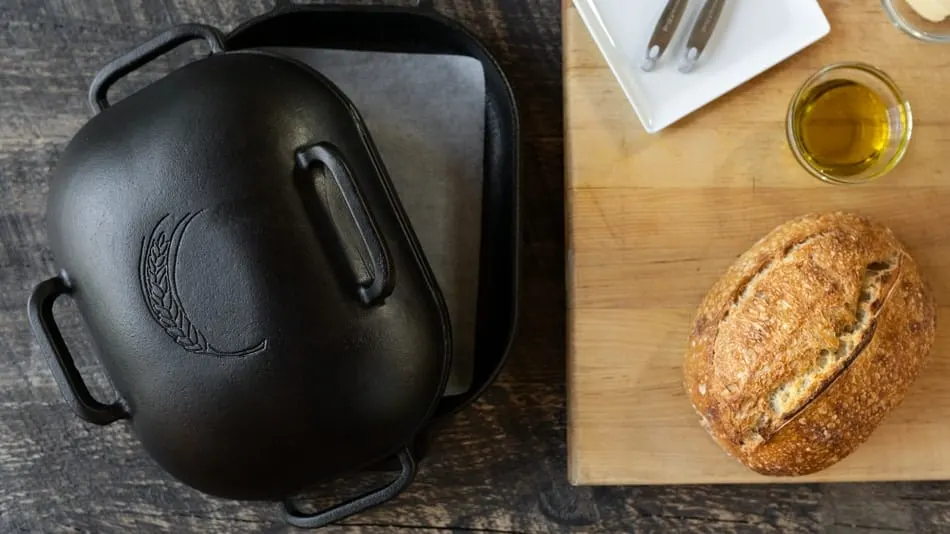
Choosing the right Dutch oven for sourdough requires considering several key features. It’s not about getting the most expensive one; it’s about finding the one that best suits your needs and baking style. Material is the first big decision: cast iron versus enameled cast iron. Bare cast iron offers superior heat retention, but requires regular seasoning to prevent rust and sticking. Enameled cast iron is easier to clean and doesn’t require seasoning, but it might not hold heat quite as effectively.
Shape also matters. Round Dutch ovens are the most common and work well for boules, the classic round sourdough loaf. Oval Dutch ovens are better suited for baguettes or longer loaves, but they may not heat as evenly. Size is another crucial factor. A 5-quart Dutch oven is a good starting point for most home bakers, comfortably accommodating a standard-sized loaf. Larger ovens are available for baking bigger loaves or multiple smaller ones.
The fit of the lid is absolutely critical. A tight-fitting lid is essential for trapping steam and creating the humid environment needed for a good rise and crust. Look for a lid that seals snugly against the pot. The knob on the lid is often overlooked, but it’s important to choose one made of a heat-resistant material like metal or wood. Plastic knobs can melt at high baking temperatures.
Don’t underestimate the weight of the Dutch oven. A heavier Dutch oven will retain heat better, but it can also be more difficult to handle. Consider your own strength and mobility when choosing a size and material. The weight contributes to thermal mass, meaning it takes more energy to change its temperature. This stability is incredibly valuable during the temperature fluctuations of the baking process.
- Material: Cast Iron (heat retention, requires seasoning) vs. Enameled Cast Iron (easy clean, less seasoning)
- Shape: Round (boules) vs. Oval (baguettes)
- Size: 5-quart (standard), larger for bigger loaves
- Lid Fit: Tight-fitting for steam retention
- Knob Material: Heat-resistant (metal, wood)
The best Dutch ovens for 2026
Finding the 'best' Dutch oven is subjective, but here are seven standouts for sourdough baking in 2026, covering a range of prices and features. It’s important to note that availability and pricing can change, but these represent excellent options based on current trends and performance.
1. Le Creuset 5.5-Quart Round Dutch Oven: (Enameled Cast Iron, $350-450) Le Creuset remains a top contender. The even heat distribution and beautiful enamel finish make it a pleasure to use. The lid's self-basting ridges help to recirculate moisture, creating a superb crust. It's expensive, but built to last a lifetime.
2. Staub 5.5-Quart Round Dutch Oven: (Enameled Cast Iron, $300-400) Staub is a close competitor to Le Creuset, known for its textured interior that promotes better browning. The lid is also designed to trap and return moisture, resulting in a consistently excellent loaf. The black matte interior is particularly appealing.
3. Lodge 6-Quart Enameled Cast Iron Dutch Oven: (Enameled Cast Iron, $100-150) Lodge offers a fantastic value for the price. While not as refined as Le Creuset or Staub, it performs admirably and is a great entry point for sourdough bakers. The enamel is durable and easy to clean.
4. Lodge 5-Quart Cast Iron Dutch Oven: (Bare Cast Iron, $70-100) For those willing to put in the work of seasoning and maintaining bare cast iron, the Lodge 5-quart is a classic. It boasts exceptional heat retention and is incredibly durable. The price is unbeatable.
5. Cuisinart 7-Quart Cast Iron Dutch Oven: (Bare Cast Iron, $80-120) Cuisinart provides a larger capacity option for bakers who want to bake bigger loaves or multiple loaves at once. It's a solid performer, but the seasoning process will be more involved due to the larger surface area.
6. Amazon Basics 6-Quart Enameled Cast Iron Dutch Oven: (Enameled Cast Iron, $60-80) A surprisingly capable option for the price. It's not as durable or refined as higher-end models, but it gets the job done and is a great choice for beginners. Expect the enamel to be less chip-resistant.
7. Great Jones 6-Quart Dutch Oven: (Enameled Cast Iron, $150-200) Great Jones has gained popularity for its stylish designs and solid performance. The Dutch oven heats evenly and is easy to clean. It's a good mid-range option that offers a balance of quality and price.
Best Dutch Ovens for Sourdough Bread - 2026
| Brand | Model | Material | Capacity (Quarts) | Approximate Price | Sourdough Score (1-5 Stars) |
|---|---|---|---|---|---|
| Lodge | L8DCH3 | Cast Iron | 6 | Around $80 - $120 | 4 Stars |
| Le Creuset | Round Dutch Oven | Enameled Cast Iron | 5.5 | Around $300 - $450 | 5 Stars |
| Staub | Round Cocotte | Enameled Cast Iron | 5.5 | Around $350 - $500 | 5 Stars |
| Cuisinart | Chef's Classic Enameled Cast Iron Dutch Oven | Enameled Cast Iron | 7 | Around $100 - $200 | 3.5 Stars |
| Amazon Basics | 8-Quart Dutch Oven | Cast Iron | 8 | Around $50 - $80 | 3 Stars |
| Tramontina | Enameled Cast Iron Dutch Oven | Enameled Cast Iron | 6.5 | Around $120 - $180 | 4 Stars |
| Great Jones | Dutch Baby | Enameled Cast Iron | 6.75 | Around $160 - $220 | 4.5 Stars |
Illustrative comparison based on the article research brief. Verify current pricing, limits, and product details in the official docs before relying on it.
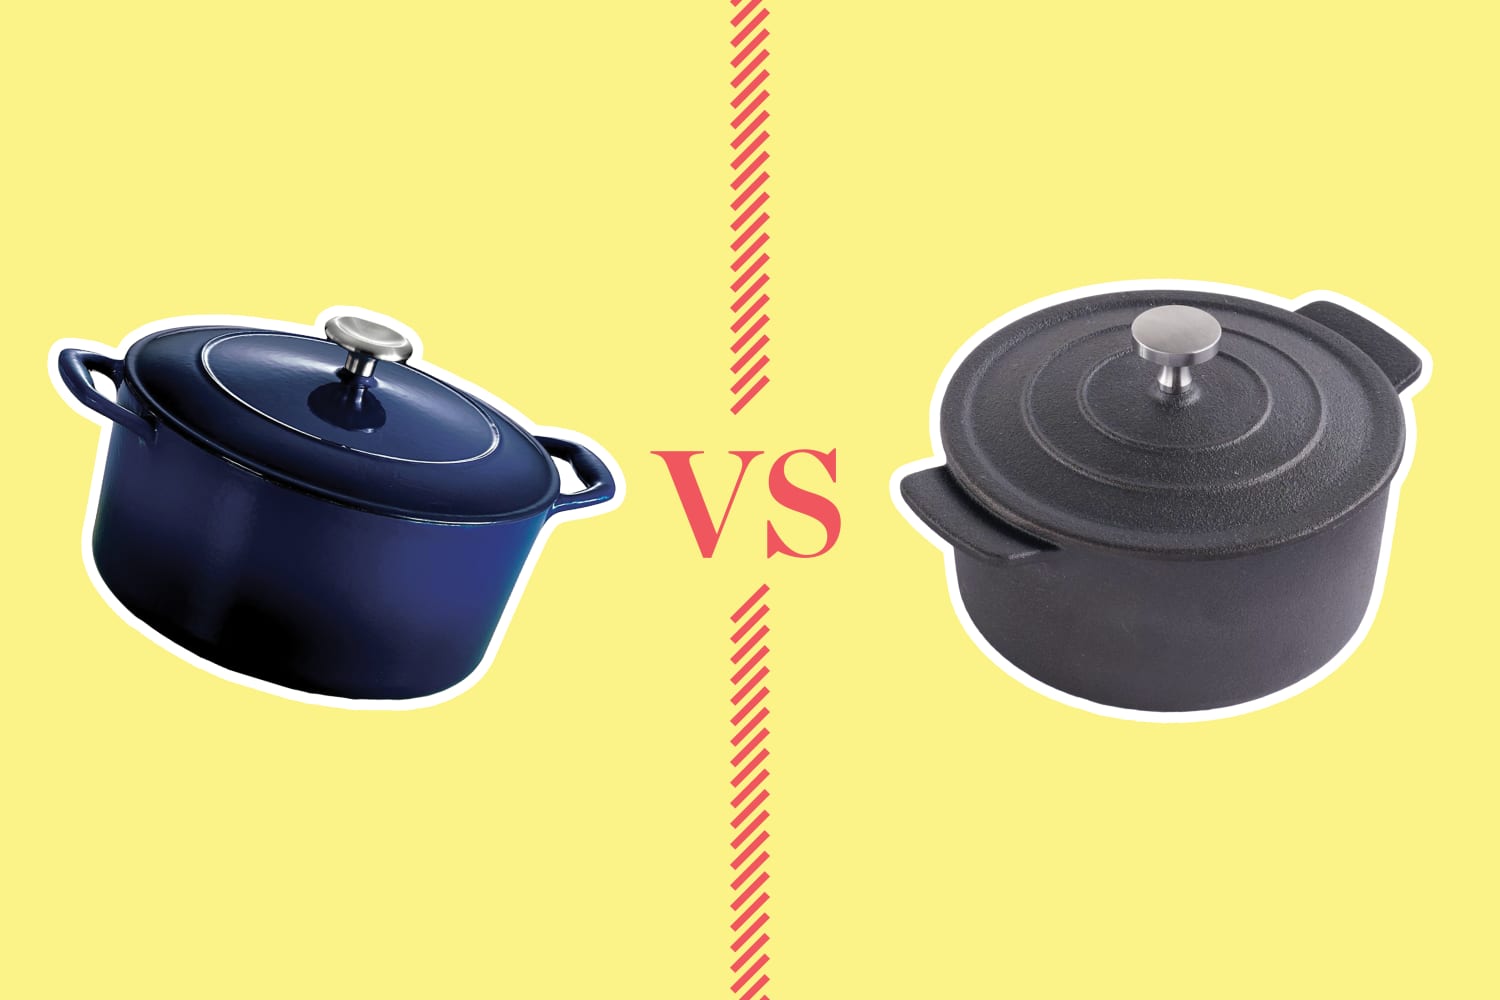
Enameled vs. Bare Cast Iron: Which Wins?
The age-old debate: enameled versus bare cast iron. For sourdough, the answer isn’t clear-cut. Bare cast iron requires seasoning – applying layers of oil and baking them onto the surface to create a non-stick coating. This process takes time and effort, but it results in a naturally non-stick surface and superior heat retention. However, the acidity of sourdough can potentially react with the iron, imparting a metallic taste, though this is generally minimal with a well-seasoned pot.
Enameled cast iron eliminates the need for seasoning and is much easier to clean. Food simply wipes away. However, enamel can chip over time, especially if subjected to sudden temperature changes or harsh impacts. Preventing chips involves avoiding metal utensils, using low to medium heat, and allowing the Dutch oven to cool completely before washing.
Heat retention is marginally better with bare cast iron, but the difference is often negligible for most home bakers. The ease of cleaning and maintenance typically sway people towards enameled cast iron. It really comes down to personal preference and how much effort you’re willing to put into maintenance. If you value convenience and ease of use, enameled is the way to go. If you prioritize maximum heat retention and don’t mind the upkeep, bare cast iron is a solid choice.
Don't obsess over enamel chipping. While it happens if you drop the pot or use metal spoons, a few small chips on the outside won't ruin your bread. If the enamel chips on the inside cooking surface, I'd stop using it for stews, but it still works fine for bread if you use parchment paper.
Beyond the Oven: Essential Accessories
A Dutch oven is a fantastic starting point, but a few accessories can significantly enhance your sourdough baking experience. Dutch oven liners, such as parchment paper rounds or silicone mats, are incredibly helpful for easy loaf removal. They prevent the loaf from sticking and make cleanup a breeze.
A dough scraper is essential for handling sticky sourdough dough. It allows you to easily lift and transfer the dough without it sticking to your hands or the work surface. High-heat oven mitts are crucial for safely handling the hot Dutch oven. Look for mitts that are rated for temperatures up to 500°F or higher.
Finally, a lame is a specialized tool for scoring the dough. Scoring allows the loaf to expand properly during baking and creates those beautiful artisan patterns. A sharp lame makes clean, precise cuts. While a sharp knife can work in a pinch, a lame provides greater control and precision.
- Dutch Oven Liners: Parchment paper or silicone mats for easy removal.
- Dough Scraper: For handling sticky dough.
- Oven Mitts: High heat resistance is essential.
- Lame: For scoring the dough.
Essential Sourdough Tools
- Dutch Oven Liner - Silicone liners (like those from Nordic Ware) protect your enamel and make cleanup a breeze, especially after sticky sourdough bakes.
- Dough Scraper - A flexible bench scraper (OXO Good Grips is a popular choice) is invaluable for handling sticky sourdough and cleaning your work surface.
- Oven Mitts - High-heat silicone oven mitts (like those offered by Kutsal) are crucial for safely handling the scorching hot Dutch oven.
- Lame - A lame (often from brands like Bread Art) is a razor blade holder used for scoring the dough, controlling expansion and creating beautiful designs.
- Kitchen Scale - Accurate measurements are key in sourdough. A digital kitchen scale (Escali Primo is well-regarded) ensures consistent results.
- Banneton Basket - A proofing basket (available from brands like Proofing Co.) helps the dough hold its shape during the final rise, creating a lovely pattern.
- Parchment Paper - Using parchment paper rounds (King Arthur Baking Company sells pre-cut rounds) under your dough makes transferring it to the hot Dutch oven much easier.
Troubleshooting Common Sourdough Issues
Even with the best Dutch oven and accessories, you might encounter problems. Flat loaves are often caused by insufficient steam or an oven temperature that’s too low. Ensure your lid is sealing tightly and that your oven is properly calibrated. Burnt bottoms can result from an oven temperature that’s too high or a Dutch oven that’s too thin. Try lowering the temperature or using a thicker Dutch oven.
Stuck loaves are usually due to insufficient liner or inadequate cooling time. Always use a liner and allow the loaf to cool completely before attempting to remove it. Uneven baking can be caused by uneven oven temperature. Using an oven thermometer to verify the temperature throughout the oven can help identify and address this issue.
Oven calibration is often overlooked but is incredibly important. Ovens can drift out of calibration over time, leading to inaccurate temperatures. A simple oven thermometer can reveal discrepancies and allow you to adjust the temperature accordingly. Don’t rely solely on the oven’s built-in thermostat.
Remember that sourdough baking is a process, and it takes practice to perfect. Don’t be discouraged by initial failures. Learning from your mistakes and making adjustments is part of the journey.
Dutch Oven Care and Maintenance
Proper care and maintenance will ensure your Dutch oven lasts a lifetime. For enameled cast iron, avoid harsh detergents and abrasive cleaners. Simply wash with warm soapy water and a soft sponge. For bare cast iron, avoid soap altogether, as it can strip away the seasoning. Instead, scrub with a stiff brush and hot water.
After washing bare cast iron, dry it thoroughly and apply a thin coat of oil to prevent rust. Store the Dutch oven in a dry place. If rust does develop, scrub it off with steel wool and re-season the pot. For enameled cast iron, be careful not to chip the enamel. Avoid dropping the pot or subjecting it to sudden temperature changes.
If enamel does chip, it’s generally safe to continue using the Dutch oven, but avoid using it for acidic foods, as the exposed cast iron can react. Regular maintenance is key to preventing rust and maintaining the seasoning on bare cast iron. A little care goes a long way in preserving this valuable piece of cookware.
No comments yet. Be the first to share your thoughts!