
Dutch Oven Dinners: Why One Pot?
Weeknights can feel like a race against the clock. Between work, school, and activities, preparing a good meal often seems like a huge challenge.
The main advantage of a one-pot meal is less cleanup. Fewer dishes mean more time for family. Beyond convenience, cooking in a Dutch oven develops deep flavor. The even heating of cast iron, combined with the ability to sear, simmer, and braise in the same pot, creates rich flavors.
Dutch ovens are incredibly versatile. They can be used on the stovetop, in the oven, and even over a campfire. While an investment, they provide delicious meals and simplified cooking for years. A well-cared-for Dutch oven is a kitchen staple.
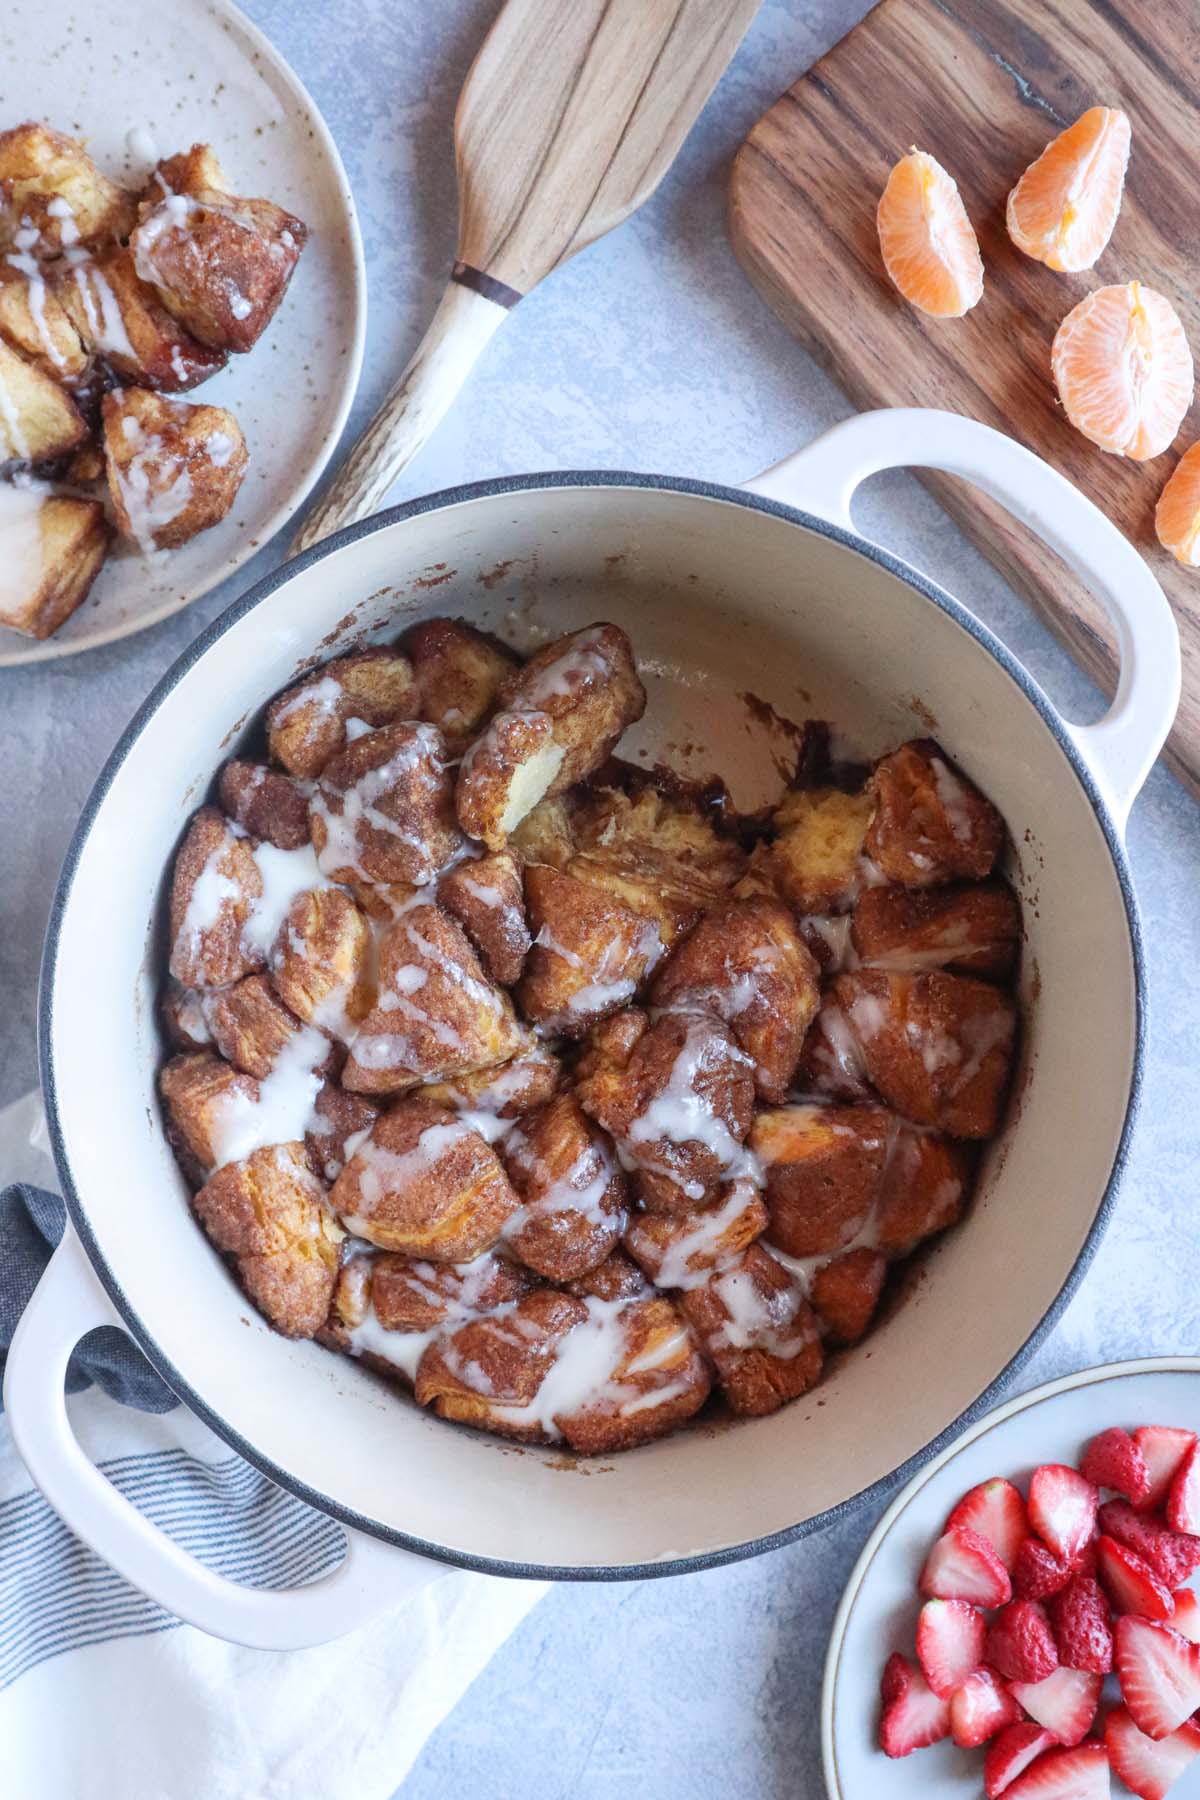
15 Weeknight Dutch Oven Recipes
Here are 15 recipes designed to make weeknights easier and tastier. These dishes are approachable and satisfying, using common ingredients.
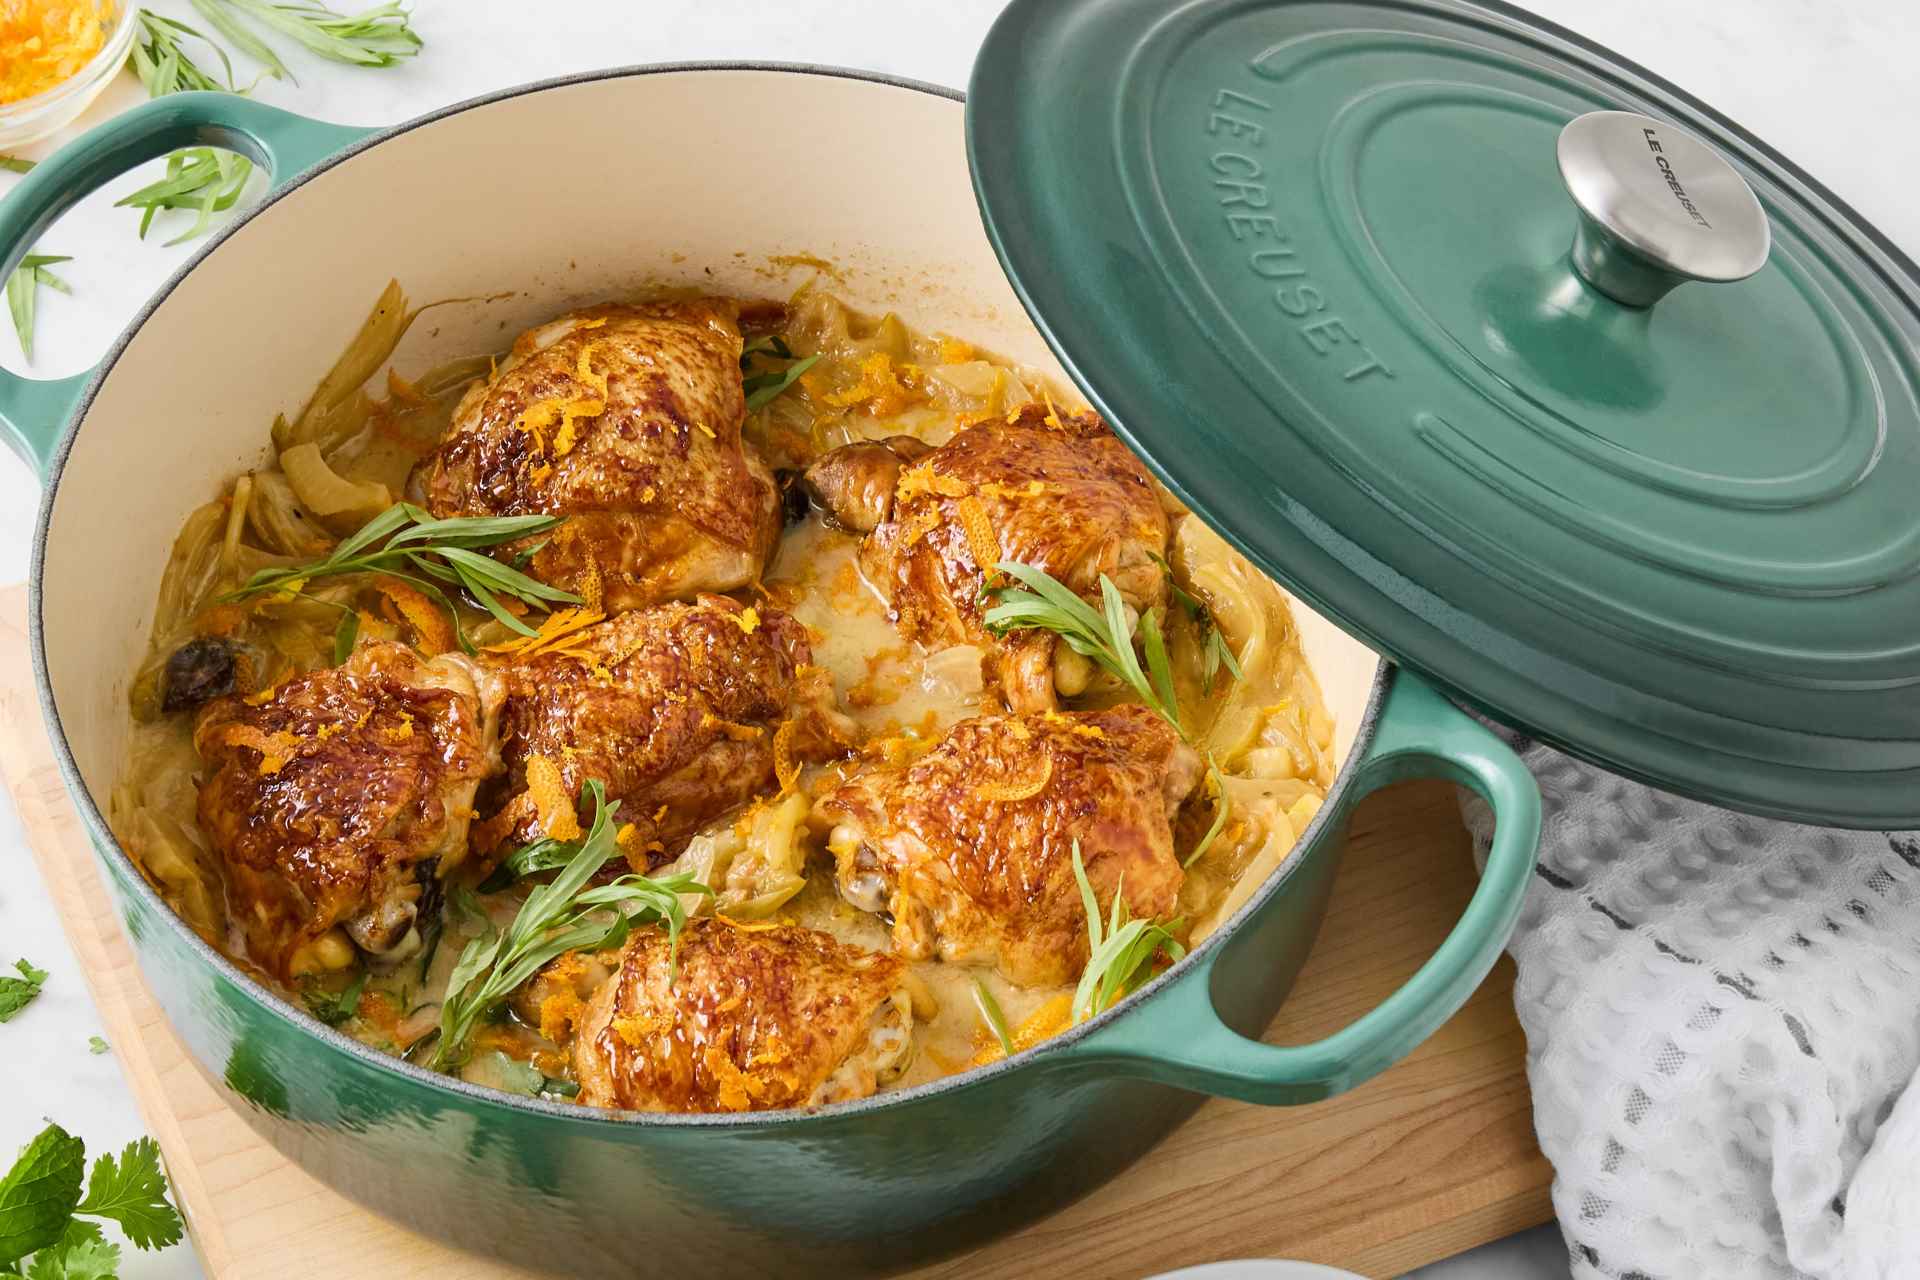
Lemon Herb Roasted Chicken and Potatoes is a classic. A whole chicken, roasted with lemon, herbs, and potatoes, all in one pot. Total time: about 90 minutes. Sausage and White Bean Stew is a hearty stew with Italian sausage, cannellini beans, and kale. It’s ready in about 45 minutes.
Dutch Oven Vegetarian Chili is a flavorful and filling meal, packed with beans, vegetables, and spices. Prep and cook time is around 60 minutes. Beef Bourguignon, a French classic, is made easy in a Dutch oven. It takes about 2.5 hours, with most of that being hands-off simmering time.
Creamy Tomato Pasta Bake features pasta, a creamy tomato sauce, and cheese, baked in about 40 minutes. Pork and Apple Cider Stew is a dish with pork, apples, and cider. About 75 minutes total. Spanish Chicken and Chorizo has smoky chorizo, chicken, and paprika-spiced tomatoes. Ready in about 60 minutes.
One-Pot Jambalaya combines rice, chicken, sausage, and vegetables in a flavorful broth. Total time: around 50 minutes. Dutch Oven Mac and Cheese is a comfort food, easy to make from scratch. About 30 minutes. Chicken and Dumplings is a classic dish. It takes about an hour.
Moroccan Tagine with Lamb has lamb, dried fruits, and spices. This takes around 2 hours. Shrimp Scampi with Linguine is a seafood option. Ready in just 25 minutes. Dutch Oven Paella combines rice, seafood, and saffron. Prep and cook time: about 75 minutes.
Dutch Oven Ratatouille is a vegetable stew. About 60 minutes. Beer Braised Short Ribs are tender and flavorful. This one takes about 3 hours. Dutch Oven Lasagna can be made in a Dutch oven. It's ready in about 90 minutes.
Beef Stew & Beyond: Flavor Foundations
Building deep flavors in these recipes relies on a few techniques. Browning meat is important. Avoid overcrowding the Dutch oven; work in batches to get a good sear on all sides. This creates the Maillard reaction, which develops flavor. Deglazing the pot with wine, broth, or water after browning is also essential. It lifts browned bits from the bottom of the pot and incorporates them into the sauce.
Layering flavors is important. Start with aromatics like onions, garlic, and carrots, then add spices and herbs. Experiment with different combinations. Using the right liquid is also important. Chicken stock adds a delicate flavor, beef stock is richer, and vegetable stock is a good all-purpose option. Using low-sodium stock allows control over the salt level.
Pay attention to liquid ratios. Too little liquid can cause burning; too much can result in a watery dish. A good rule is to have enough liquid to cover about two-thirds of the ingredients. Seasoning is vital. Taste and adjust as you go. You can always add more salt, but you can’t remove it.
Dutch Oven Heat Control
Cast iron retains heat well, meaning food cooks evenly and stays warm longer. However, mindful heat control is necessary. Cast iron heats slowly but holds heat. Start with medium heat and adjust as needed. Gas stovetops offer more heat control than electric or induction cooktops.
Scorching can occur, especially when browning meat. To prevent this, ensure the Dutch oven is preheated and not overcrowded. Electric or induction cooktops may require a lower heat setting. Uneven cooking can also be an issue with thicker cuts of meat. Stir frequently to ensure even cooking.
Most Dutch ovens are oven-safe; check manufacturer instructions. For stovetop scorching concerns, a heat diffuser can help distribute heat more evenly. Heat diffusers are metal plates placed between the Dutch oven and the burner.
When using your Dutch oven in the oven, be mindful of the temperature. High temperatures can crack the enamel coating; avoid exceeding manufacturer recommendations. Dutch ovens can generally be used safely at temperatures up to 450°F (232°C).
Recipe Standouts: Our Top 3 Picks
Narrowing down the list to just three favorites is tough, but if I had to choose, I'd go with the Sausage and White Bean Stew, the Beef Bourguignon, and the Chicken and Dumplings.
The Sausage and White Bean Stew is just…comfort in a pot. It’s the kind of meal that fills you up and warms you from the inside out. I made this for my family one particularly cold December evening, and it was a huge hit. It's become a regular request. The smoky flavor from the sausage combined with the creamy beans is just perfect. It's a quick weeknight meal that doesn't feel like a compromise.
Beef Bourguignon is a bit of a project, but the results are absolutely worth it. I first attempted this recipe for a dinner party several years ago, and I was nervous about the long simmering time. But the moment my guests tasted it, all my worries disappeared. The tender beef, the rich sauce, the pearl onions – it was a culinary triumph. It’s a guaranteed crowd-pleaser.
Finally, the Chicken and Dumplings. This is pure nostalgia for me. My grandmother used to make this for me when I was a child, and it always felt like a special treat. I’ve tried to recreate her recipe for years, and I think I’ve finally gotten it right. The fluffy dumplings are the star of the show, soaking up all the delicious chicken and gravy. It’s a hug in a bowl.
Cleaning & Caring for Your Dutch Oven
Okay, let's talk about the thing everyone dreads: cleaning. A well-seasoned Dutch oven is relatively easy to clean, but it does require a little extra care. Avoid using soap if possible, as it can strip away the seasoning. Instead, use hot water and a scrub brush or a plastic scraper to remove any food residue.
For stubborn stuck-on food, you can try simmering water in the Dutch oven for a few minutes to loosen it up. A chainmail scrubber is also incredibly effective at removing stuck-on food without damaging the seasoning. I've had mine for years and it's a lifesaver. If you do use soap, re-season the Dutch oven afterward.
Seasoning is the process of coating the cast iron with oil and baking it in the oven to create a protective layer. This prevents rust and makes the Dutch oven non-stick. To re-season, coat the entire Dutch oven with a thin layer of oil, then bake it upside down in a 350°F (175°C) oven for an hour. To prevent rust, make sure the Dutch oven is completely dry before storing it. Store it in a dry place, and consider placing a paper towel inside to absorb any moisture.
Beyond the Basics: Dutch Oven Variations
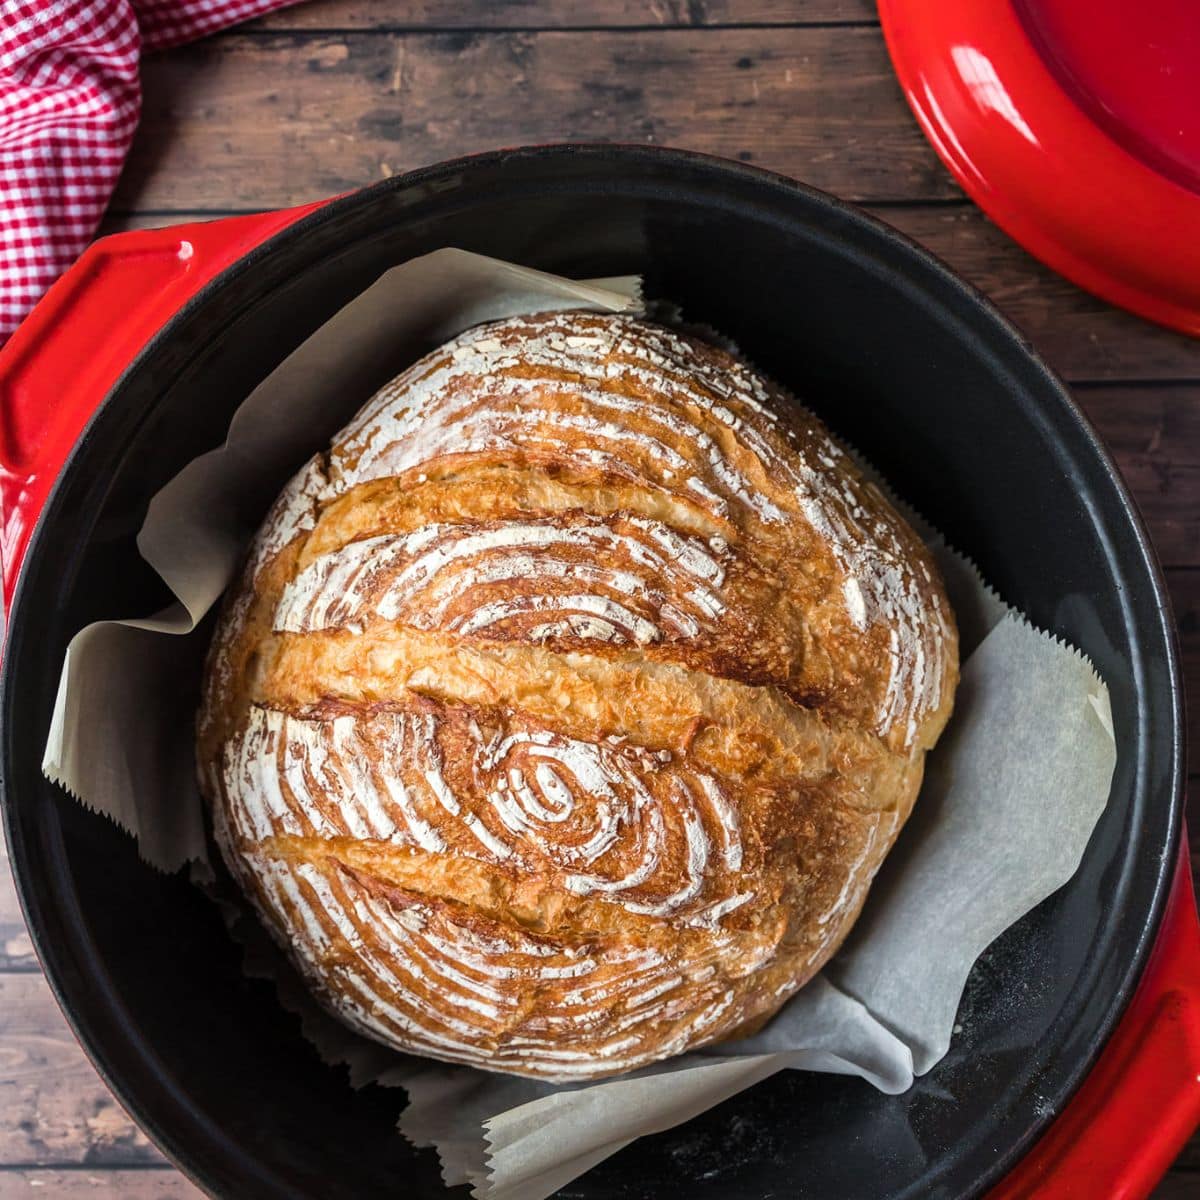
The possibilities with a Dutch oven extend far beyond one-pot meals. You can use it to bake bread – the enclosed environment creates a perfect crust. Dutch oven desserts, like cobblers and crisps, are also incredibly delicious. The even heating ensures a perfectly baked treat. You can even deep fry in a Dutch oven, though you need to be very careful.
For more inspiration, check out the resources on our site dedicated to cast iron cooking. Food52 is another great resource for Dutch oven recipes and techniques. The Irishman’s Wife also has a fantastic collection of cozy Dutch oven meals. Don't be afraid to experiment and find what works best for you.
A Dutch oven isn’t just a cooking tool; it’s an investment in a lifetime of delicious meals. Embrace the simplicity, the flavor, and the versatility, and you’ll wonder how you ever cooked without one.
No comments yet. Be the first to share your thoughts!