
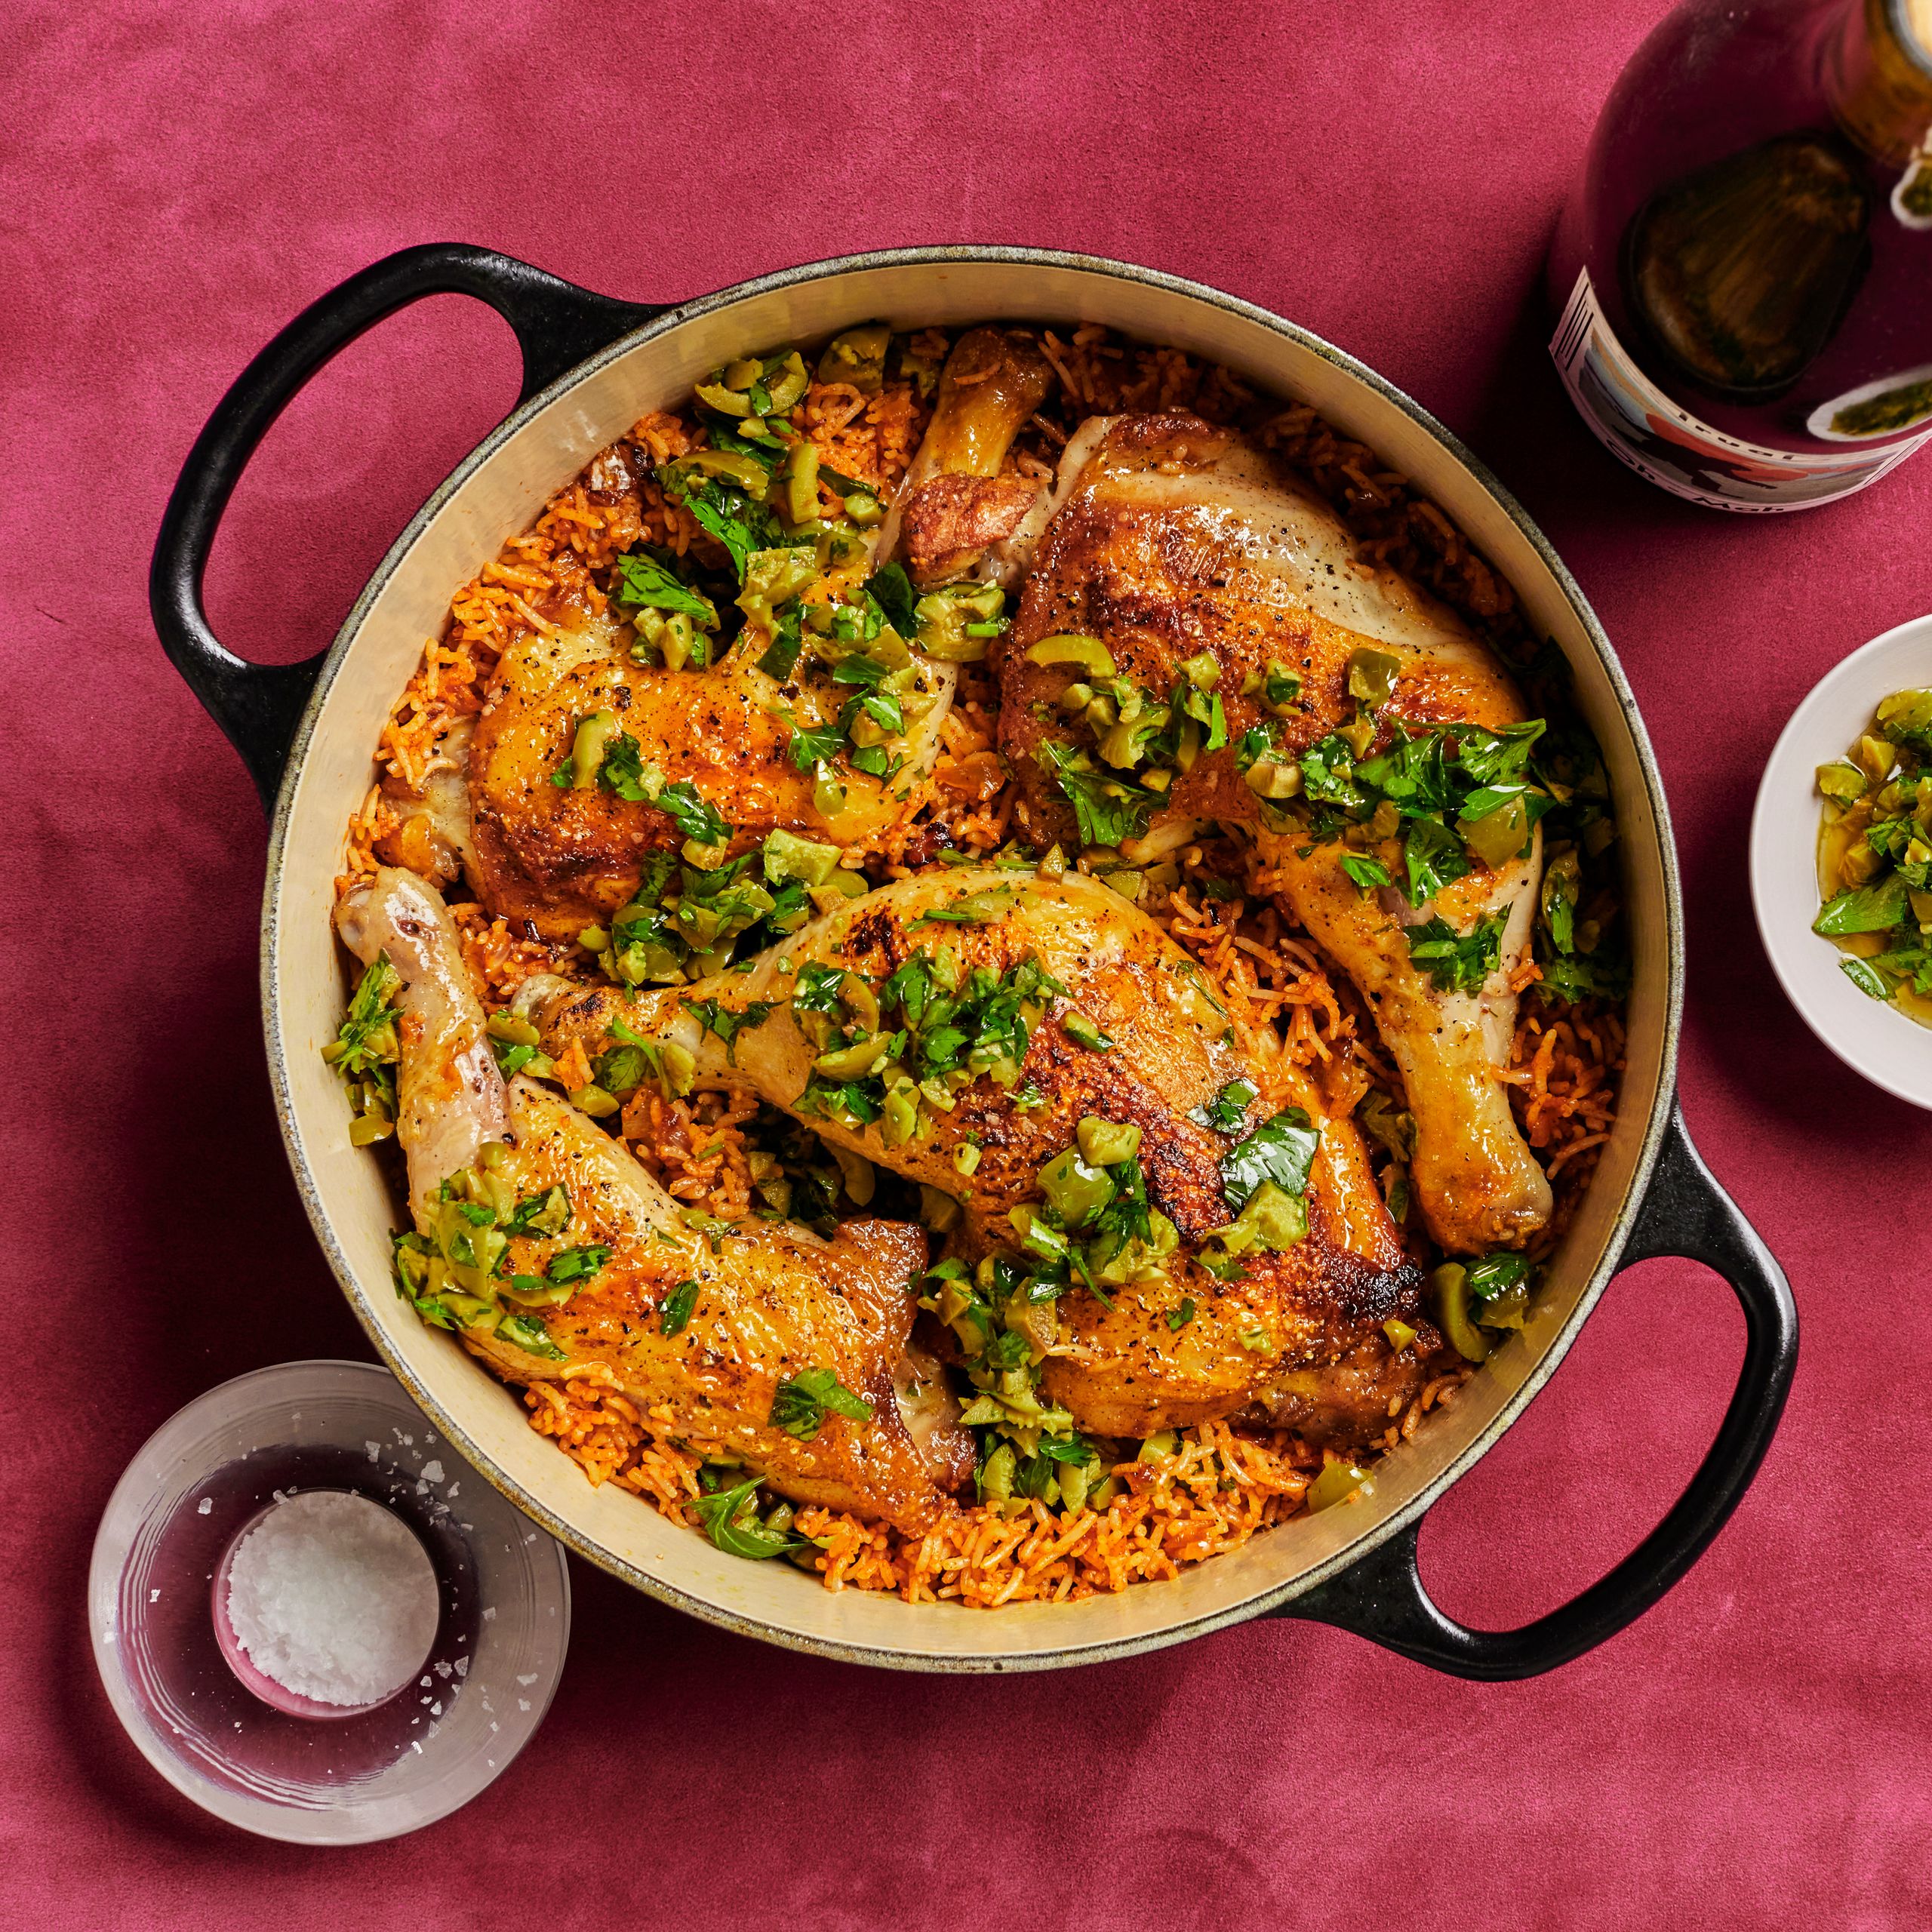
Why this one-pot dutch oven chicken and rice works
This recipe relies on the heavy, even heat of a Dutch oven to transform simple ingredients into a complete meal with minimal effort. By cooking the chicken and rice in the same vessel, you allow the starchy rice to absorb the savory chicken juices and rendered fat, creating a depth of flavor that separate cooking methods cannot match. The result is a dish where the rice is tender and infused with seasoning, while the chicken remains moist and flavorful.
The defining feature of this method is the texture. Placing the chicken skin-side down in the hot Dutch oven before adding the liquid allows the skin to crisp up and brown through the Maillard reaction. As the rice simmers in the broth, it pulls up the caramelized fond from the bottom of the pot, adding a rich, roasted complexity to every grain. The goal is to achieve those coveted crispy edges on the chicken skin and slightly toasted bits in the rice, providing a satisfying contrast to the tender meat.
Using a single vessel simplifies the cooking process significantly. You brown the chicken, sauté the aromatics, and simmer the rice all in one pot. This not only reduces the time spent on prep and cleanup but also ensures that the flavors meld together more effectively. The heavy lid traps steam, cooking the rice evenly while keeping the chicken juicy, making this a reliable choice for a weeknight dinner that feels like a comfort food classic.
Ingredients for crispy dutch oven chicken
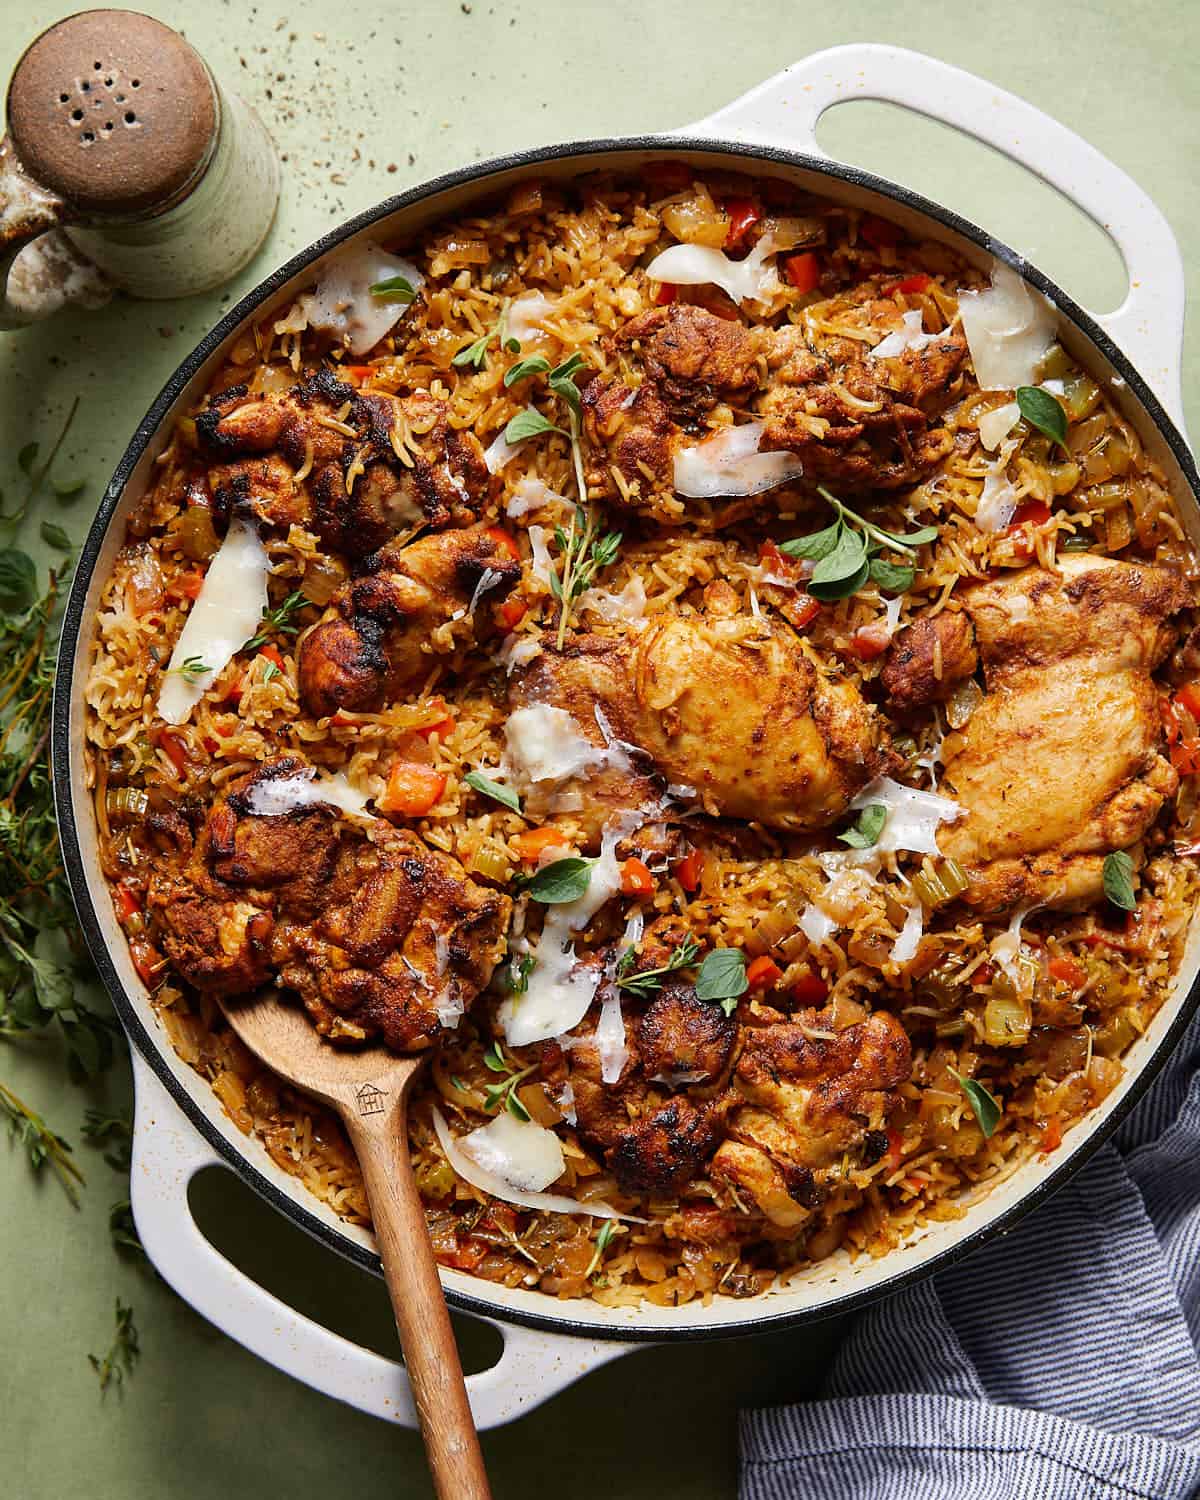
The secret to a successful dutch oven chicken and rice dish lies in selecting ingredients that withstand high heat while retaining moisture. Bone-in, skin-on chicken thighs are the superior choice for this recipe. The bone adds depth to the broth, while the skin renders down to create the essential crispy edges that define this dish. Avoid chicken breasts, which tend to dry out during the long baking process.
For the rice, long-grain varieties like Jasmine or Basmati are ideal. They stay separate and fluffy rather than becoming gummy, allowing them to absorb the savory chicken juices without turning into mush. Short-grain rice is better suited for sticky dishes and will not provide the desired texture here.
You will also need aromatics like onions, garlic, and carrots to build a flavor base. Use a rich chicken stock instead of water to ensure the rice cooks with maximum flavor. Finally, don't skip the oil; a high smoke-point oil like avocado or vegetable oil is necessary for searing the chicken skin before it goes into the oven.
-
Bone-in, skin-on chicken thighs
-
Long-grain rice (Jasmine or Basmati)
-
Chicken stock
-
Onion, garlic, and carrots
-
High smoke-point oil
How to cook dutch oven chicken and rice
The secret to this dish lies in the Maillard reaction. You aren't just boiling ingredients together; you are building layers of flavor through high-heat searing and controlled oven baking. This process ensures the chicken skin turns into a crisp, edible shell while the rice absorbs the savory broth without becoming mushy.

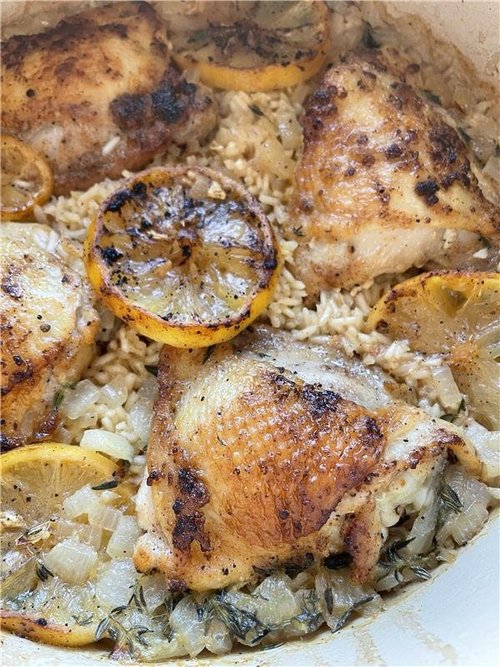
Heat your Dutch oven over medium-high heat with a tablespoon of oil. Once the oil shimmers, place the chicken pieces skin-side down. Do not touch them. Let the skin render and crisp up for about five to six minutes until it is deep golden brown. This step creates the "crispy edges" that define the recipe.
Remove the chicken and set it aside. In the same pot, add diced onions, garlic, and carrots to the remaining chicken fat. Sauté for two minutes until fragrant. Add your uncooked rice and toast it in the fat for one minute. This coats the grains and prevents them from getting sticky during the bake.
Pour in your chicken broth and scrape the browned bits (fond) from the bottom of the pot. These bits are pure flavor. Stir in herbs like thyme or parsley. The liquid should come about halfway up the rice grains, not submerge them completely, as the rice will expand.
Nestle the seared chicken pieces back into the rice, skin-side up. Cover the Dutch oven with a tight-fitting lid and bake at 375°F (190°C) for 35-40 minutes. The steam cooks the rice while the oven heat crisps the chicken skin. Remove the lid for the last 5 minutes if you want extra crunch.
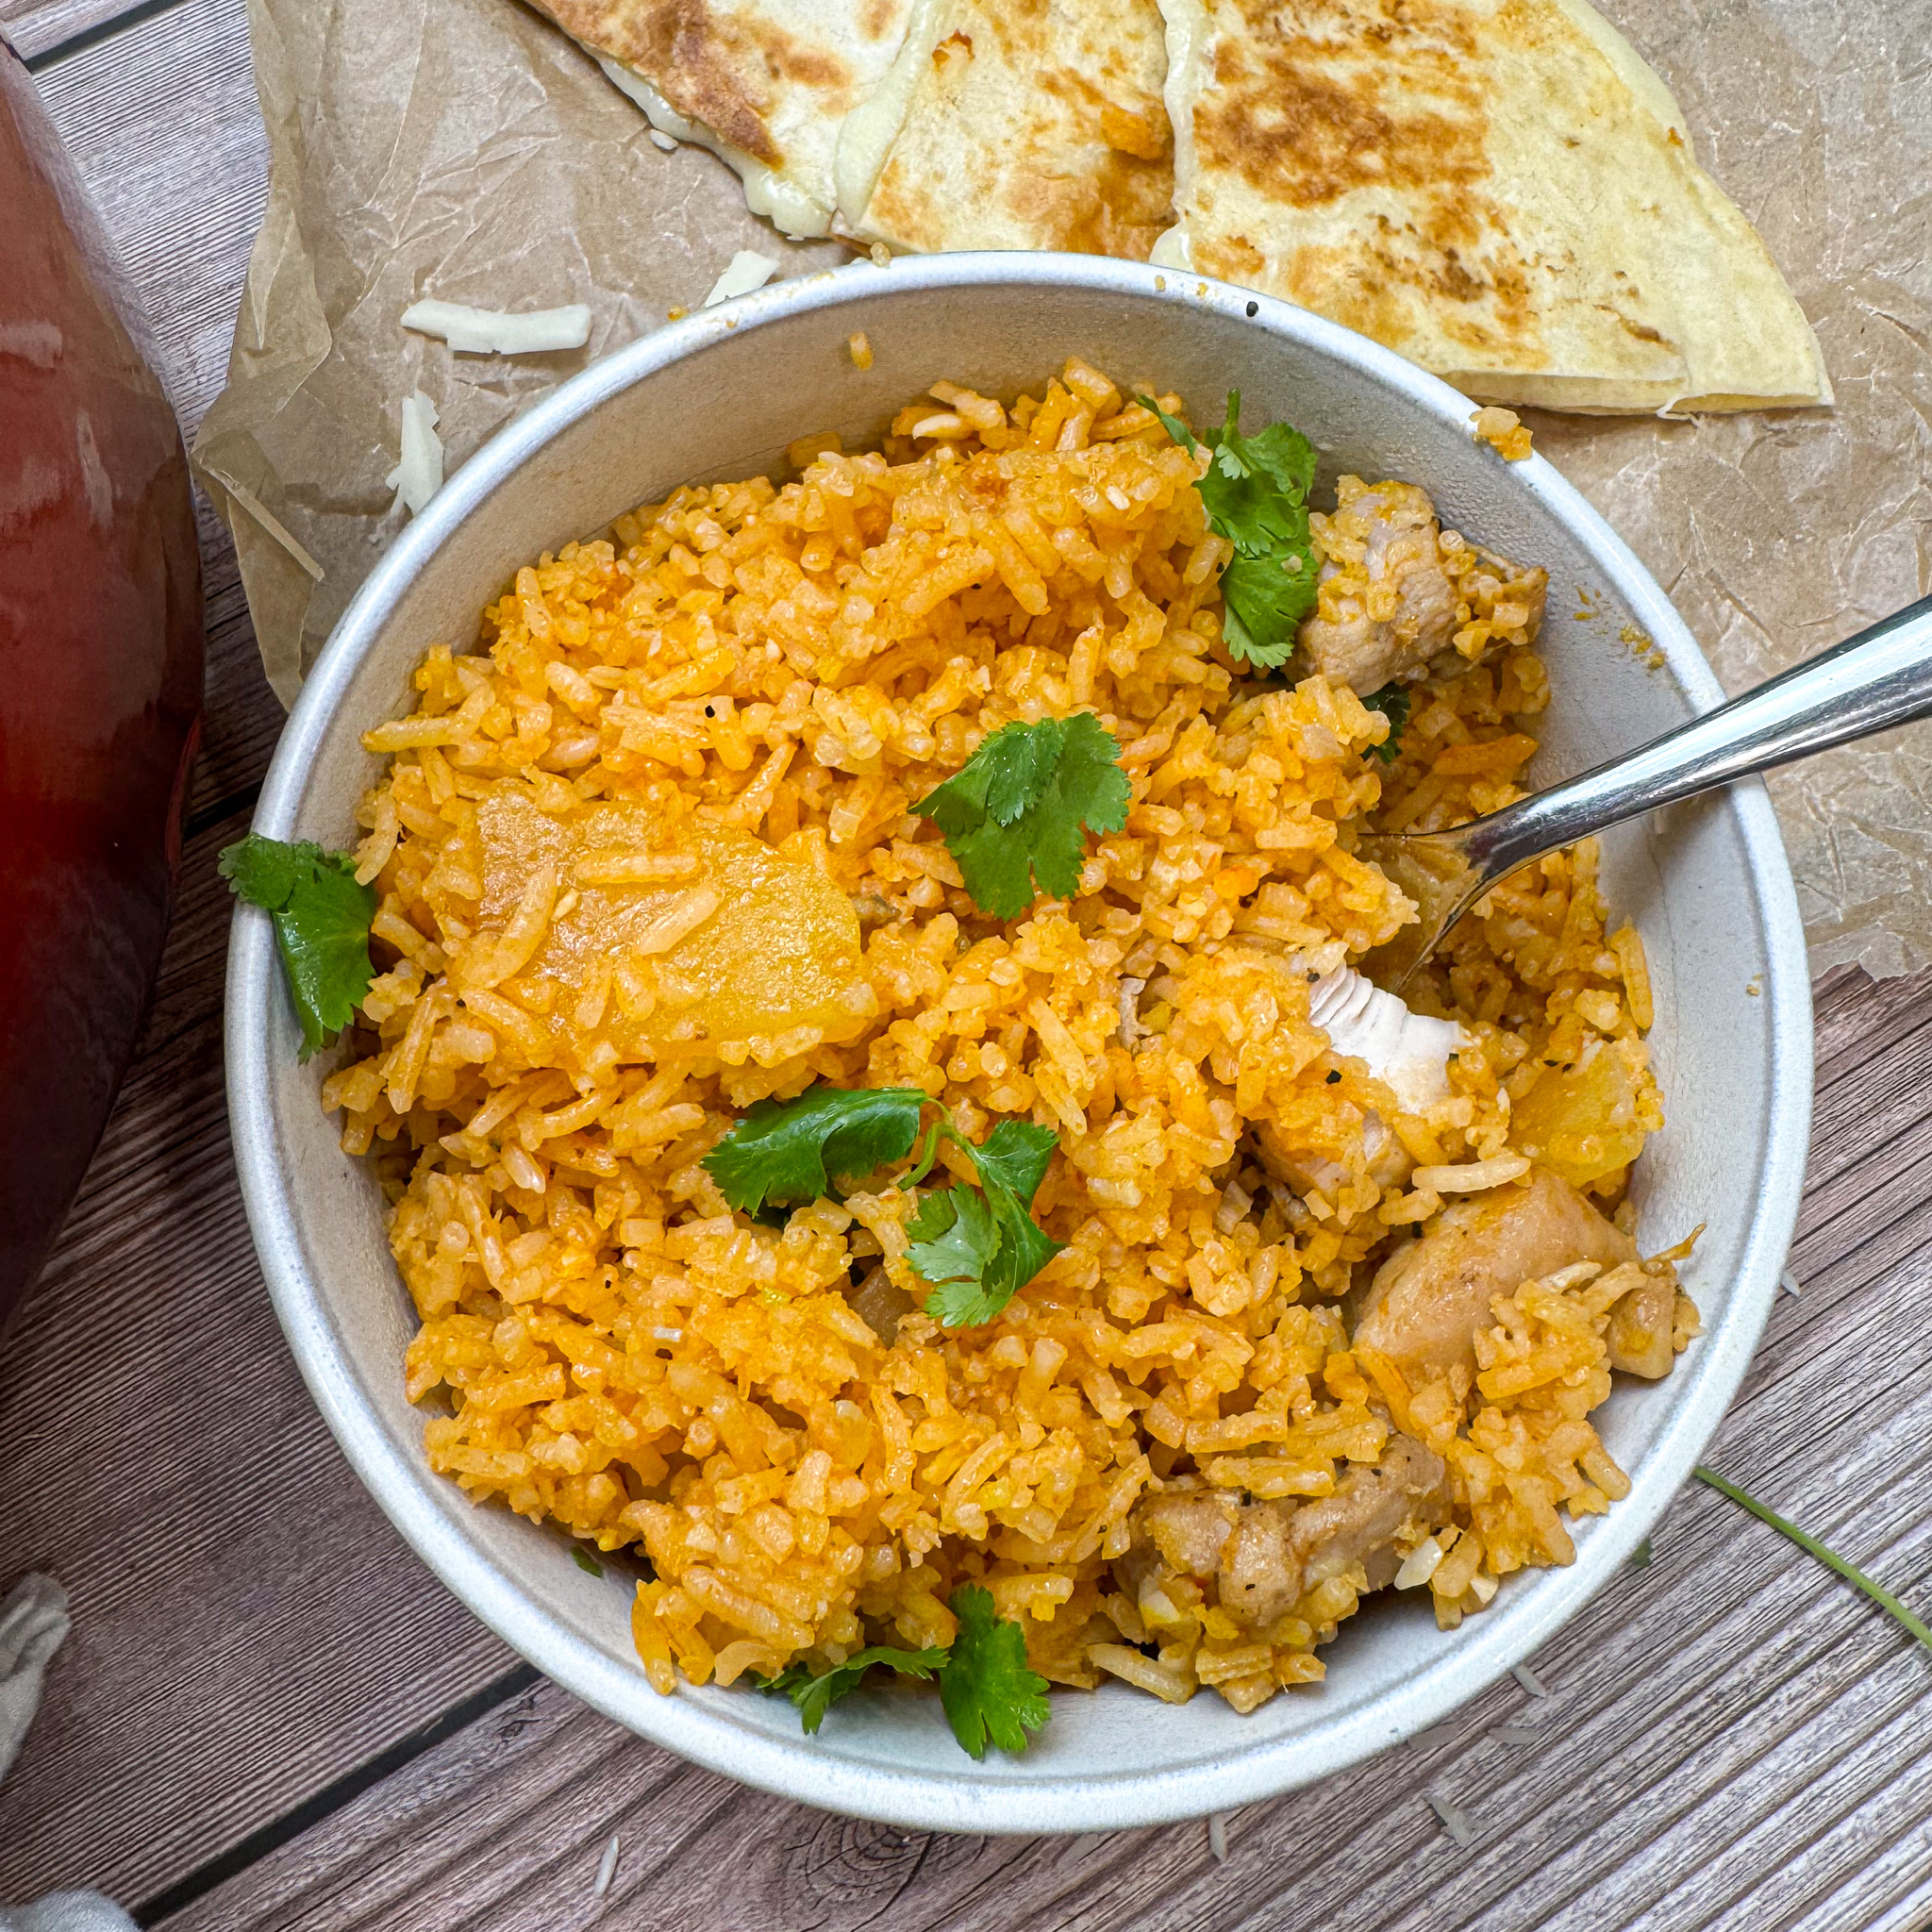
Let the pot rest for 10 minutes off the heat. This allows the rice to finish absorbing moisture and the juices to redistribute. Gently fluff the rice with a fork before serving. The chicken should be tender and the rice fluffy with distinct, crispy bits at the bottom.
Recipe card and baking details
This one-pot dutch oven chicken and rice comes together with minimal cleanup. The secret lies in leaving the chicken undisturbed to develop a crispy, golden crust while the rice absorbs the savory broth.
The resting period is essential. It allows the rice to finish absorbing moisture and the juices to redistribute, ensuring every bite is tender and flavorful.
Tips for perfect crispy edges
Achieving that signature golden crust in a dutch oven chicken and rice recipe comes down to managing moisture and heat. The difference between steamed, soft skin and a shatteringly crisp finish usually happens in the first few minutes of cooking. Follow these three adjustments to ensure every bite has the right texture.
Dry the skin thoroughly
Moisture is the enemy of crispiness. Before placing the chicken in the pot, pat the skin completely dry with paper towels. Any residual water from rinsing or brining will turn to steam upon contact with the hot oil, preventing the Maillard reaction that creates color and crunch. For best results, leave the chicken uncovered in the refrigerator for an hour before cooking to air-dry the surface further.
Avoid overcrowding the pot
Crowding the pan lowers the temperature of the oil and traps steam, which leads to soggy skin. If your chicken pieces are too close together, they will braise in their own juices rather than sear. Use a large enough dutch oven to give each piece room to breathe. If you must cook in batches, do so to ensure each piece makes full contact with the hot surface.
Finish under the broiler
After the rice has absorbed the liquid and the chicken is cooked through, the skin may still be tender. For that final crunch, switch your oven to broil for the last two to three minutes. Watch it closely, as sugars in the skin can burn quickly. This brief burst of high heat from above will crisp the edges without drying out the meat.
Common questions about one-pot cooking
Cooking raw chicken and uncooked rice together in a single Dutch oven is a safe, efficient method that relies on precise liquid ratios and temperature control. By combining these ingredients, you create a hands-off meal where the chicken bastes the rice and the rice absorbs the savory juices, resulting in those coveted crispy edges.
Can you cook raw chicken and uncooked rice together?
Yes, you can cook raw chicken and uncooked rice together safely. This one-pan method works because the chicken releases fat and moisture that hydrates the rice while it cooks. Ensure your Dutch oven is large enough to prevent boiling over, and use a tight-fitting lid to trap steam. The key is maintaining a steady simmer or oven temperature so the rice cooks through without burning before the chicken reaches a safe internal temperature.
How do I get crispy edges on the chicken?
To achieve crispy edges, you must sear the chicken skin-side down in hot oil before adding the liquid and rice. This Maillard reaction creates a protective, crunchy layer that holds up during the simmering process. After the rice has absorbed the broth and the chicken is cooked, remove the lid and increase the heat slightly for the final few minutes to crisp the bottom and sides further.
What is the best liquid-to-rice ratio for this dish?
The ideal ratio depends on the rice variety, but a general rule for Dutch oven cooking is 1.5 to 1.75 cups of liquid for every 1 cup of long-grain white rice. Since the chicken releases additional moisture, lean toward the lower end of that range to avoid mushy rice. Always use a liquid that complements the dish, such as chicken broth or a mix of broth and water, to ensure the rice absorbs maximum flavor.
How long does it take to cook chicken and rice in one pot?
Active preparation takes about 10 minutes to sear the chicken and sauté aromatics. The actual cooking time is typically 25 to 35 minutes, depending on whether you bake it in the oven or simmer it on the stovetop. The dish is done when the rice is tender, the liquid is fully absorbed, and the chicken reaches an internal temperature of 165°F (74°C).
No comments yet. Be the first to share your thoughts!