
Sourdough & Dutch Ovens: A Perfect Pair
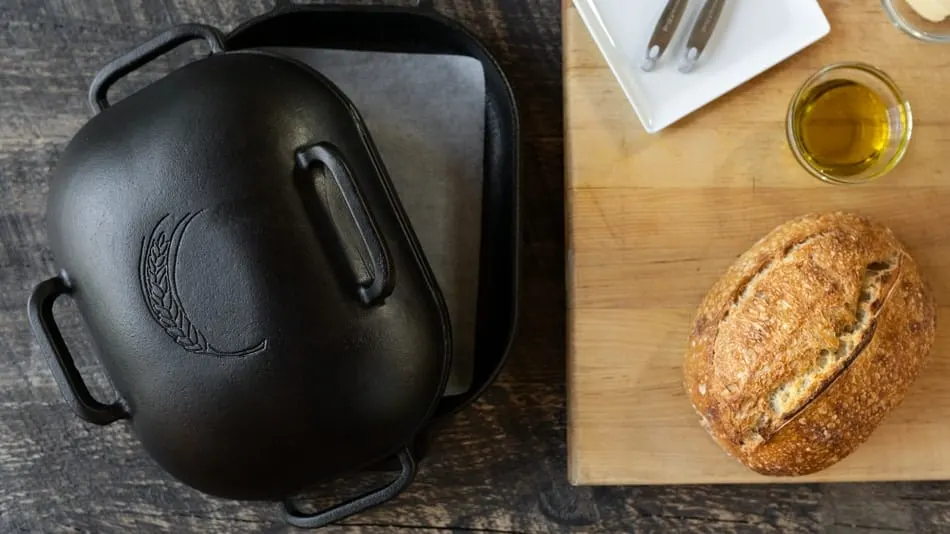
Dutch ovens are a popular choice for sourdough baking because they create a miniature oven within your oven, trapping steam and distributing heat effectively. This setup helps home bakers achieve bakery-quality results.
Dutch ovens have a long and storied history. According to research from Utah State University Extension, these heavy cooking pots – typically cast iron with a tight-fitting lid – were used for centuries, even by the pioneers settling the American West. They weren’t just for baking, of course; they were all-purpose cooking vessels for stews, frying, and roasting. But that versatility is part of what makes them so wonderful.
The steam trapped inside the Dutch oven is key. As the dough bakes, its moisture is contained, creating a humid environment. This allows the loaf to expand fully before the crust begins to form, leading to a light, airy crumb. Later in the baking process, the crust dries and becomes crisp and golden.
Even heat distribution is also important. Cast iron heats slowly and evenly, which prevents hot spots that can cause uneven baking. Consistent temperature is crucial for sourdough fermentation and oven spring.

Key Dutch Oven Features for Sourdough
When choosing a Dutch oven for sourdough, certain features are more important than others. Cast iron is the preferred material because it retains heat exceptionally well and provides even heat distribution.
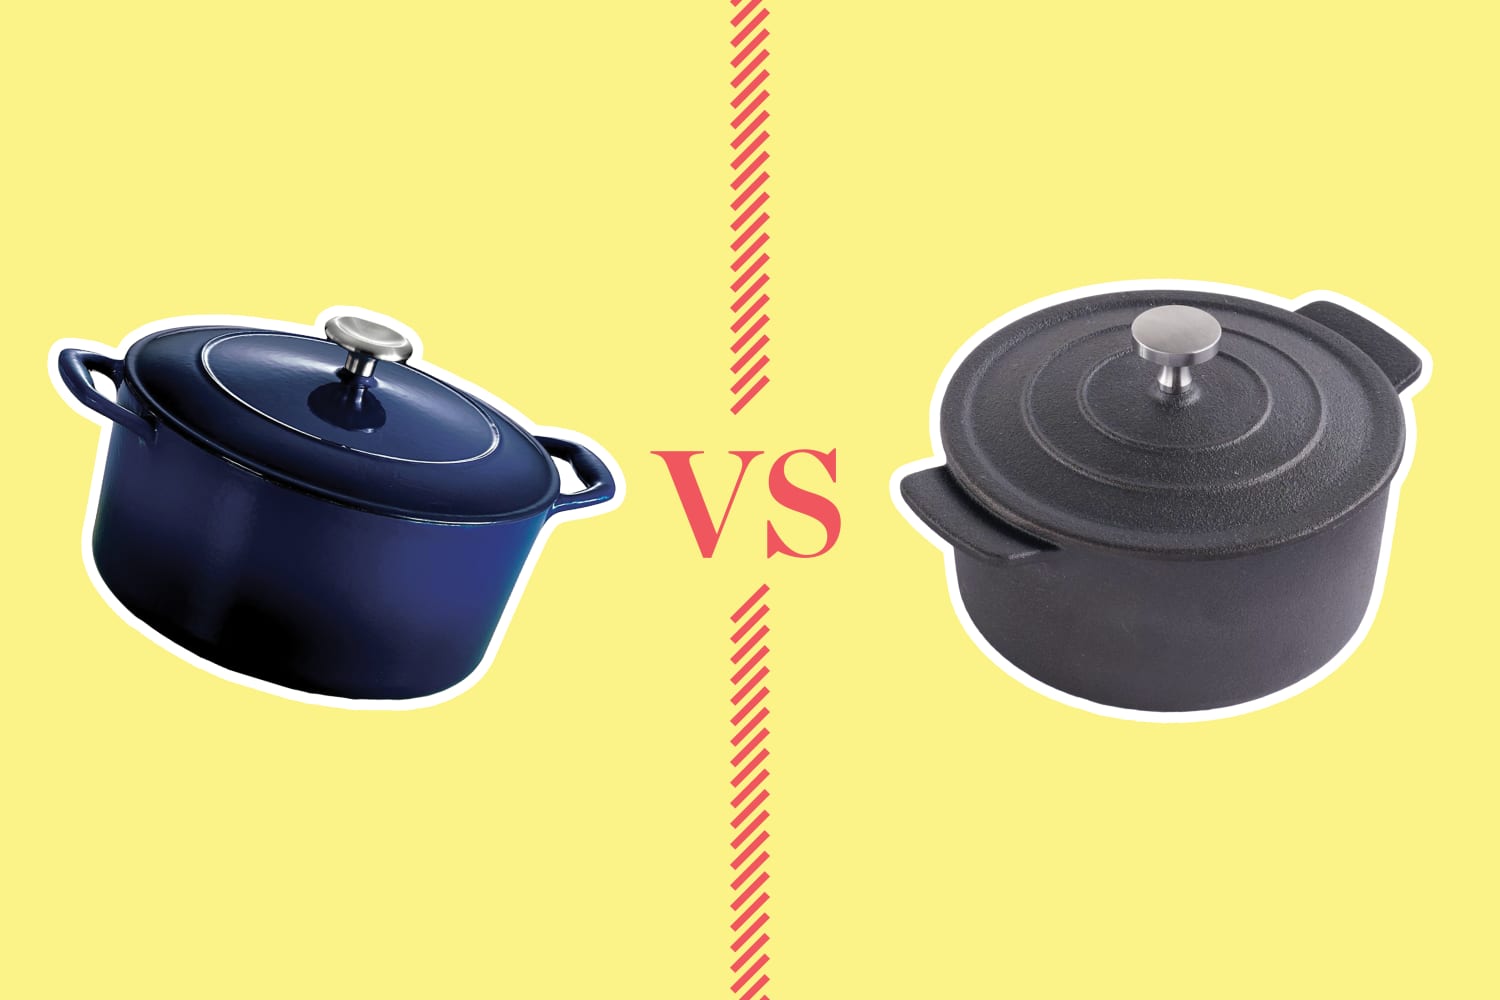
There are two main types of cast iron: bare and enameled. Bare cast iron needs seasoning, a process of coating the iron with oil and baking it to create a non-stick surface. This requires some maintenance but offers a superior baking surface and is usually more affordable. Enameled cast iron is coated with porcelain enamel, so it doesn't need seasoning. It's easier to clean but can chip.
The lid is also important. Self-basting knobs, those little bumps on the underside of the lid, are designed to condense steam and return it to the pot. They’re a nice feature, but not essential. A tight-fitting lid is far more important, as it keeps the steam contained. Capacity is another factor. A 5-7 quart Dutch oven is a sweet spot for most sourdough loaves; it provides enough room for the dough to expand without being excessively large.
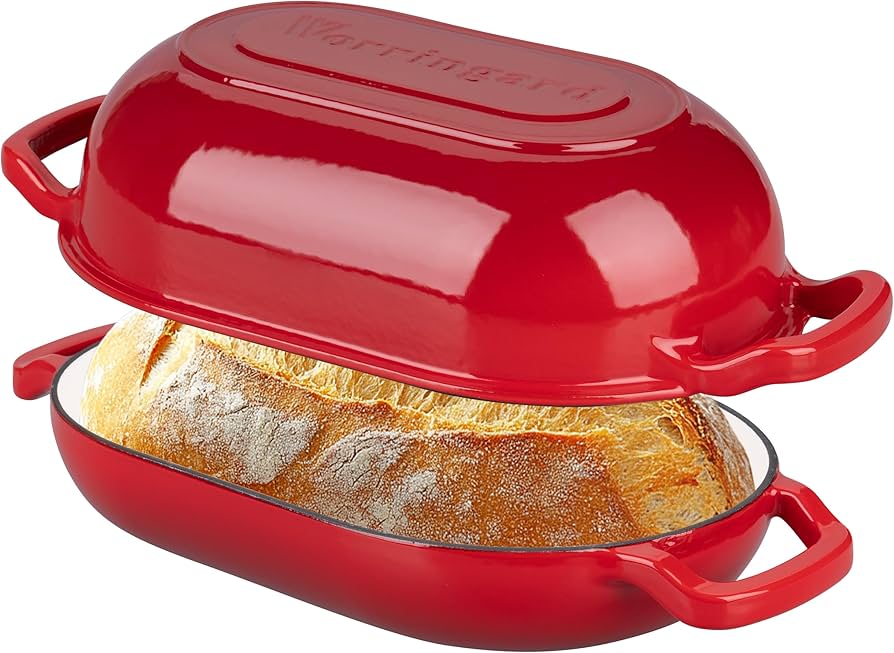
Shape is largely a matter of preference. Round Dutch ovens suit boules (round loaves), while oval ones are better for batards (oblong loaves). Bottom thickness can contribute to consistent heat, but the benefits decrease beyond a certain point; it's less critical than other features.
- Material: Cast iron (bare or enameled)
- Lid: Tight-fitting, self-basting knobs are a bonus
- Capacity: 5-7 quarts
- Shape: Round or oval, depending on loaf preference
Dutch Oven Comparison for Sourdough Bread Baking
| Criterion | Cast Iron | Enameled Cast Iron | Better for Sourdough? |
|---|---|---|---|
| Heat Retention | Excellent | Excellent | Similar - Both excel at maintaining consistent, high temperatures crucial for oven spring. |
| Ease of Cleaning | Requires seasoning & more effort | Generally easier, dishwasher safe (check manufacturer) | Enameled cast iron. The smooth surface prevents sticking and simplifies cleanup after baking. |
| Reactivity with Dough | Can react with acidic doughs over time | Non-reactive surface | Enameled cast iron. Sourdough is acidic, and prolonged contact with bare cast iron *can* impart a metallic taste, though this is debated. |
| Cost | Generally Lower | Generally Higher | Cast Iron. Initial investment is typically less expensive. |
| Weight | Heavy | Heavy | Trade-off - Both are substantial. Weight contributes to heat retention, but can be difficult to maneuver when hot. |
| Maintenance | Requires regular seasoning | Minimal seasoning required | Enameled cast iron. Less upkeep to maintain optimal cooking performance. |
| Durability | Extremely Durable | Durable, but enamel can chip | Cast Iron. With proper care, bare cast iron is exceptionally long-lasting. |
Qualitative comparison based on the article research brief. Confirm current product details in the official docs before making implementation choices.
Top 7 Dutch Ovens for 2026
Choosing the 'best' Dutch oven is subjective, as it depends on your budget, baking habits, and personal preferences. However, these seven options consistently rank highly and offer excellent performance for sourdough baking. I’ve included a "sourdough score" based on the features we discussed, but remember this is just one factor to consider.
1. Lodge Cast Iron Dutch Oven (5.5 Quart): A classic for a reason. Lodge offers exceptional value for the price. It’s bare cast iron, so seasoning is required, but it’s a straightforward process. Pros: Affordable, durable, excellent heat retention. Cons: Requires seasoning, heavier than enameled options. Price: Around $60. Sourdough Score: 4/5
2. Le Creuset Enameled Cast Iron Dutch Oven (5.5 Quart): A premium option that’s renowned for its quality and durability. The enamel coating is beautiful and easy to clean. Pros: No seasoning required, easy to clean, excellent heat retention. Cons: Expensive, enamel can chip. Price: Around $350. Sourdough Score: 4.5/5
3. Staub Enameled Cast Iron Dutch Oven (5.5 Quart): A close competitor to Le Creuset, Staub offers similar quality and performance. Their black matte enamel interior is particularly well-suited for browning. Pros: Excellent heat retention, self-basting lid, durable enamel. Cons: Expensive, heavy. Price: Around $400. Sourdough Score: 4.5/5
4. Cuisinart Chef’s Classic Enameled Cast Iron Dutch Oven (6 Quart): A more affordable enameled option that still delivers good results. It’s a great choice for beginners who want the convenience of enamel without the Le Creuset price tag. Pros: Affordable, easy to clean, good heat retention. Cons: Enamel quality isn't as high as Le Creuset or Staub. Price: Around $100. Sourdough Score: 3.5/5
5. Amazon Basics Enameled Cast Iron Dutch Oven (6 Quart): Surprisingly good quality for the price. It's a solid option for those on a tight budget. Pros: Very affordable, decent heat retention. Cons: Enamel can be prone to chipping, less durable than premium brands. Price: Around $70. Sourdough Score: 3/5
6. Smithey Cast Iron Dutch Oven (5.7 Quart): A newer brand gaining popularity for its high-quality, pre-seasoned cast iron. It's a bit more expensive than Lodge, but offers a smoother cooking surface. Pros: Pre-seasoned, smooth cooking surface, excellent heat retention. Cons: More expensive than Lodge. Price: Around $180. Sourdough Score: 4/5
7. Great Jones Dutch Oven (6 Quart): Known for its stylish designs and solid performance. It’s a good option for those who want a Dutch oven that looks as good as it performs. Pros: Attractive design, good heat retention, easy to clean. Cons: Can be prone to staining. Price: Around $160. Sourdough Score: 3.5/5
Dutch Oven Care & Maintenance
Proper care extends the life of your Dutch oven. For bare cast iron, regular seasoning is important. After each use, clean the pot with warm water and a soft sponge, dry it thoroughly, and lightly coat the interior with oil. Heating it in the oven for an hour helps maintain the seasoning, building a non-stick surface over time.
Enameled cast iron can be cleaned with mild soap. Avoid abrasive cleaners or scouring pads, which can damage the enamel. For stuck-on food, soak the pot in warm water before scrubbing. Rust on bare cast iron should be scrubbed off with steel wool and the pot re-seasoned.
Store your Dutch oven in a dry place. To prevent scratches when stacking, place a cloth or paper towel between pots. Storing the lid slightly ajar can allow for air circulation.
Simmering water in the pot for a few minutes can help loosen stuck-on food. Enamel chipping is wear and tear; the pot can still be used if the damage isn't extensive.
- Seasoning (bare cast iron): Clean, dry, oil, and bake.
- Cleaning: Avoid abrasive cleaners.
- Rust prevention: Keep dry and re-season if necessary.
- Storage: Dry place, protect enamel.
Beyond the Basic Loaf: Sourdough Recipes
With the right Dutch oven, you can create excellent sourdough. Here are a few recipes designed for Dutch oven baking, aiming for that perfect crust and crumb.
Classic Country Sourdough: (Adapted from Cooking On The Weekends) Combine 500g bread flour, 350g water, 100g sourdough starter, and 10g salt. Autolyse for 30 minutes, then knead for 8-10 minutes. Bulk ferment for 4-6 hours with folds every 30-60 minutes. Shape, proof in the refrigerator overnight, and bake in a preheated Dutch oven at 450°F (232°C) for 20 minutes covered, then 25 minutes uncovered.
Olive & Rosemary Sourdough: Add 100g Kalamata olives (pitted and chopped) and 2 tablespoons of fresh rosemary (chopped) to the dough during the kneading process. Follow the same bulk fermentation and baking instructions as the Classic Country Sourdough. The olives and rosemary add a wonderful savory flavor.
Boule with Whole Wheat: Substitute 100g of the bread flour with 100g of whole wheat flour. This adds a nuttier flavor and heartier texture. The process remains the same, but you might need to adjust the hydration slightly, as whole wheat flour absorbs more water.
Troubleshooting Common Sourdough Issues
While Dutch oven sourdough baking is usually straightforward, issues can arise. A flat loaf may indicate insufficient oven spring, possibly due to a weak starter, under-proofing, or lack of steam. Ensure your starter is active and the dough is fully proofed before baking.
A gummy crumb suggests the loaf was underbaked; aim for an internal temperature of 205-210°F (96-99°C). If the crust browns too fast, reduce the oven temperature or tent the loaf with foil. Lowering the temperature or baking time can prevent a burnt crust.
Using parchment paper prevents loaves from sticking to the Dutch oven. If parchment paper is forgotten, gently loosen the loaf edges with a spatula before attempting to remove it.
Sourdough baking involves learning and experimentation. Failures are opportunities to improve, and consistent practice will lead to mastery of Dutch oven sourdough.
Dutch Oven Standouts: Worth a Closer Look
Let’s revisit the Le Creuset and Staub Dutch ovens. Both are premium options, but they have distinct differences. Le Creuset is known for its lighter weight and wider range of colors. It’s a great choice for those who prioritize aesthetics and ease of handling.
Staub, on the other hand, is slightly heavier and has a black matte enamel interior. This interior is particularly well-suited for browning, as it creates a more even heat distribution. The self-basting lid on Staub models is also a standout feature, ensuring maximum steam retention. Ultimately, the best choice depends on your priorities.
The Lodge Cast Iron Dutch Oven also deserves another mention. While it requires more maintenance than the enameled options, its affordability and durability make it an excellent value. It’s a perfect choice for beginners who want to learn the art of seasoning and maintaining cast iron. It’s a workhorse that will last a lifetime.
No comments yet. Be the first to share your thoughts!