
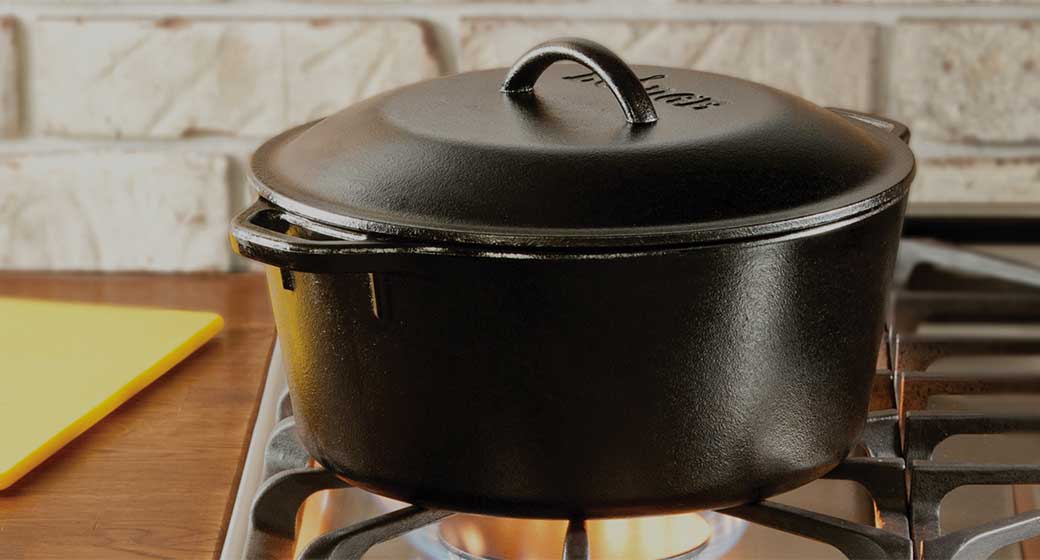
Why cast iron beats ceramic for bread
The foundation of a proper loaf lies in the vessel’s ability to hoard heat. Cast iron, whether bare or enameled, offers thermal mass that lighter materials simply cannot match. When you place a cold dough into a preheated Dutch oven, the iron acts as a thermal battery, releasing stored energy steadily to drive oven spring. This sustained heat is what creates the characteristic crackling crust and airy crumb structure. In contrast, ceramics and lighter metals often lose their peak temperature too quickly, resulting in flat, dense loaves.
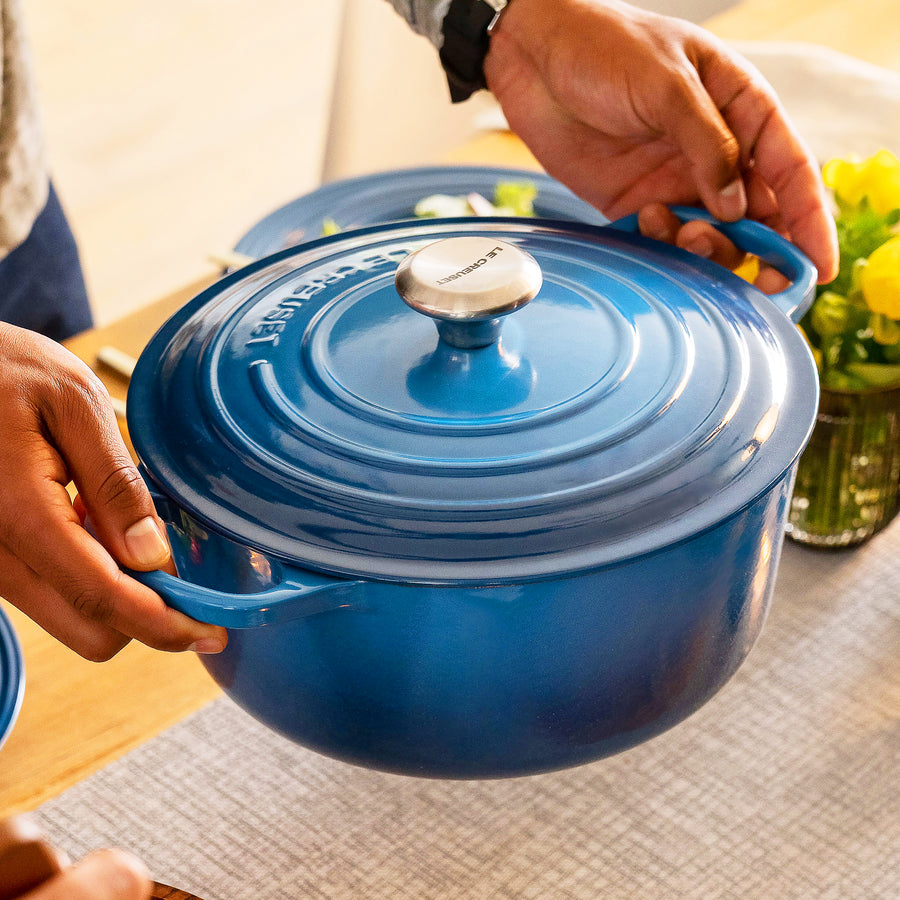
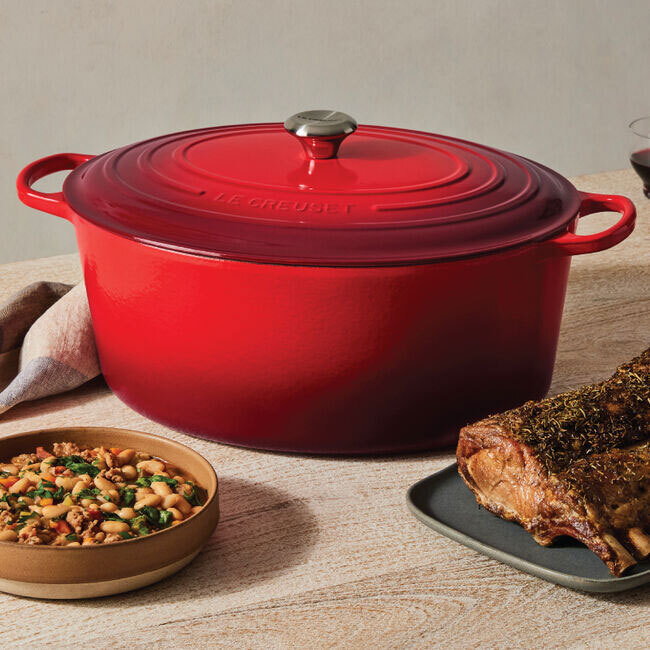
The difference becomes obvious when comparing specific models. The Le Creuset Signature Enameled Cast-Iron Dutch Oven (5½-quart) is widely regarded as the gold standard not just for its durability, but for its consistent heat distribution. It handles the thermal shock of going from a 500°F oven to a cool counter without cracking. Meanwhile, the Lodge 6-Quart Essential Enamel provides a more budget-friendly entry point that still delivers the necessary thermal weight for excellent bread baking. Both outperform stoneware or glass alternatives, which tend to heat unevenly or fail to maintain the high initial temperatures required for a proper rise.
Le Creuset vs Staub vs Lodge: Bread Baking Comparison
Choosing the right dutch oven for bread baking comes down to two mechanical factors: how well the lid traps steam and how the enamel holds up over time. While all three brands produce excellent results, their design philosophies diverge significantly in ways that affect crumb structure and crust development.
Le Creuset offers a tight, domed lid that creates a sealed environment ideal for the first rise of the loaf. Its smooth enamel interior allows for easy cleanup but can be prone to chipping if metal utensils are used. Staub’s matte black interior and spiky lid spikes promote self-basting, which is excellent for braises but can sometimes interfere with the uniform steam distribution needed for a perfect crust. Lodge provides a budget-friendly alternative with a lid that fits well enough for home baking, though the enamel finish is generally less durable than its premium counterparts.
The following table compares the key specifications that matter most for bread baking performance, including weight, lid fit quality, and price-to-performance ratio.
| Brand | Lid Fit | Enamel Durability | Weight (5.5L) | Price Range |
|---|---|---|---|---|
| Le Creuset | Excellent (Tight Seal) | High | 12.5 lbs | $300-$350 |
| Staub | Good (Self-Basting) | Very High | 13 lbs | $280-$330 |
| Lodge | Adequate | Moderate | 11 lbs | $50-$70 |
Choosing the right size for your loaf
The volume of your Dutch oven dictates the structural integrity of your crumb. A pot that is too wide allows the dough to spread laterally rather than rising vertically, resulting in a flat, dense loaf with excessive crust. Conversely, a pot that is too small restricts expansion, causing the crust to tear prematurely or the top to collapse against the lid. The goal is to contain the dough’s upward momentum during the critical first twenty minutes of baking, known as oven spring.
For most standard home-baked loaves, which typically weigh between 750g and 1000g, a 5.5-quart to 6-quart capacity is the sweet spot. This range provides enough vertical clearance for the dough to double in size while maintaining the tight, hot environment necessary for a crisp, blistered crust. Brands like Le Creuset offer a 5.5-quart round oven that is widely regarded as the industry standard for this specific volume, balancing heat retention with manageable weight. Lodge provides a 6-quart essential enamel version that offers similar thermal mass at a lower price point, making it a practical alternative for bakers who prefer a slightly larger interior.
The shape of the pot also influences the final geometry of the bread. Round Dutch ovens produce a loaf with a consistent, rounded top and uniform crust. Oval or rectangular pots are better suited for baguettes or batards, allowing the dough to stretch lengthwise. However, for a classic boule, the round shape ensures even heat distribution around the entire circumference. When selecting your vessel, prioritize the interior diameter over the external footprint; a 5.5-quart pot should have an internal diameter of approximately 8 to 9 inches, providing just enough room for the dough to expand without losing its shape.

Choosing the correct size is not just about fitting the dough; it is about controlling the thermal environment. A properly sized pot traps steam effectively, which keeps the crust soft during the initial phase of baking, allowing the loaf to achieve maximum volume before setting. This steam release is what creates the professional-looking ear and glossy finish on artisan bread. By sticking to the 5.5- to 6-quart range, you ensure that your baking process is repeatable, yielding consistent results with every bake.
Step-by-step artisan bread method
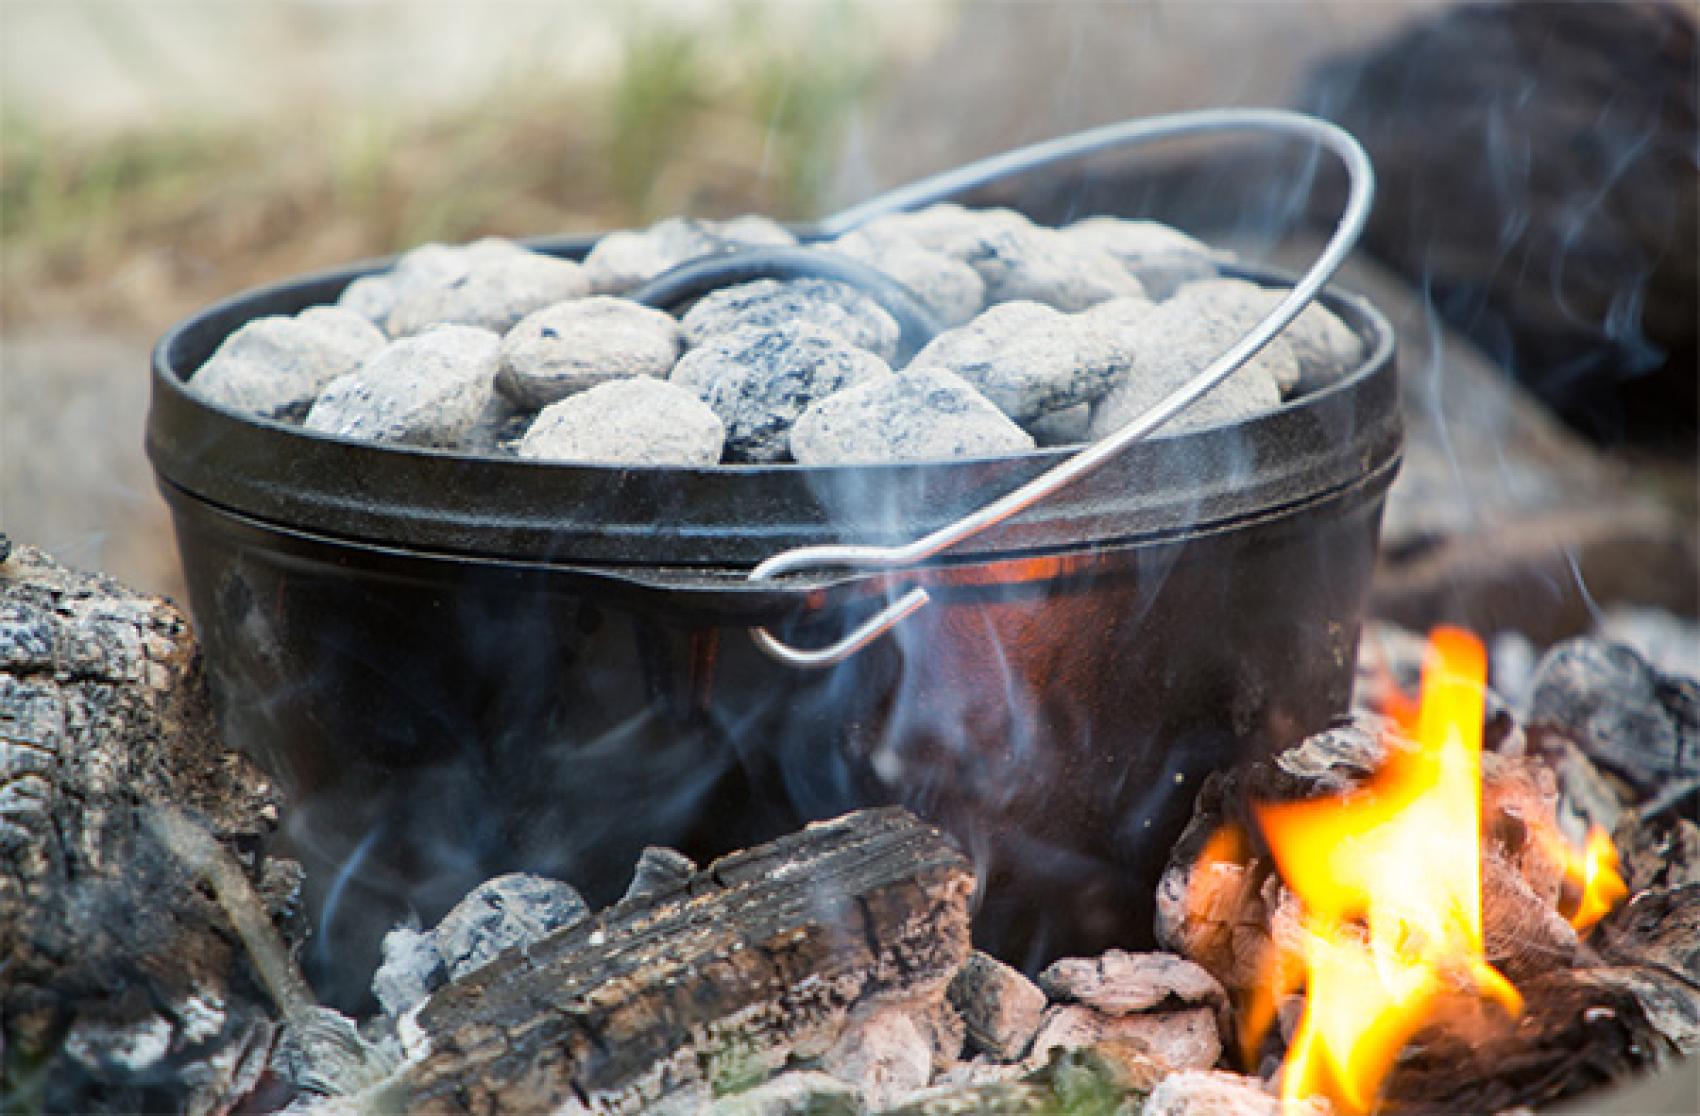
Baking in a Dutch oven relies on three variables: thermal mass, steam retention, and lid management. Cast iron and enameled cast iron perform differently under these conditions. Lodge retains heat aggressively but distributes it unevenly, requiring a longer preheat. Le Creuset and Staub have thicker walls and superior enamel, creating a more stable oven spring. The method below works for both, but timing adjustments are necessary based on your pot's thermal behavior.
Place your empty Dutch oven on the center rack. Preheat the oven to 500°F (260°C). This is the most critical thermal step. The pot must reach the oven's temperature to create the initial oven spring. A cold pot will absorb the dough's heat, resulting in a dense crumb. Preheat for at least 45 minutes. Thicker pots like Le Creuset may need 60 minutes to ensure the enamel core is fully saturated with heat.
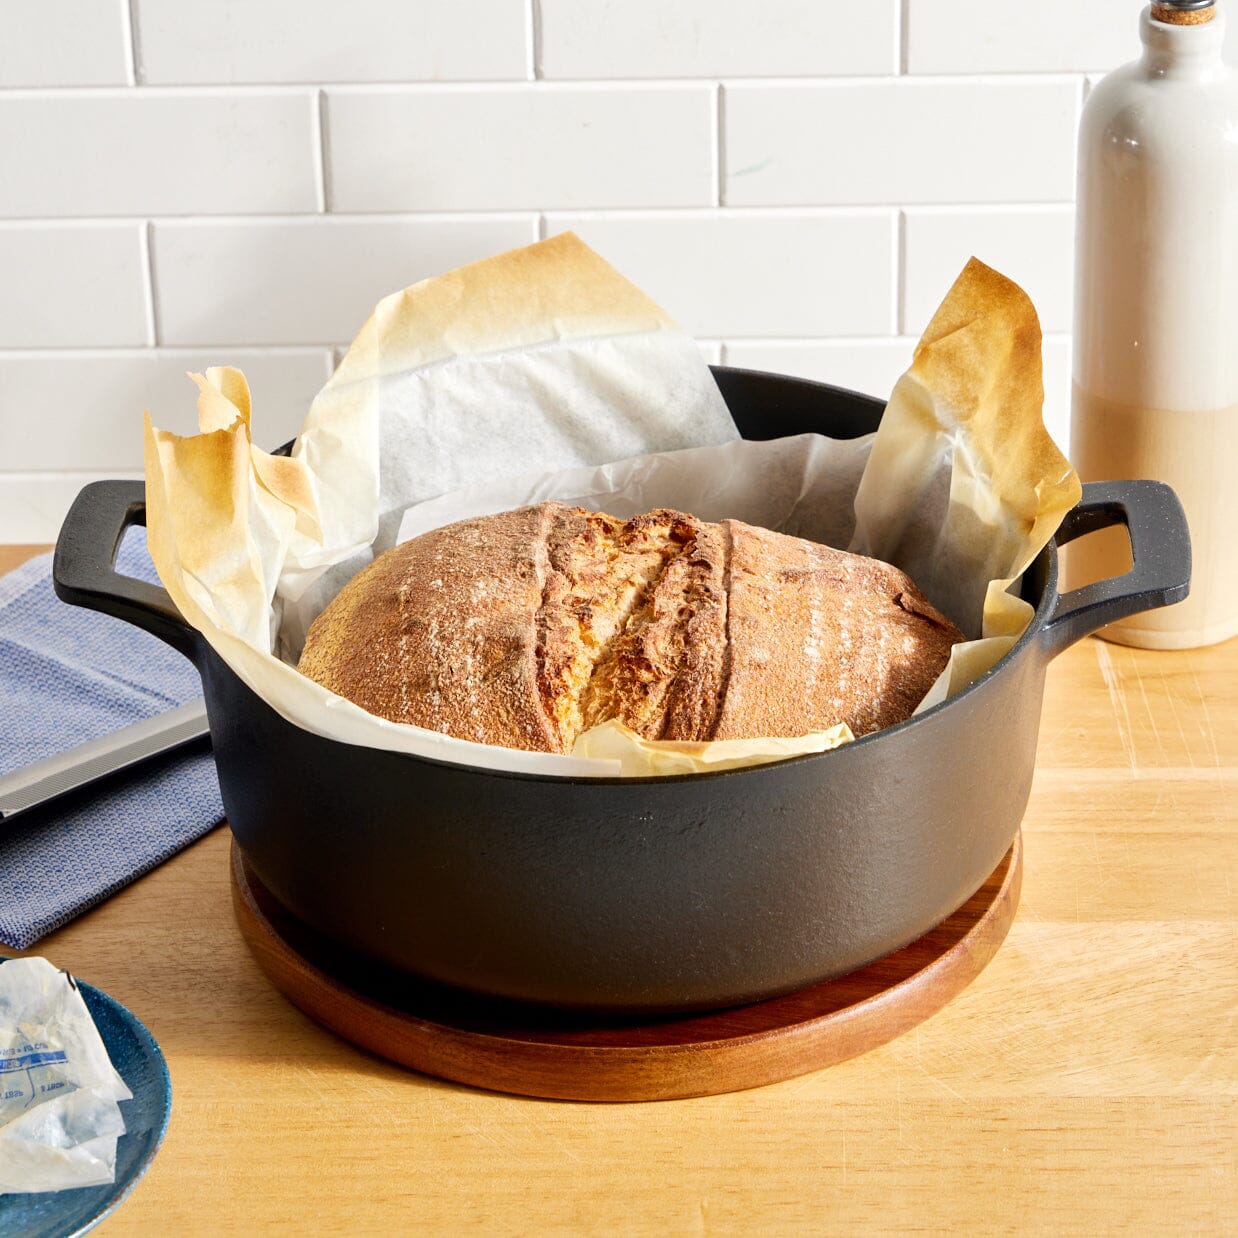
While the pot preheats, shape your dough into a tight boule. Place it seam-side up on a well-floured couche or a bowl lined with a towel dusted with cornmeal. Proof until the dough passes the "poke test": gently press a finger into the dough. If the indentation springs back slowly and leaves a slight mark, it is ready. If it springs back quickly, it needs more time. If it collapses, it is over-proofed. This usually takes 1-2 hours at room temperature.
Remove the proofed dough from the towel. Use a lame or sharp razor blade to score the top. Make a single, swift slash about 1/2 inch deep. The score controls where the bread expands. Without it, the dough will burst unpredictably. For artisan loaves, a deep slash creates a large "ear". A shallow slash creates a more uniform rise. Work quickly; the dough will stick if it warms up too much.
Carefully remove the lid from the preheated pot. Use parchment paper as a sling to lower the dough into the center of the pot. This prevents burning your hands and ensures the dough lands smoothly without deflating. If you do not have parchment, flip the dough onto a floured peel or baking sheet, then carefully invert it into the pot. The dough should sizzle slightly upon contact. If it does not, your pot may not be hot enough.
Place the lid back on the pot and return it to the oven. Bake for 20 minutes. The lid traps moisture evaporating from the dough, creating a steamy microclimate. This steam keeps the crust soft initially, allowing the bread to expand fully before setting. Do not open the lid during this phase. Opening it releases the steam and collapses the oven spring.
Remove the lid. The crust is now set. Bake for another 15-20 minutes to dry out the crust and develop color. The enamel pots (Le Creuset, Staub) will brown faster due to their heat retention. Cast iron (Lodge) may take slightly longer. Watch for a deep mahogany color. If the crust is browning too quickly, tent the pot loosely with foil. The internal temperature should reach 205-210°F (96-99°C) for a fully baked loaf.
Remove the bread from the pot and place it on a wire rack. Wait at least 30 minutes before slicing. The crumb is still setting internally. Cutting too early releases steam and makes the texture gummy. The crust will continue to crisp as it cools.
Common baking mistakes to avoid
Even with the best Dutch oven for bread, technique errors can ruin the crumb. Most failures trace back to thermal management or dough handling. Here is how to diagnose and fix the three most frequent issues.
Dense or gummy crumb
A tight crumb usually means the dough was under-proofed or the oven was too cool. The oven spring needs heat shock to expand the gas bubbles before the crust sets. If you use a cast iron pot like a Lodge, preheat it for at least 45 minutes. Enameled pots like the Le Creuset Signature 5.5-Quart Round Dutch Oven, which excels at even heat distribution, still require full preheating. Check the dough by the poke test: it should slowly spring back. If it springs back instantly, it needs more time.
Pale or soft crust
Pale crusts result from insufficient steam or low baking temperature. Steam keeps the crust flexible, allowing maximum expansion before it hardens. Keep the lid on for the first 20-30 minutes. If your crust is soft after baking, leave the pot in the turned-off oven with the door cracked for 10 minutes to dry out the surface. Avoid opening the lid too early; every second of heat loss reduces oven spring.
Sticking and tearing
Sticking happens when the dough touches the bare metal or enamel directly. Always use a liner. Parchment paper is the safest option for both cast iron and enameled surfaces. It prevents sticking and makes lifting the loaf out easy. If you prefer a rustic look, dust the parchment lightly with cornmeal or semolina. Never try to slide the dough out with your hands; use the parchment as a sling.
-
Pot preheated for 45+ minutes
-
Dough passed the poke test
-
Oven rack in the center position
-
Parchment paper cut to fit
No comments yet. Be the first to share your thoughts!