
Make the recipe
A Dutch oven is the ultimate summer camp stove companion, turning simple ingredients into a hearty, one-pot meal with minimal cleanup. For this guide, we are making a classic Campfire Chicken and Rice dish that works equally well on a three-stone fire or a standard propane camp stove. The key is managing the heat source to avoid burning the bottom while ensuring the rice cooks through to a fluffy finish.
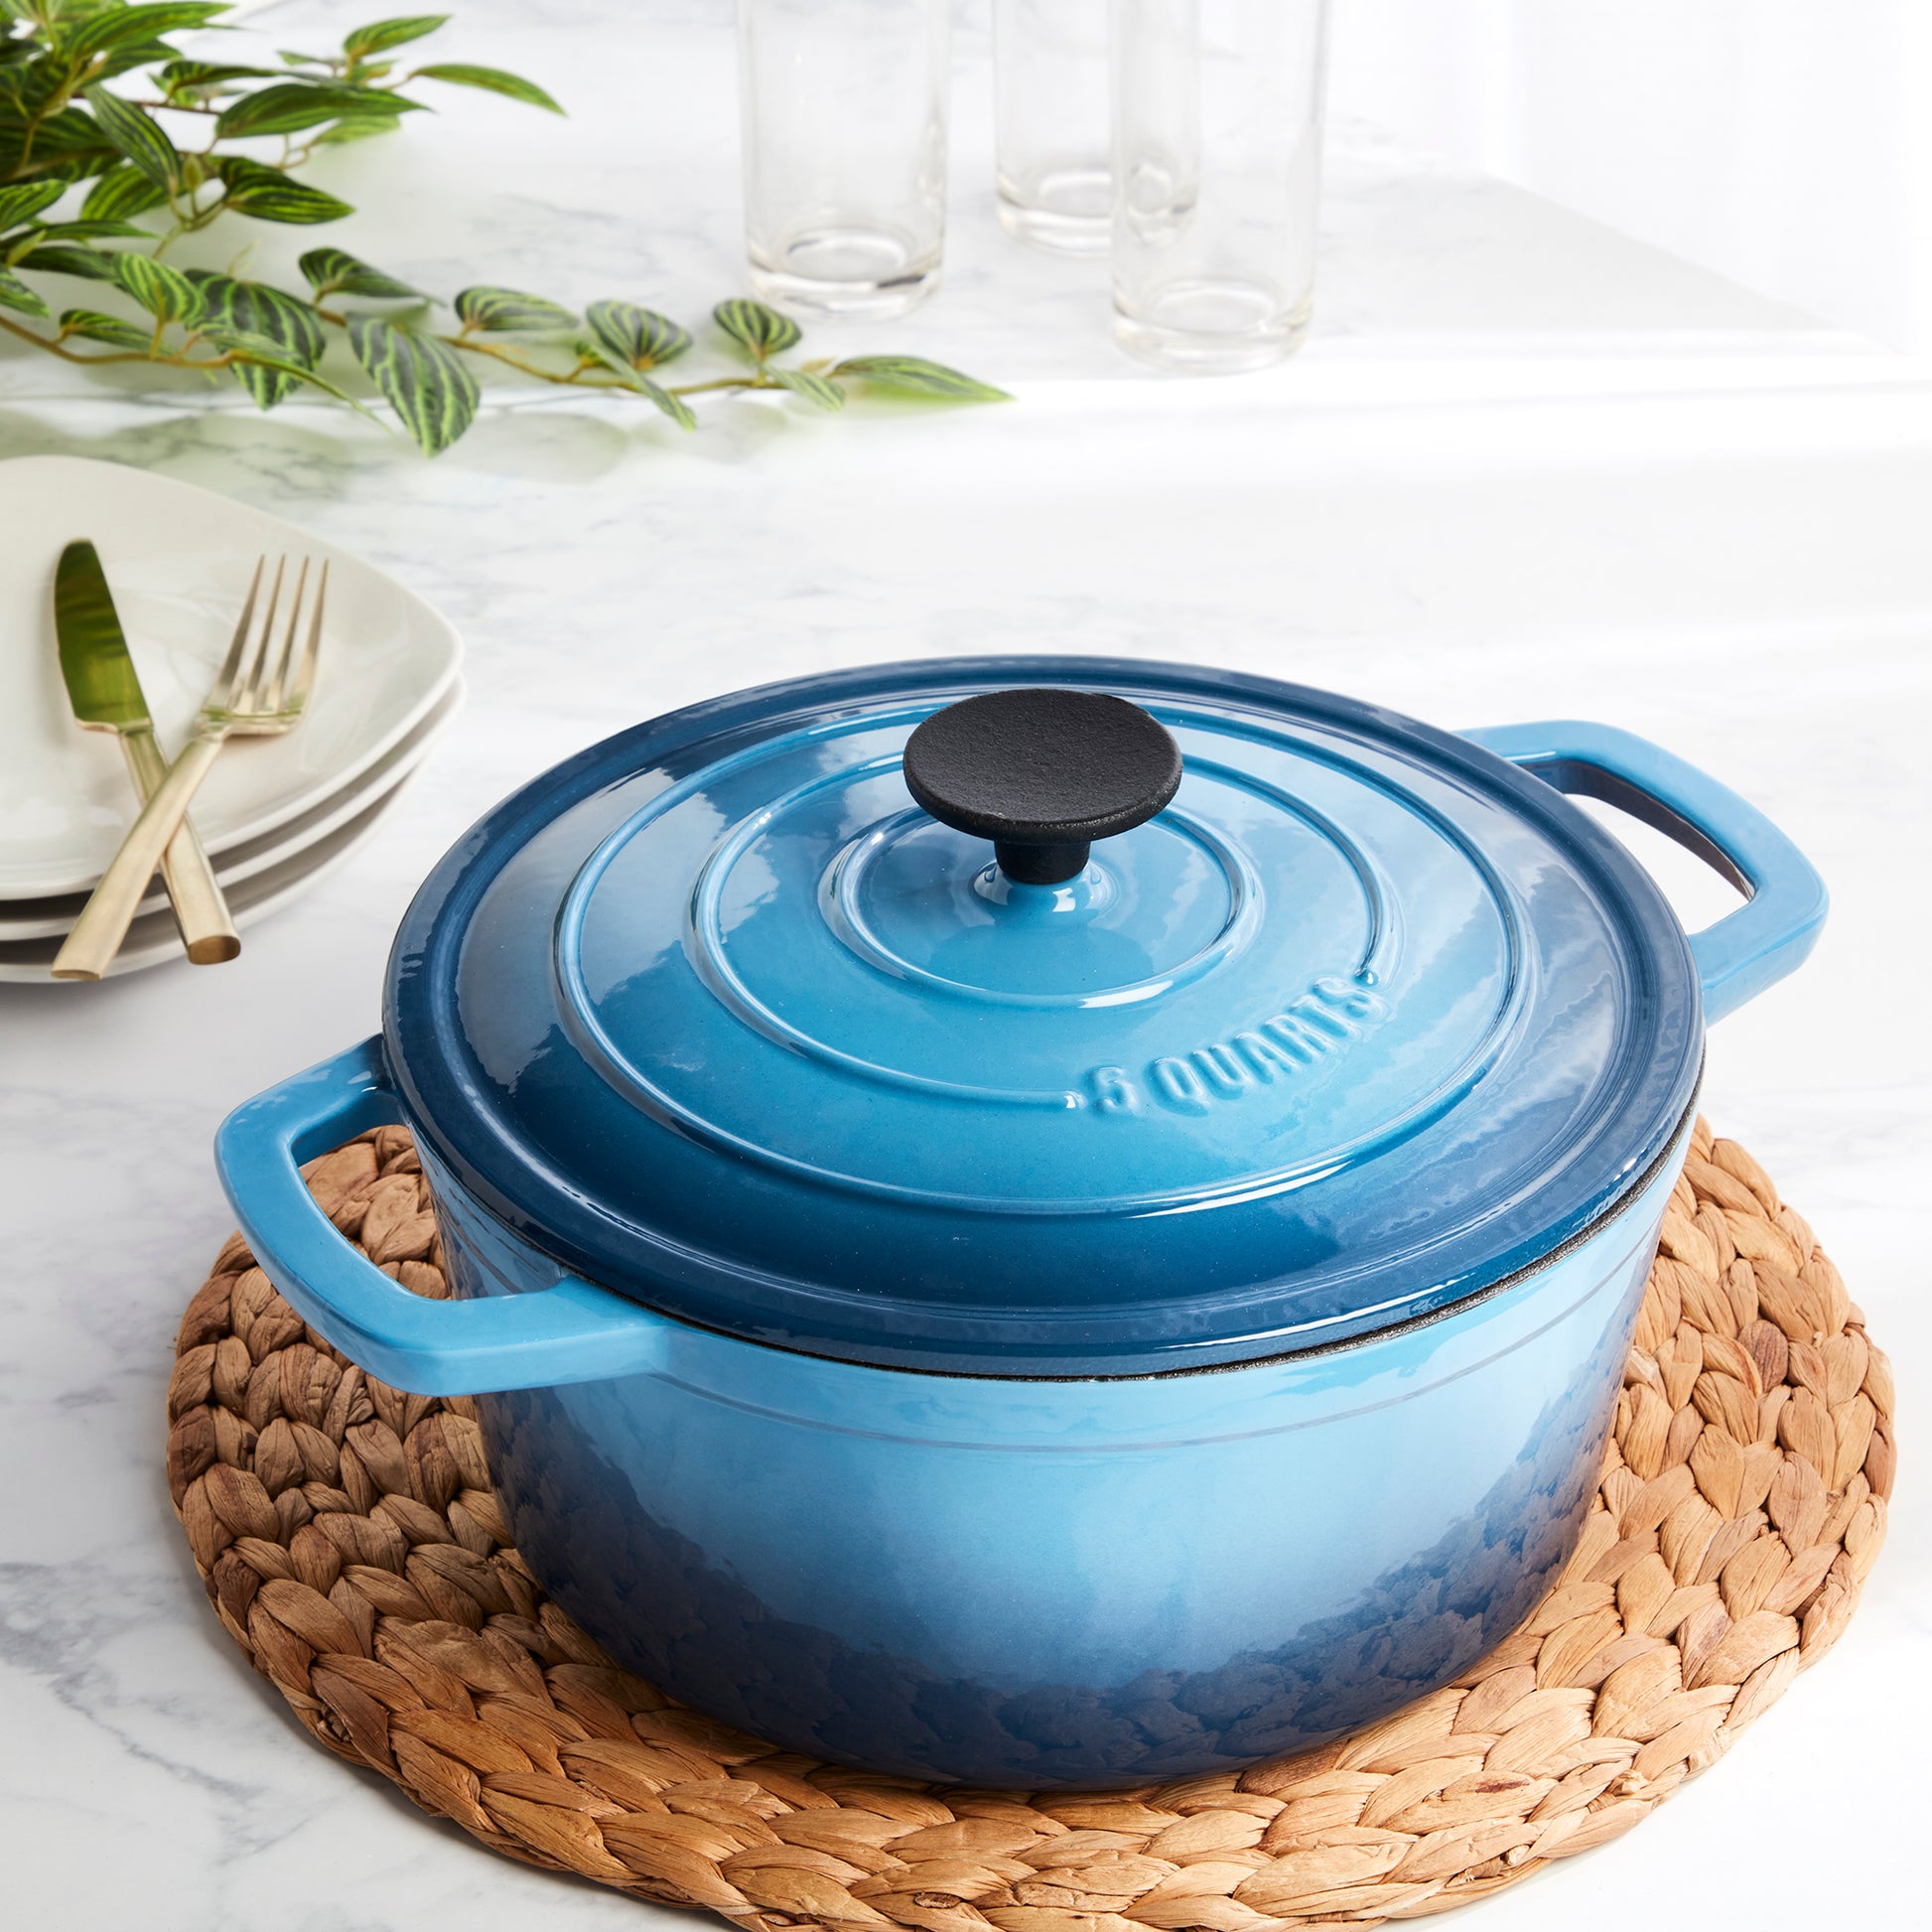
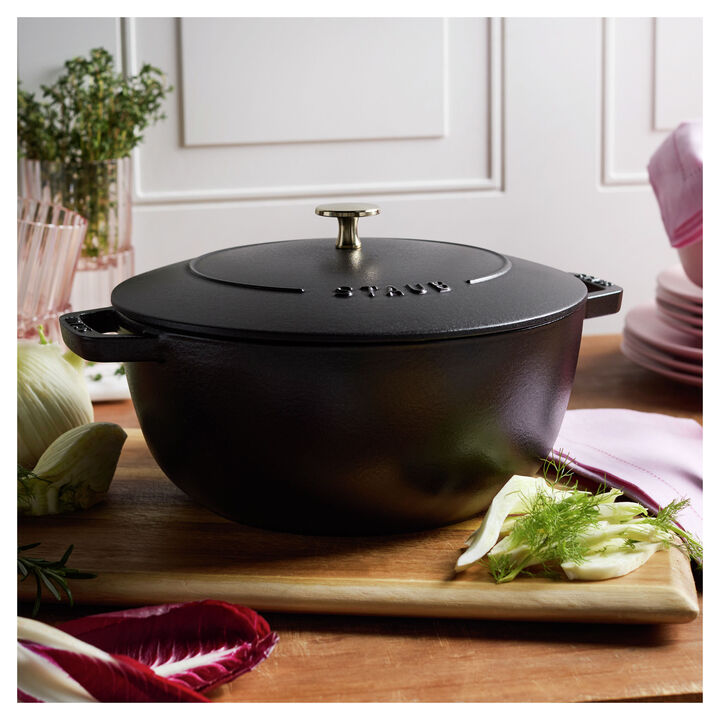
We recommend using a 5- to 6-quart enameled cast iron Dutch oven, such as the Lodge Essential Enamel or Le Creuset, for even heat distribution. If you are using bare cast iron, ensure it is well-seasoned to prevent sticking. The heavy lid is essential for trapping steam, which cooks the rice evenly without needing constant stirring.
This method relies on the sealed environment of the Dutch oven to mimic an oven, making it ideal for outdoor conditions where wind can disrupt open-flame cooking. The enameled interior makes cleanup easy, requiring only a quick rinse with warm water after the meal is finished.
Keep the texture right
A Dutch oven’s heavy lid and thick walls trap steam, which is perfect for braising but dangerous for summer cooking where you want distinct flavors rather than a soupy mess. If you skip the prep, your stew turns out watery and your meat boils instead of searing. The goal is to maximize surface contact and minimize unwanted liquid.
Pat proteins completely dry with paper towels before they touch the pot. Moisture creates steam instantly, lowering the pan temperature and preventing the Maillard reaction. You want a deep brown crust, not a gray, boiled exterior. This step is the single biggest factor in avoiding a bland, watery base.
Place your empty Dutch oven on the burner over medium heat for five minutes before adding oil. Cast iron and enameled cast iron heat slowly; adding food to a cold pot leads to sticking and uneven cooking. A properly preheated pot ensures immediate searing, locking in juices and building a flavorful fond on the bottom.
Do not crowd the pot. Overcrowding traps steam and drops the temperature back down, effectively steaming your meat instead of searing it. Cook in small batches, removing each piece once it’s deeply browned. This allows you to maintain high heat and ensures every piece gets that crucial caramelized texture.
After removing the meat, pour in a small amount of wine, broth, or vinegar to scrape up the browned bits (fond) from the bottom. This dissolves the concentrated flavor trapped in the metal. Let it reduce by half before adding your main liquid. This concentrates the taste and prevents the final dish from tasting diluted or thin.
Once all ingredients are in the pot, bring it to a bare simmer, not a rolling boil. Cover the pot with its heavy lid to retain moisture and heat. If the liquid is bubbling aggressively, you are evaporating too much flavor and potentially drying out the meat. A gentle simmer keeps the texture tender and the sauce rich.
-
Pat meat dry before searing
-
Preheat pot for 5 minutes
-
Sear in small batches
-
Deglaze and reduce liquid
-
Maintain a gentle simmer
Swaps that still work
Dutch ovens excel at retaining heat and moisture, which makes them forgiving for ingredient swaps. You can adjust flavors or accommodate dietary needs without sacrificing the texture that makes these meals shine. The heavy lid traps steam, so you have more flexibility with liquid ratios than you do in a skillet.
Use the table below to guide your substitutions. These swaps maintain the structural integrity of the dish while allowing for personal preference or pantry constraints.
| Original Ingredient | Swap | Why It Works |
|---|---|---|
| Water | Stock or Broth | Adds depth without changing texture |
| All-Purpose Flour | Cornstarch | Gluten-free thickening; use half the amount |
| Heavy Cream | Coconut Milk | Richness for vegan stews; adds subtle sweetness |
| White Wine | Apple Cider Vinegar | Acidity to cut through fat; no alcohol |
| Butter | Olive Oil or Ghee | Higher smoke point for searing; dairy-free option |
Serve and store it
Let the stew rest for ten minutes before ladling. This pause allows the thickened sauce to settle, making it easier to serve without splattering. If you are using a heavy enameled cast iron pot like the Le Creuset 5.5-Quart Round Dutch Oven, transfer the food to a bowl rather than serving directly from the pot. Cast iron retains heat aggressively, and leaving the stew in the pot will continue to cook the ingredients, potentially turning tender vegetables into mush.
For storage, let the pot cool completely before sealing. Trapping steam in a warm pot creates condensation, which can lead to off-flavors or, in the case of unseasoned carbon steel, rust. Once cool, lid the pot tightly or transfer leftovers to airtight containers. The Lodge 6-Quart Essential Enamel works well for this because its wide rim allows for a snug fit with plastic wrap or foil if the original lid is bulky.
Reheating requires patience. Cast iron heats unevenly, so warming leftovers on high heat will scorch the bottom before the center is hot. Place the pot on a low burner, add a splash of broth or water to loosen the sauce, and stir frequently. This gentle approach preserves the texture of the meat and vegetables, ensuring the meal tastes just as good on day three as it did when it first left the fire.
Dutch oven: what to check next
Before you pack your cookware for summer camping or backyard cooking, it helps to clear up the common friction points that make buying a Dutch oven stressful. The market is crowded with options ranging from $30 Lodge pots to $300 Le Creuset masterpieces, and knowing the practical differences saves you from buying the wrong tool for your campfire.
Can I use metal utensils in an enameled Dutch oven?
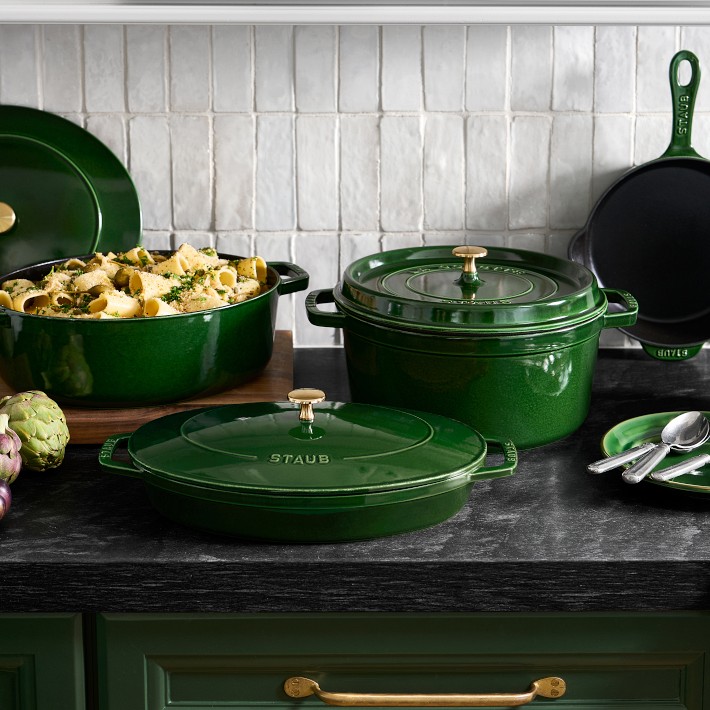
No. While bare cast iron is rugged enough to handle metal spatulas, the glass-like enamel coating on pots like the Le Creuset or Staub is brittle. Metal utensils will chip the enamel, exposing the cast iron beneath to rust and potentially leaving glass shards in your food. Stick to wood, silicone, or plastic tools to keep the interior smooth and safe for years of braising and stewing.
Do I need to season an enameled Dutch oven?
Unlike bare cast iron, enameled Dutch ovens do not require seasoning. The enamel glaze is non-porous and naturally non-stick when properly heated and oiled during cooking. You can skip the time-consuming process of layering and baking oil. However, you still need to treat them with care; avoid thermal shock by never placing a hot enameled pot directly into cold water, as the enamel can crack.
How do I know if a Dutch oven is heavy enough for camping?
Weight is the primary trade-off for heat retention. A 6-quart enameled pot, like the Lodge Essential Enamel, weighs around 13 pounds—too heavy for backpacking but fine for car camping or tailgating. If you are hiking to your cooking site, look for a thinner-walled bare cast iron pot or a specialized lightweight camping Dutch oven. For stationary summer cooking, the extra weight is worth it because it holds heat evenly over a fire or grill, preventing hot spots that burn food.
What is the best size for a family of four outdoors?
A 5.5 to 6-quart round Dutch oven is the sweet spot for most families. It accommodates a whole chicken, a large roast, or enough stew for four people with leftovers. Smaller 3-quart pots are too cramped for family meals and can lead to overcrowding, which steams food instead of searing it. Larger 8-quart pots are excellent for meal prepping or large gatherings but become unwieldy for regular summer dinners unless you are feeding a crowd.
No comments yet. Be the first to share your thoughts!