
Make the recipe
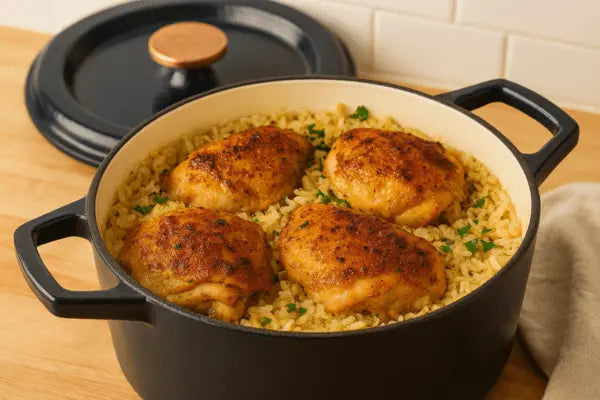
Building a proper Dutch oven chicken and rice starts with getting the chicken skin crisp and the rice tender in the same pot. The trick is managing the heat so the rice absorbs the chicken fat and broth without scorching the bottom. This method relies on a Dutch oven or heavy cast-iron skillet to distribute heat evenly, creating those coveted crispy edges.
Once the rice is tender and the liquid is absorbed, let the pot rest for five minutes. This allows the moisture to redistribute, ensuring the rice isn't mushy. The chicken will remain juicy while the rice soaks up the remaining savory broth and fat from the skin.
Keep the texture right
A Dutch oven traps steam, which is great for tenderness but dangerous for rice. If the liquid doesn’t evaporate properly, you end up with mushy grains. If the heat is too high, the bottom burns before the top cooks. The goal is steady, even evaporation that leaves the rice fluffy and the chicken skin crisp.
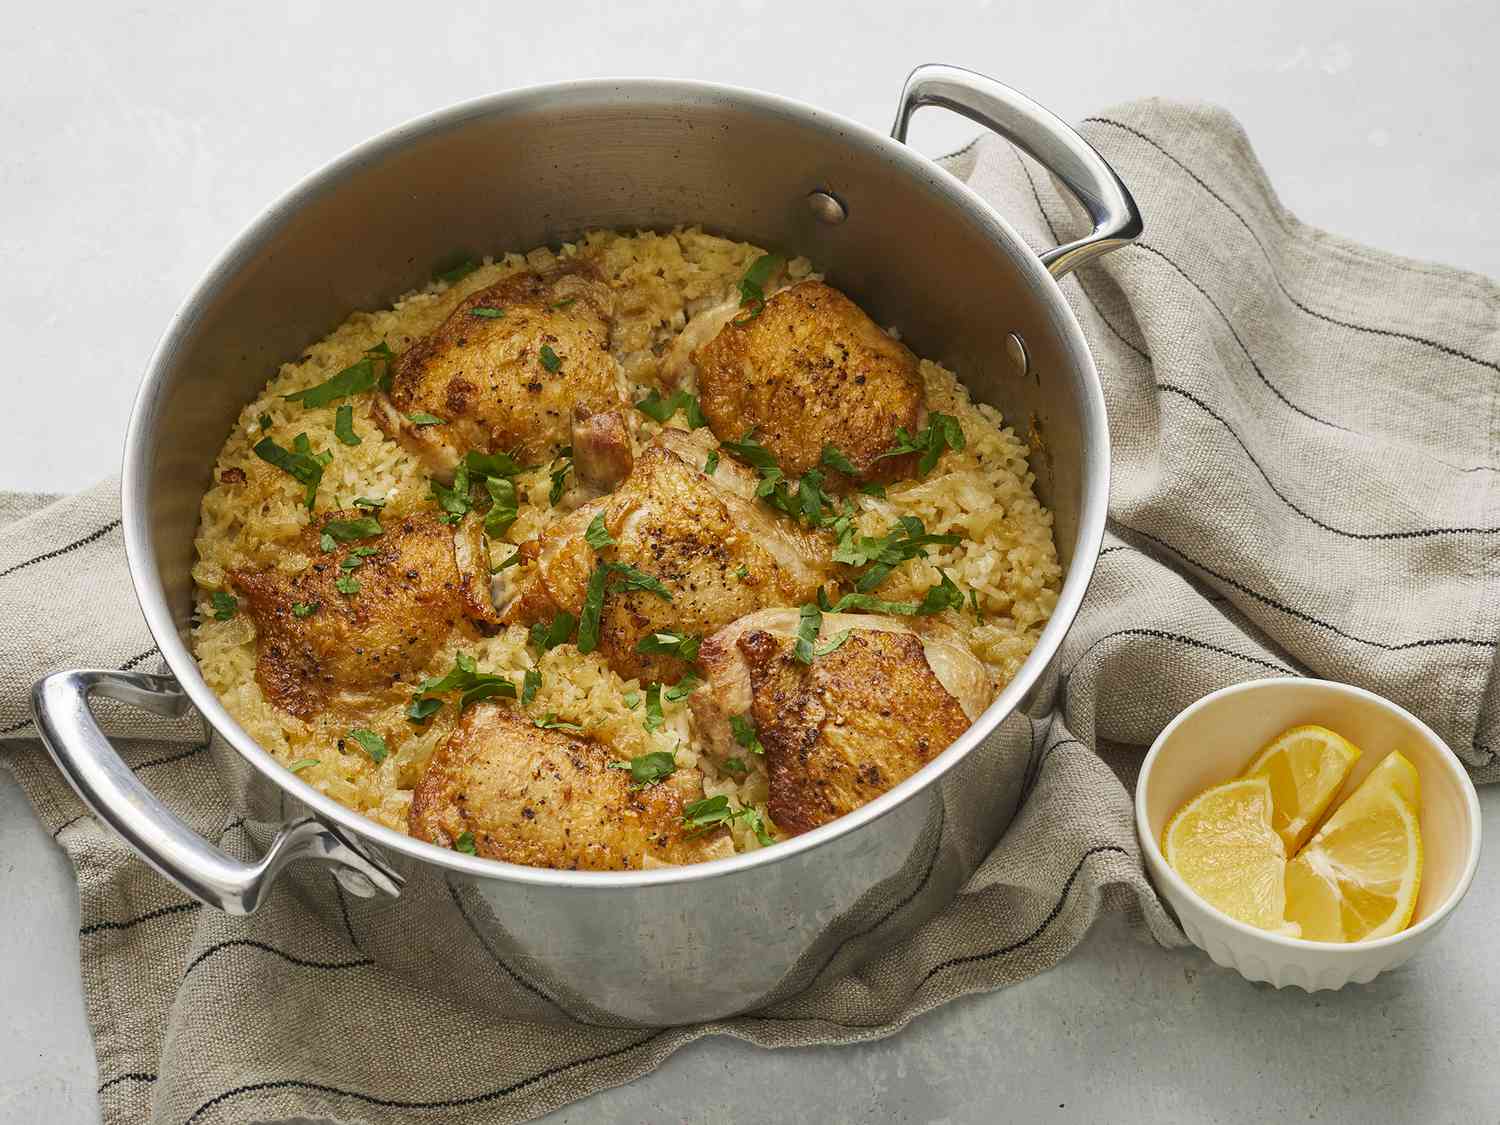
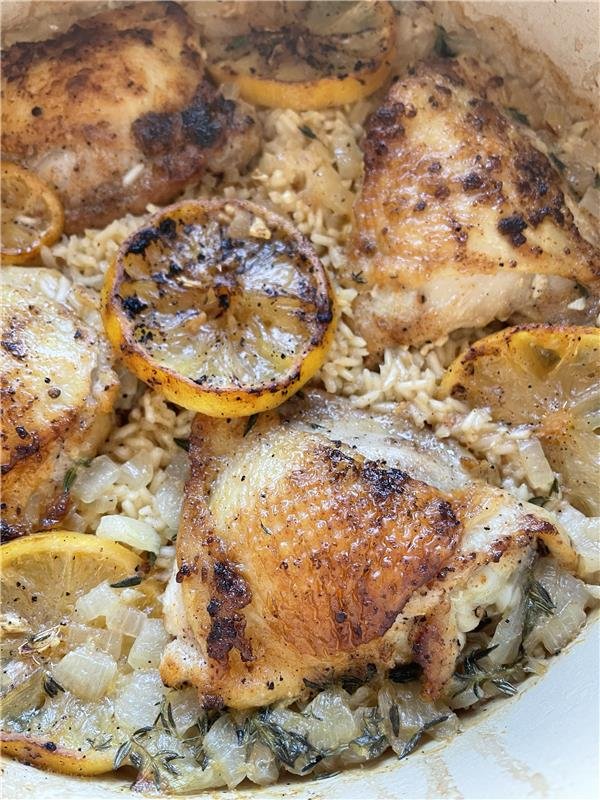
Place the chicken skin-side down in the hot oil and leave it alone. This renders the fat and creates a barrier that stops the meat from drying out. Flip it only when the skin is deeply golden and releases easily from the pot. This step adds flavor to the rice base and ensures the skin stays crisp rather than steaming into rubber.
Stir the raw rice into the hot oil and chicken drippings for one to two minutes. You will hear a slight popping sound and smell a nutty aroma. This coats each grain in fat, which prevents them from sticking together and turning into a gluey paste during the simmer. It also helps the rice hold its shape when it absorbs the broth.
Use a 1:1.5 ratio of rice to liquid for standard long-grain rice. If you use short-grain or jasmine rice, reduce the liquid slightly to 1:1.25 because these varieties absorb more water. Measure the broth or water carefully; eyeballing it is the most common reason for soggy or dry results. The liquid should just barely cover the rice and chicken.
Once the liquid boils, reduce the heat to low and cover the pot tightly. If your lid is loose, wrap a clean kitchen towel under it to trap the steam. Let it cook undisturbed for 15–20 minutes. Do not lift the lid to check, as every release of steam throws off the cooking balance. The rice will absorb all the liquid by the end of this phase.
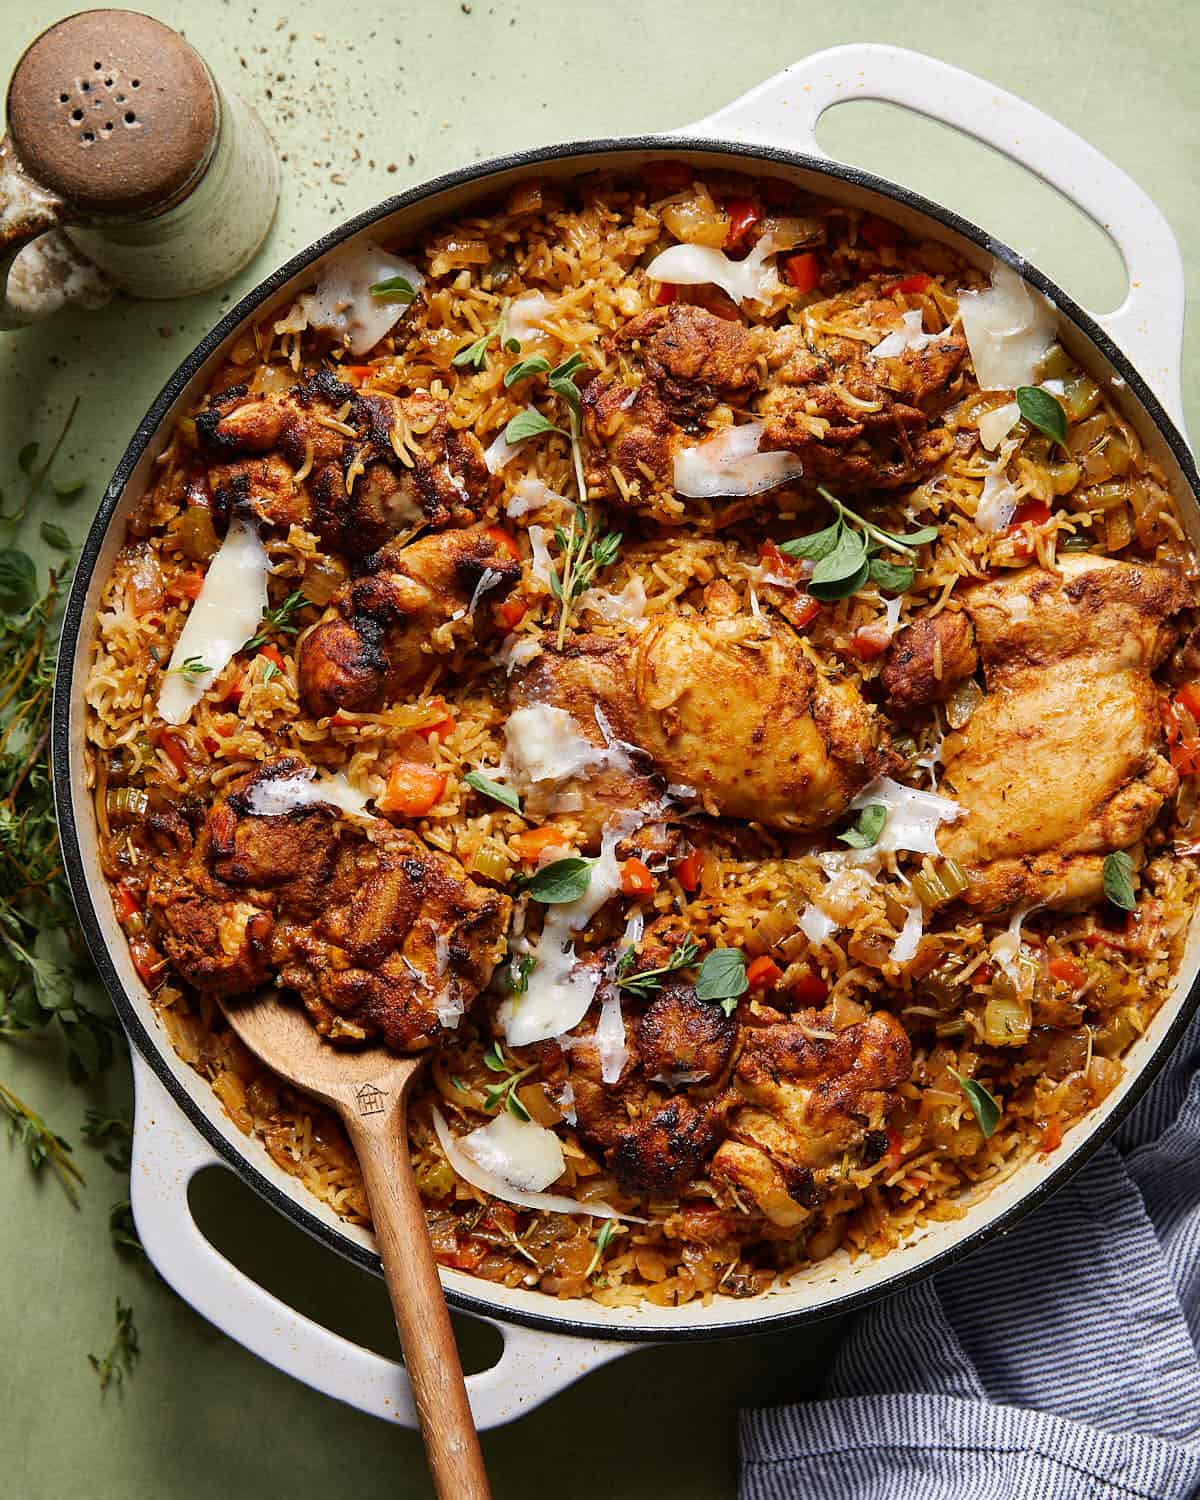
Remove the pot from the heat and let it sit, still covered, for 10 minutes. This allows the residual heat to finish cooking the rice evenly and lets the moisture redistribute. If you fluff it immediately, the grains will break and release excess starch. After resting, fluff gently with a fork to separate the grains and serve.
-
Sear chicken skin-side down for crispness
-
Toast rice in fat to prevent sticking
-
Use precise 1:1.5 liquid-to-rice ratio
-
Simmer on low with a tight seal
-
Rest 10 minutes off-heat before serving
Swaps That Still Work
You don't need to stick to the exact pantry items in the recipe to get that crispy, one-pot result. The base formula—chicken, rice, liquid, and fat—is forgiving. You can adjust ingredients based on what you have or what your household prefers, as long as you respect the cooking mechanics of a Dutch oven.
Chicken Cuts
Bone-in, skin-on thighs are the standard for this recipe because the skin renders fat that crisps up and flavors the rice. If you use boneless, skinless thighs, the meat stays tender but you lose the crispy edges. You can compensate by adding a tablespoon of oil or butter to the pot before searing. If you only have chicken breasts, slice them into thick medallions so they cook through without drying out before the rice is done.
Rice Varieties
Long-grain white rice is the default because it stays fluffy and absorbs liquid evenly. Short-grain or sushi rice will turn gummy and sticky in a Dutch oven, which changes the texture from a fluffy side dish to a risotto-like consistency. If you want to use brown rice, you must increase the liquid by about 50% and extend the cooking time by 15–20 minutes, as the bran layer slows down absorption.
Liquid and Flavor Base
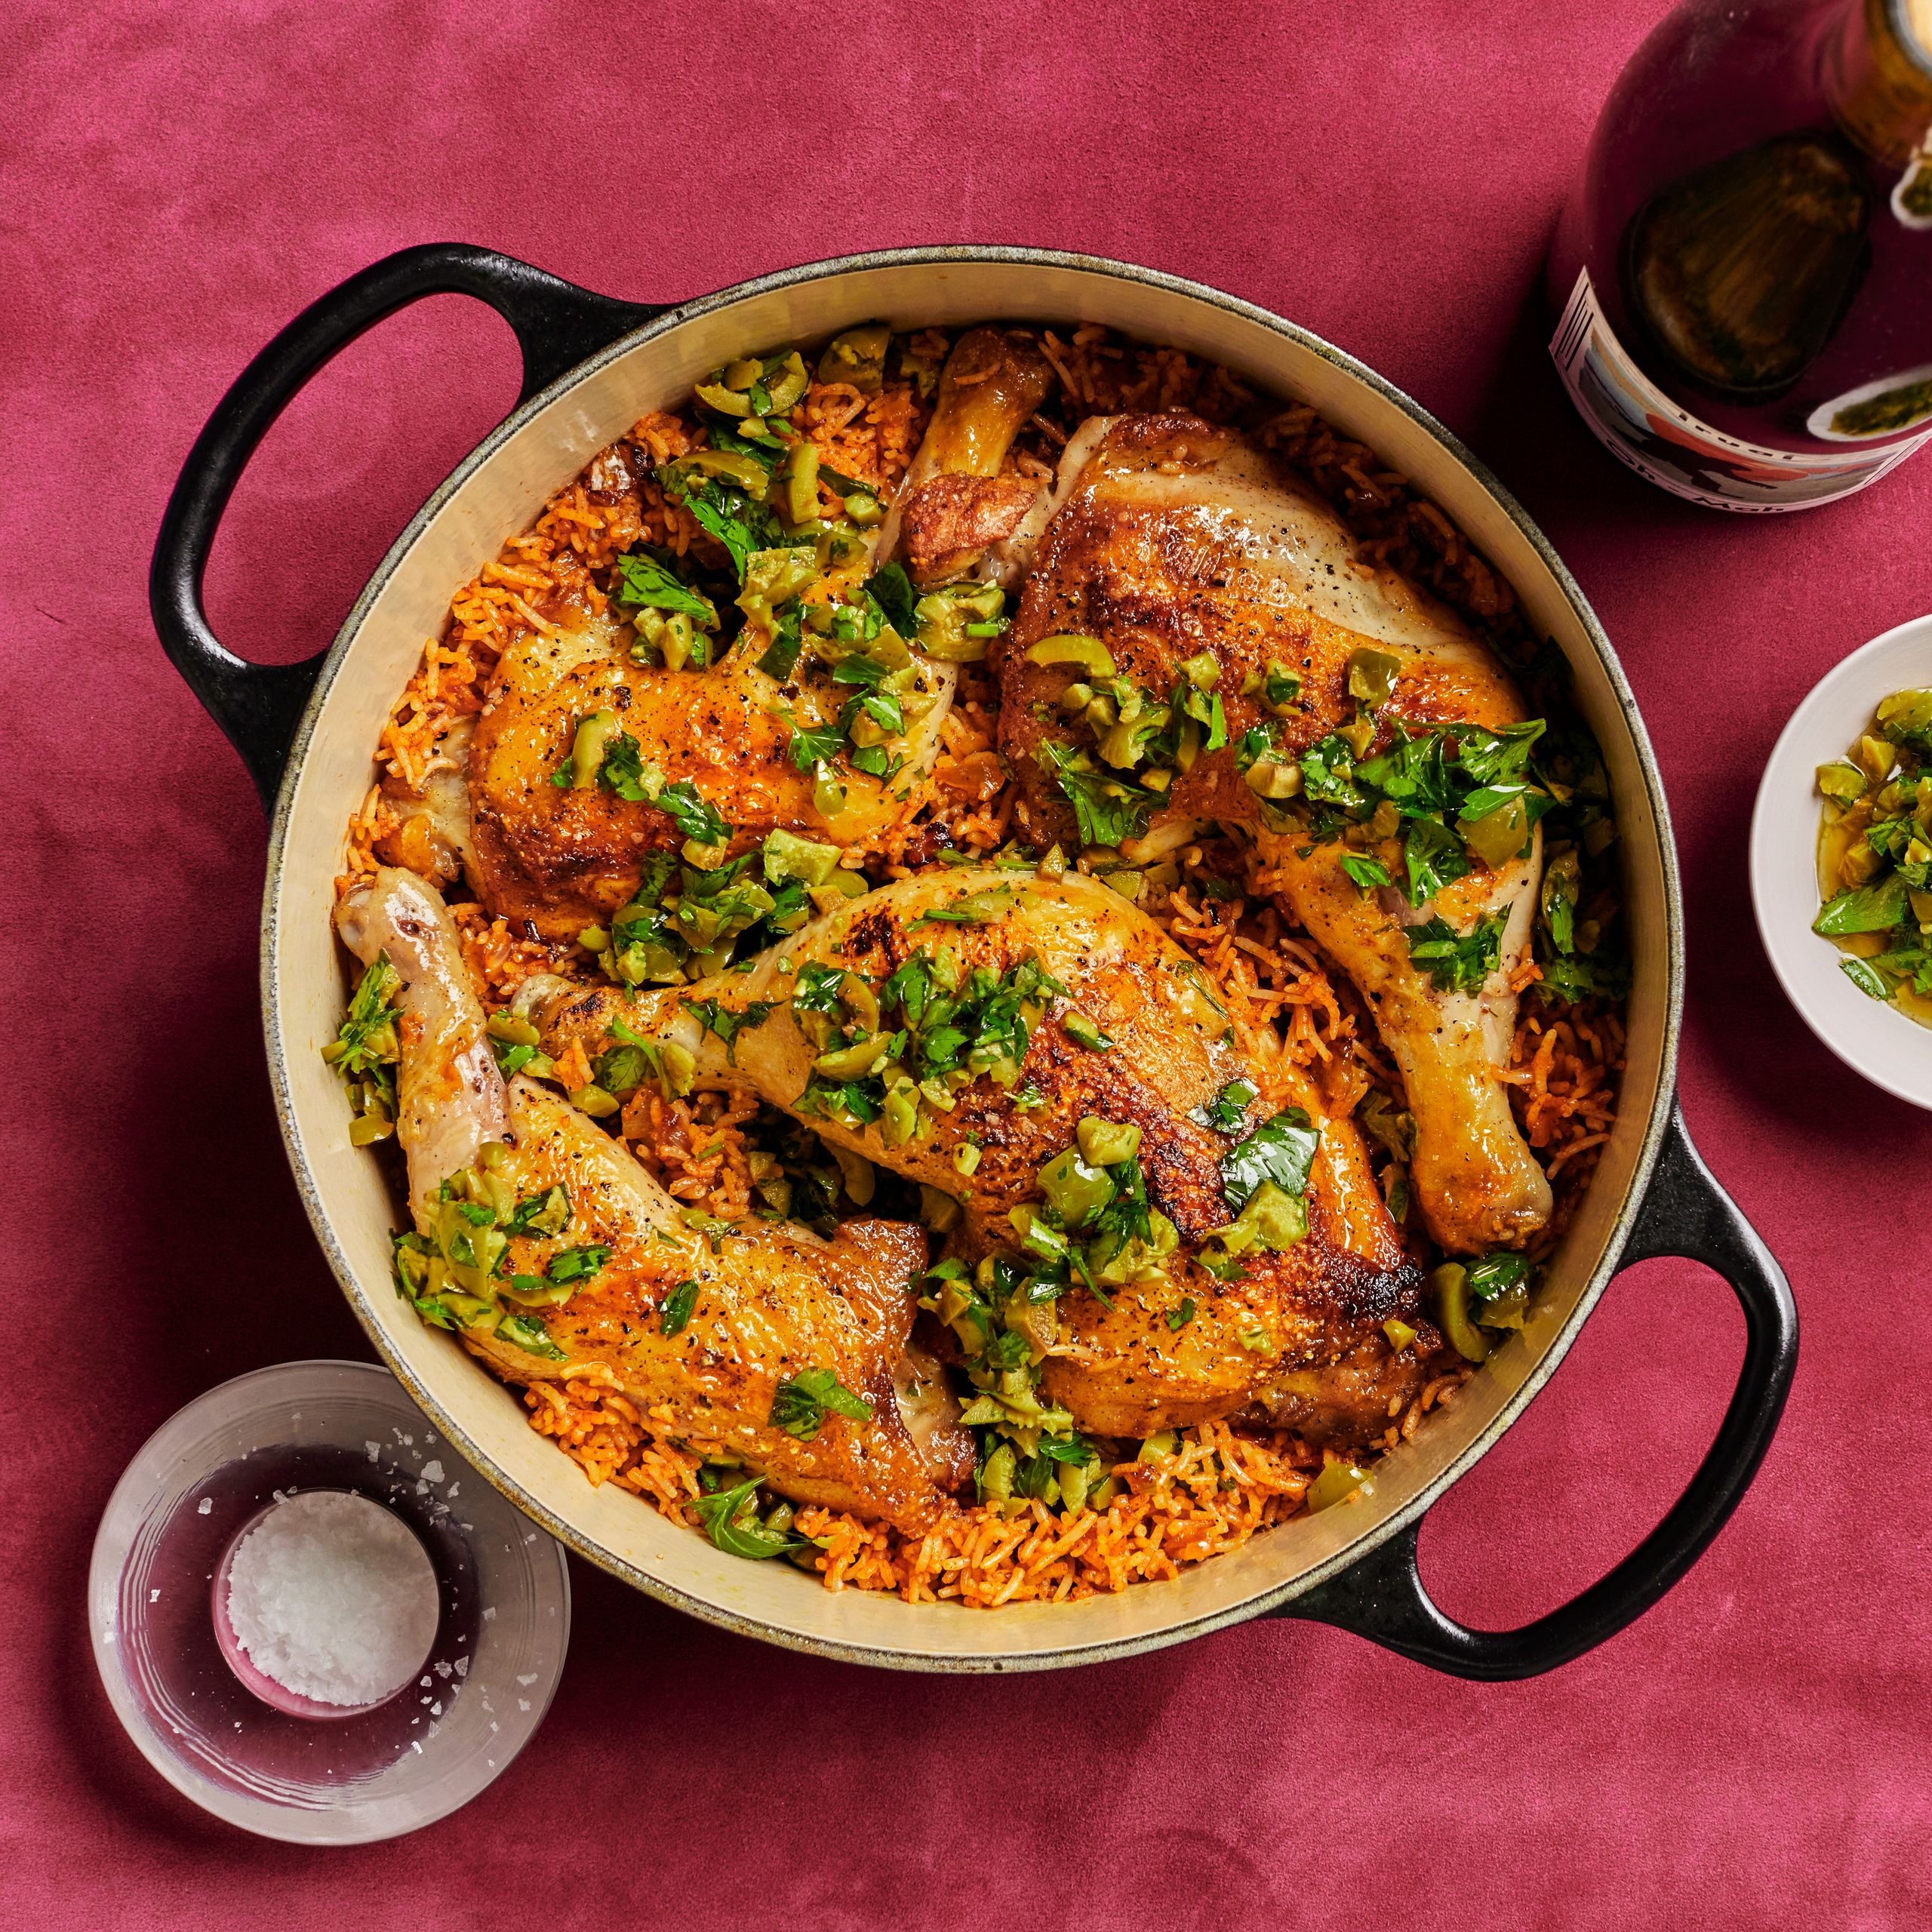
Water works, but chicken stock or broth adds the necessary savory depth that plain water lacks. For a richer flavor, you can swap half the liquid for dry white wine or coconut milk, though coconut milk will change the profile to a more Asian-inspired dish. If you are using canned soup (like cream of mushroom) as a binder, reduce the added salt in the recipe since the soup is already heavily seasoned.
Vegetables
Onions, carrots, and celery form the classic aromatic base. You can swap these for whatever is in season. Frozen peas or corn can be stirred in during the last five minutes of cooking so they don't turn mushy. If you use fresh mushrooms, sauté them first to release their moisture; otherwise, they will water down the rice and prevent the bottom from crisping.
| Ingredient | Original | Swap | Adjustment |
|---|---|---|---|
| Chicken | Bone-in thighs | Boneless thighs | Add 1 tbsp oil for crispness |
| Rice | Long-grain white | Brown rice | Add 50% liquid, +15 min cook |
| Liquid | Water | Chicken stock | No adjustment needed |
| Veg | Fresh onions | Frozen peas | Add in last 5 minutes |
Serve and store it
The best part of this one-pot chicken and rice is how well it holds up. Let the dish rest for five minutes after cooking so the rice finishes absorbing the broth. This prevents a soupy texture and gives the chicken time to reabsorb some of its juices.
Transfer leftovers to an airtight container and refrigerate for up to three days. The flavors actually improve the next day as the rice settles. You can reheat individual portions in the microwave with a splash of water to keep the grains moist.
For a quicker lunch, warm the rice and chicken in a skillet over medium heat. Add a little chicken broth or water if the rice looks dry. This restores the crispy edges that formed during the initial bake.
If you want to prep ahead, cook the chicken and rice fully, then cool and store in the fridge. Reheat gently when ready to serve. This method saves time on busy weeknights without sacrificing the dish's comfort-food appeal.
Dutch oven chicken and rice: what to check next
One-pot meals simplify weeknight dinners, but Dutch ovens introduce specific variables that can change the outcome. Here are the most common practical concerns for this recipe.
No comments yet. Be the first to share your thoughts!