
Why Dutch oven meal prep?
Life feels fast. Between work, family, and personal time, it’s a constant juggle. Finding time to cook healthy, satisfying meals can feel impossible. But there’s a way to reclaim your evenings and still enjoy delicious food: Dutch oven meal prep.
A Dutch oven is an efficient tool for busy people. Its versatility is key: you can sear, sauté, simmer, and bake all in one pot, minimizing cleanup and freeing up your time. Beyond convenience, a Dutch oven enhances flavor. Even heat distribution and a tight-fitting lid create an ideal environment for developing deep, complex tastes.
Many meal prep methods sacrifice flavor for speed. With a Dutch oven, you build flavor while you prep. Recipes improve as they sit, making it perfect for weekend cooking that lasts through the week. It’s about making your life easier and your meals more enjoyable, even when things get hectic. Prepping isn’t a chore; it’s an investment in your well-being.
Essential tools
You don’t need many gadgets for Dutch oven meal prep. A few well-chosen tools make a difference. A good silicone spatula is invaluable for scraping down the sides of the pot and stirring without damaging the enamel. A Dutch oven liner simplifies cleanup, especially for sticky dishes.
A reliable meat thermometer is essential for food safety, particularly when cooking larger batches. A trivet protects countertops and table surfaces from the hot Dutch oven. Enameled cast iron is easier to clean and doesn't require seasoning, while bare cast iron offers superior heat retention and, with proper seasoning, a naturally non-stick surface.
Focus on quality basics that make your cooking experience smoother. A good set of tongs and a sturdy cutting board are also helpful. These tools empower you to create consistently delicious meals with minimal fuss.
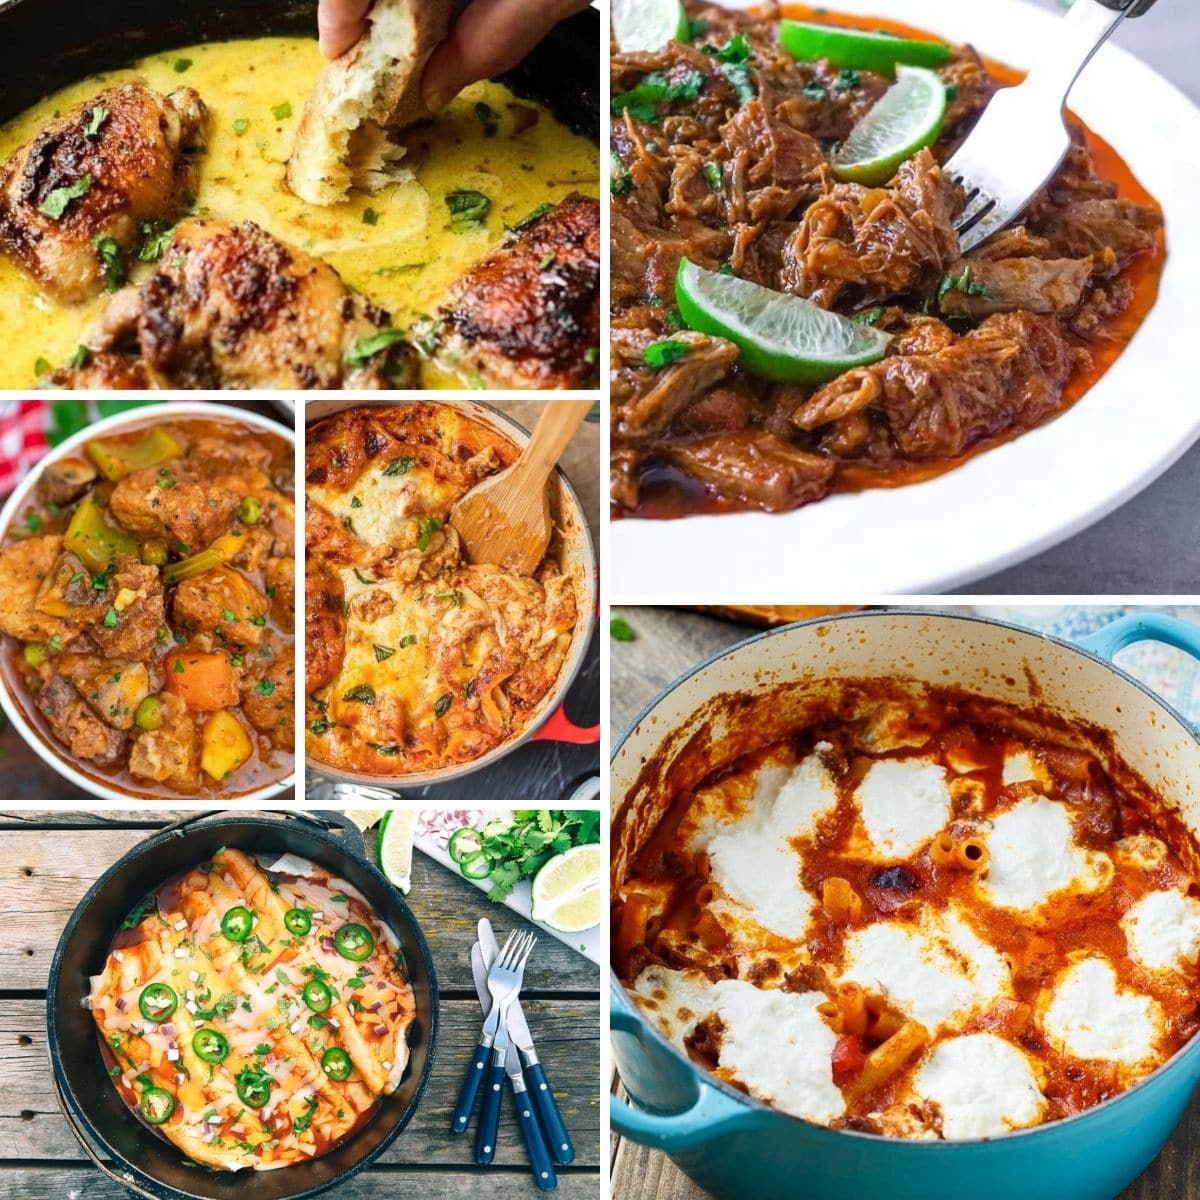
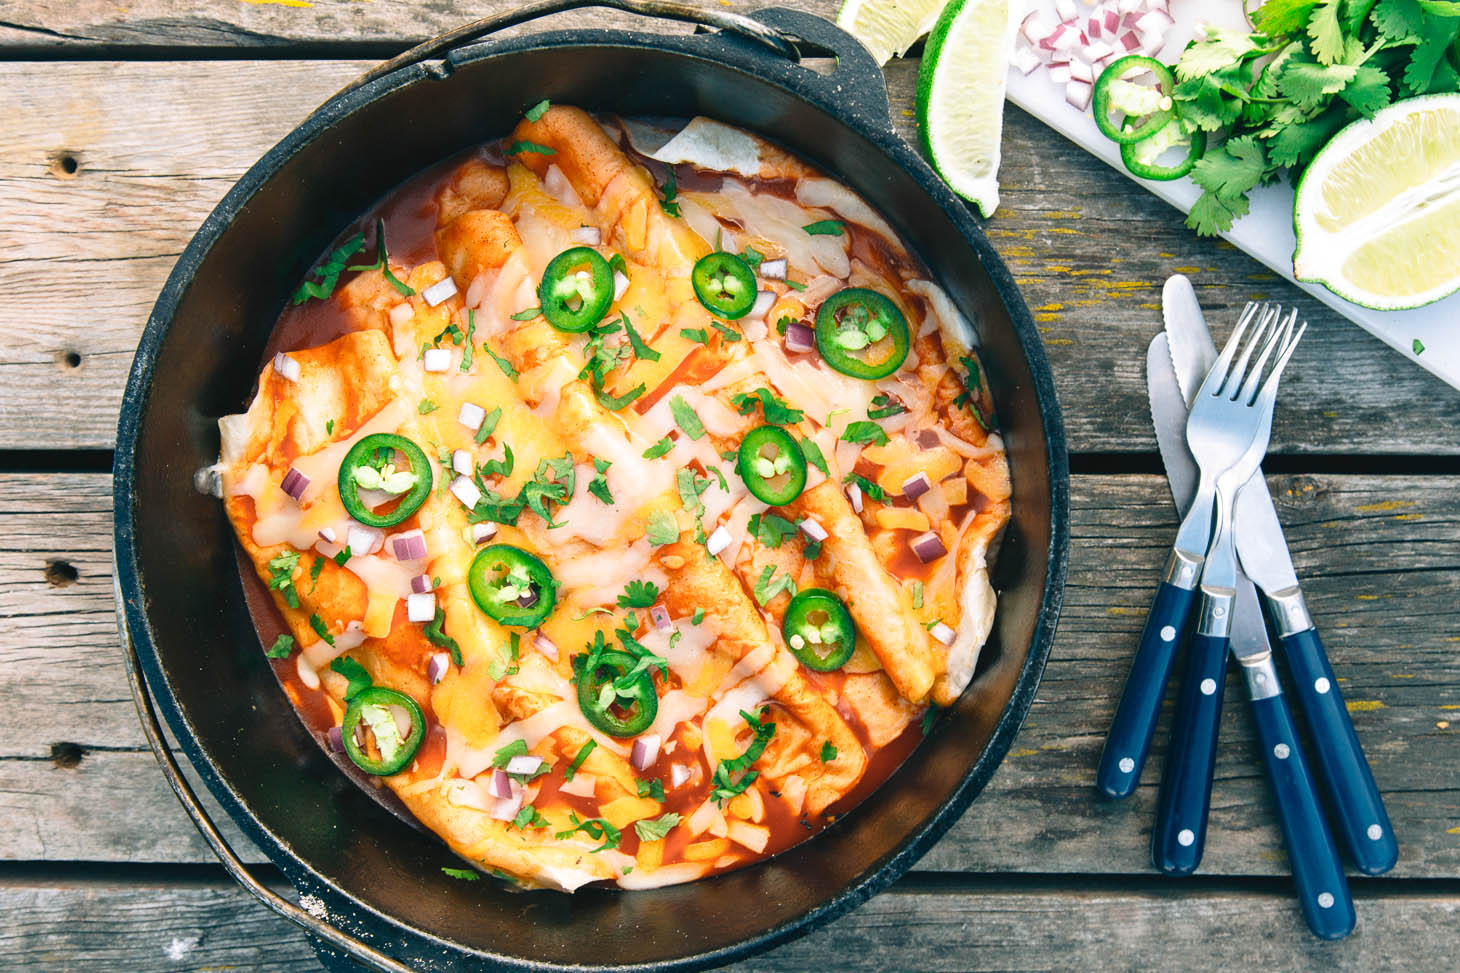
7 make-ahead recipes
Here are the recipes. Each is designed with meal prep in mind—they hold up well in the fridge and are easy to reheat. Prep and cook times are estimates and can vary.
Hearty Beef Stew: (Prep: 20 mins, Cook: 2.5 hrs, Fridge Life: 4 days) This classic is a meal prep superstar. The flavors meld beautifully overnight. It’s also easily adaptable for gluten-free diets by using a gluten-free thickening agent like cornstarch.
Lemon Herb Roasted Chicken & Veggies: (Prep: 15 mins, Cook: 1 hr 15 mins, Fridge Life: 3 days) Roasting a whole chicken in the Dutch oven creates incredibly tender meat and flavorful vegetables. The leftovers are fantastic in salads or sandwiches.
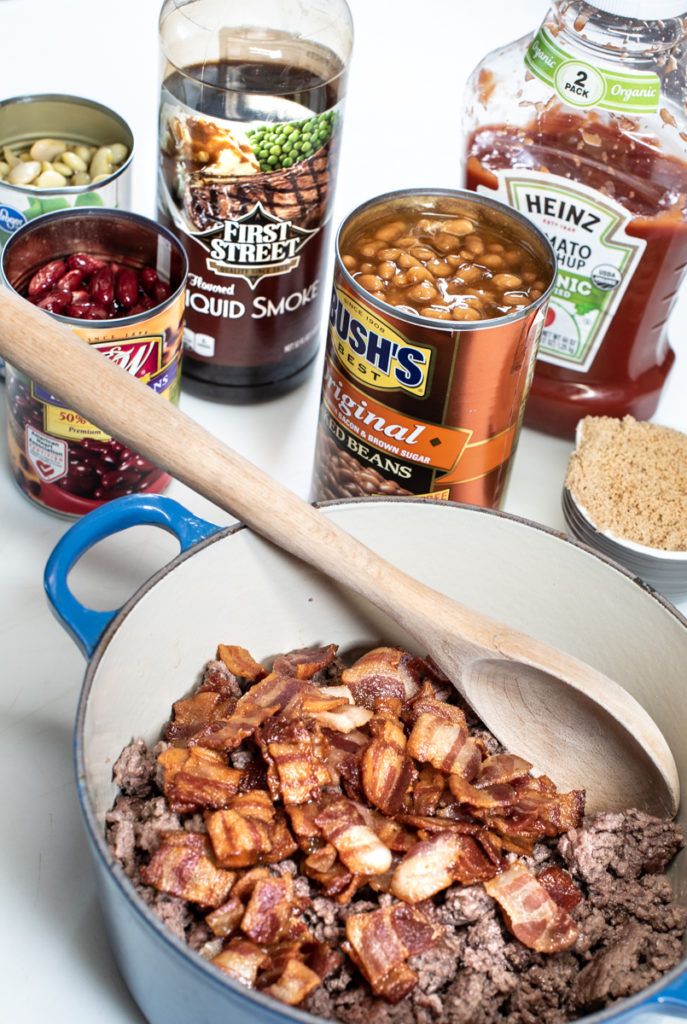
Spicy Chorizo & Black Bean Chili: (Prep: 10 mins, Cook: 45 mins, Fridge Life: 5 days) Chili is another meal prep champion. It actually tastes better after a day or two as the flavors deepen. Top with avocado and sour cream when serving.
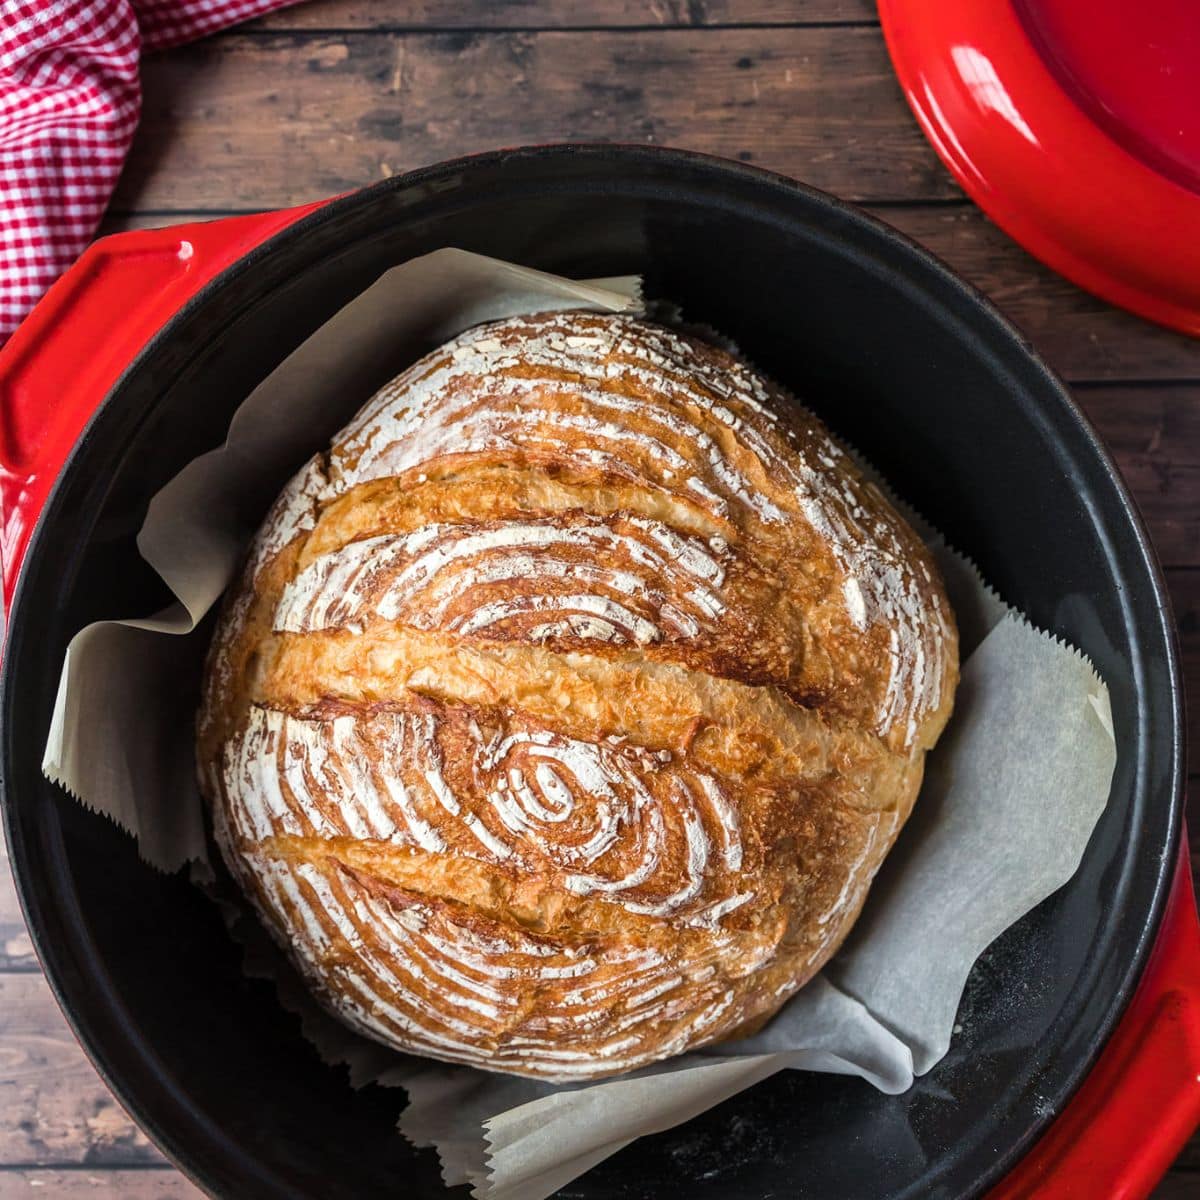
One-Pot Tomato Basil Pasta: (Prep: 10 mins, Cook: 30 mins, Fridge Life: 2 days) This is a quick and easy weeknight meal that’s perfect for meal prepping. Add some grilled chicken or sausage for extra protein. It’s also easily made vegan.
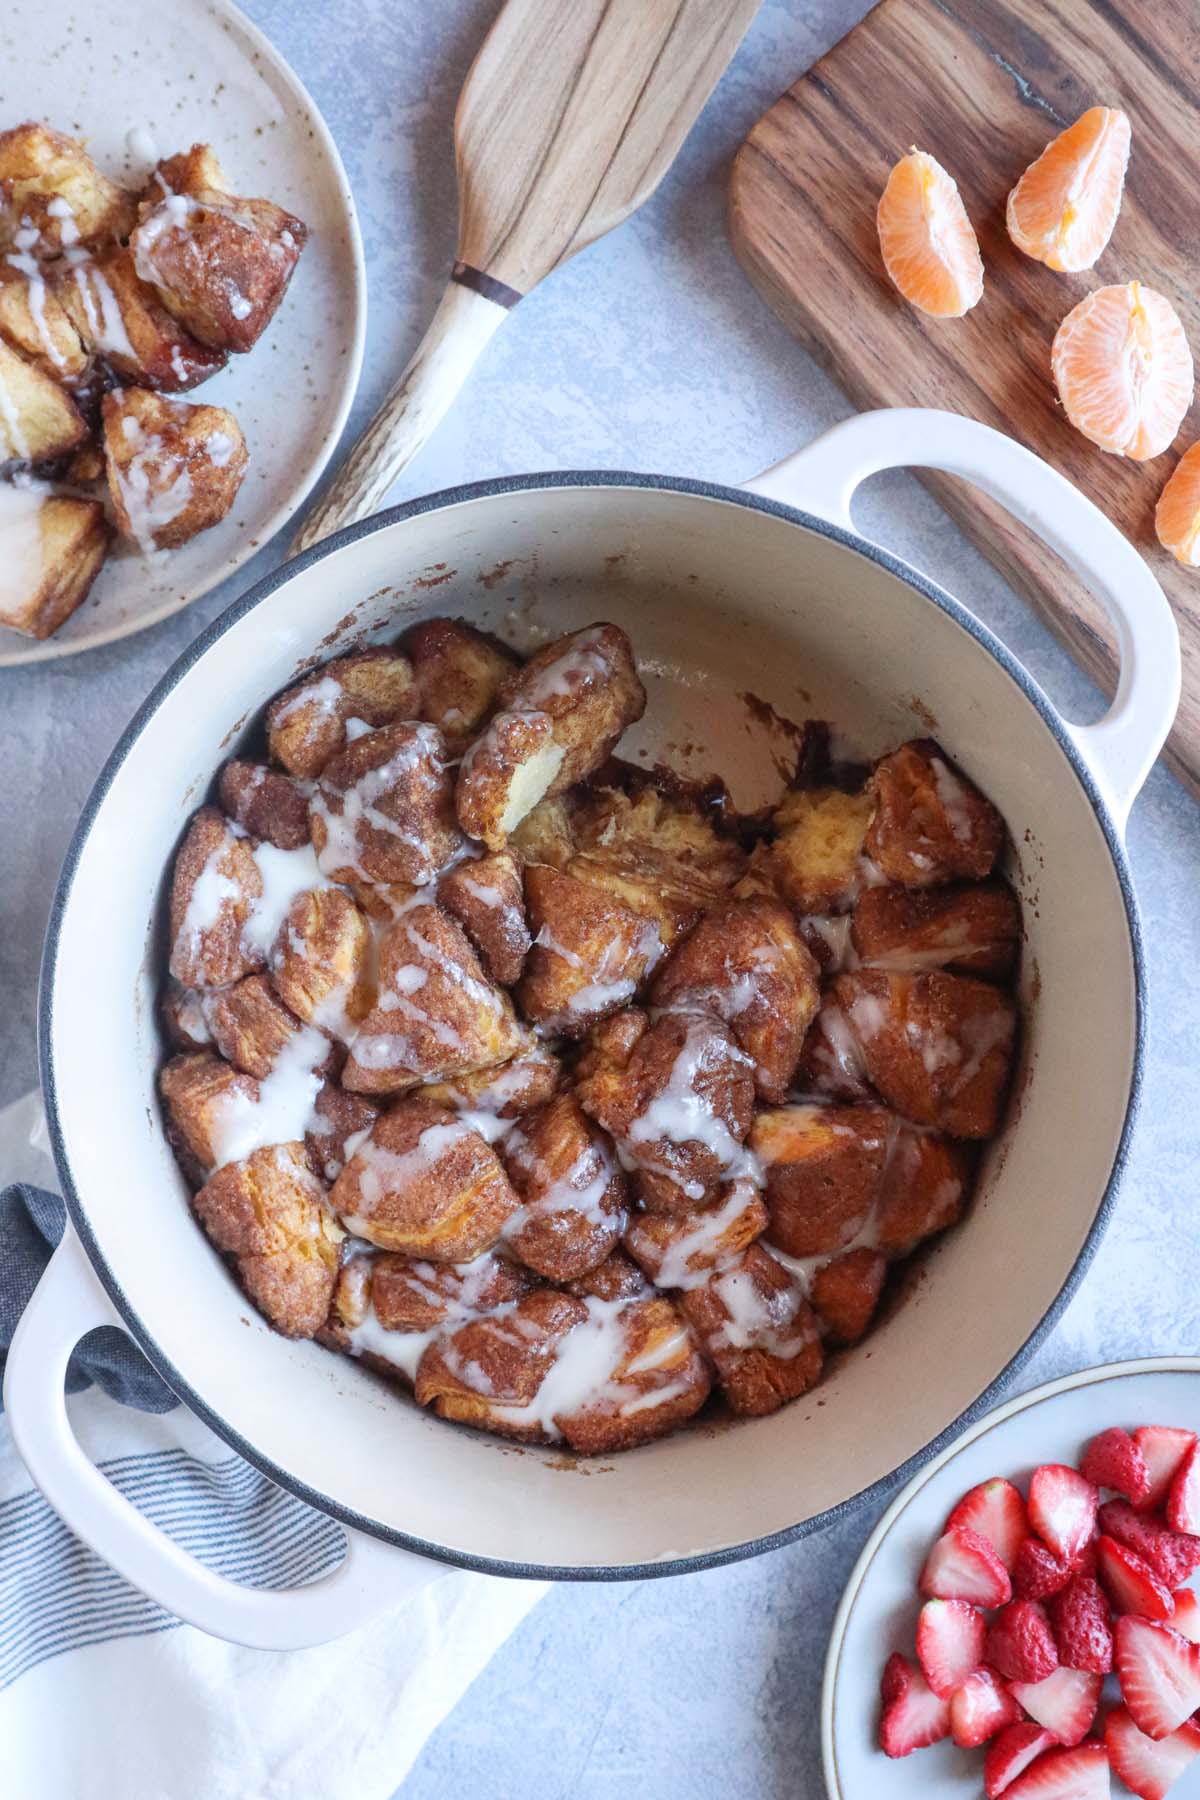
Savory Sausage & Apple Breakfast Casserole: (Prep: 20 mins, Cook: 40 mins, Fridge Life: 3 days) Prep this the night before and bake it in the morning for a stress-free breakfast. It’s perfect for weekend brunches or busy weekday mornings.
Creamy Tomato Soup: (Prep: 10 mins, Cook: 35 mins, Fridge Life: 4 days) A comforting classic that’s perfect for a chilly evening. Serve with grilled cheese sandwiches for a complete meal. It freezes well too.
Moroccan Lamb Tagine: (Prep: 25 mins, Cook: 2 hrs 30 mins, Fridge Life: 4 days) This flavorful stew is a bit more involved, but the results are worth it. The lamb becomes incredibly tender and the spices create a complex, aromatic dish. It's a great way to expand your culinary horizons.
- Consider doubling recipes for lunches.
- Cool food completely before storing it in the refrigerator.
- Label containers with the date to track freshness.
Recipe spotlight: Spicy Korean Pork & Rice
Spicy Korean Pork & Rice stands out for its incredible flavor and how well it reheats. The gochujang-based sauce caramelizes beautifully in the Dutch oven, creating a sticky, savory, and slightly spicy glaze. It’s a satisfying and easy one-pot meal that tastes better the next day.
Ingredients: 1.5 lbs pork shoulder, cut into 1-inch cubes; 1 tbsp sesame oil; 1 onion, chopped; 2 cloves garlic, minced; 1 inch ginger, grated; 1/4 cup gochujang (Korean chili paste); 2 tbsp soy sauce; 1 tbsp brown sugar; 1 tbsp rice vinegar; 1 tsp gochugaru (Korean chili flakes); 2 cups cooked rice; Sesame seeds and sliced scallions for garnish.
Step-by-Step Guide: 1. Heat sesame oil in the Dutch oven over medium-high heat. 2. Sear pork in batches until browned. Remove and set aside. 3. Sauté onion, garlic, and ginger until softened. 4. Whisk together gochujang, soy sauce, brown sugar, rice vinegar, and gochugaru. 5. Return pork to the Dutch oven and pour sauce over. 6. Bring to a simmer, then reduce heat and cook for 1.5-2 hours, or until pork is tender. 7. Serve over rice, garnished with sesame seeds and scallions. You can source gochujang from most Asian grocery stores or online retailers like Amazon. Adjust the amount of gochugaru to control the spice level.
Variations: Add sliced carrots, mushrooms, or spinach to the Dutch oven during the last 30 minutes of cooking. For a milder flavor, reduce the amount of gochujang. You can also substitute chicken or beef for the pork.
Storage and reheating
Proper storage maximizes the lifespan of your meal-prepped creations. Allow food to cool completely before transferring it to airtight containers. Glass containers are ideal, but sturdy plastic works too. For soups and stews, divide into individual portions for easy reheating. Most Dutch oven meals last 3-5 days in the refrigerator.
For reheating, the oven is best for maintaining texture, especially for casseroles and roasted dishes. Reheat at 350°F (175°C) until heated through. The stovetop works well for soups, stews, and sauces; heat over medium heat, stirring occasionally. The microwave is quickest but can result in uneven heating and dryness. Add a splash of water or broth to retain moisture.
To prevent drying out meat, add a little liquid (broth, water, or sauce) before reheating. Avoid overheating, as this leads to dryness. Properly stored and reheated, your Dutch oven meals will taste just as good as the first time.
Cleaning your Dutch oven
Cleaning a Dutch oven isn’t daunting. The process differs for enameled or bare cast iron. Enameled cast iron is easy to clean with warm, soapy water and a non-abrasive sponge. Avoid harsh detergents and steel wool, as these damage the enamel.
Bare cast iron requires more care. Avoid soaking it in water, as this causes rust. Scrape out food debris with a wooden spoon or spatula. Wash with warm water and a gentle sponge. Dry thoroughly and season with a thin layer of oil to prevent rusting. For stuck-on food, simmer water in the Dutch oven for a few minutes to loosen it.
Seasoning bare cast iron is crucial for its non-stick properties. After each cleaning, apply a thin coat of oil (vegetable, canola, or flaxseed) and heat in the oven at 350°F (175°C) for an hour. Regular seasoning keeps your Dutch oven in top condition.
No comments yet. Be the first to share your thoughts!