
TikTok's Dutch Oven Obsession: What's Real?
There’s no denying it: Dutch ovens are everywhere. And a lot of that is thanks to TikTok. Scroll through the app for five minutes, and you’re bound to stumble upon a video showcasing someone making a seemingly effortless meal in their trusty cast iron pot. It’s a full-blown renaissance for a cooking staple, but honestly, a lot of it feels…overhyped. I’ve been cooking with Dutch ovens for years, long before they were trending, and some of these viral recipes just seem too good to be true.
The appeal is obvious, though. Dutch ovens are incredibly versatile – they can go from stovetop to oven, they retain heat beautifully, and a well-seasoned one is practically indestructible. Plus, let’s be real, they look good. That aesthetic is a big part of the TikTok draw. But does that translate to consistently delicious, easy meals? That’s what I set out to discover. I picked five of the most popular Dutch oven recipes circulating on TikTok in early 2026 and put them to the test.
I wanted to see if these recipes were genuinely simple and flavorful, or if they were just benefiting from good lighting and clever editing. I’m not going to lie, I went in with a healthy dose of skepticism. So many food trends promise ease and perfection, only to deliver a frustrating mess. My goal here is to give you the honest truth, based on real-world testing, about which TikTok Dutch oven recipes are actually worth your time.
Viral #1: Baked Feta Pasta
The Baked Feta Pasta trend exploded in late 2022 and continues to resurface. The concept is simple: a block of feta cheese, cherry tomatoes, garlic, olive oil, and herbs baked in a Dutch oven, then tossed with cooked pasta and a little pasta water. It sounds delicious, and the TikToks certainly make it look effortless. The original recipe, as popularized by @healthyfitnessmeals on TikTok, gained over 4 million likes.
My test run started well enough. I used a 6-quart Lodge Dutch oven, a 250g block of feta, about a pound of cherry tomatoes, four cloves of garlic, a generous glug of olive oil, and a sprinkle of dried oregano. I baked it at 400°F (200°C) for about 30 minutes, until the tomatoes were blistered and the feta was melty. The initial bake looked promising, but things got a little tricky when I tried to combine it with the cooked pasta.
The feta stuck to the bottom of the Dutch oven, despite my best efforts to scrape it up. It took some serious elbow grease to get everything incorporated. The flavor was good – tangy, sweet, and savory – but it wasn’t the seamless, one-pan wonder TikTok promised. I also found the pasta absorbed a lot of the sauce, so it needed a good splash of pasta water to loosen it up. I’d recommend using a slightly larger Dutch oven to give everything more room and reduce the sticking issue. I also suggest adding the pasta directly to the Dutch oven after baking, instead of transferring everything to a bowl.
Overall, it lived up to the flavor hype, but the ease factor was definitely overstated. It's a good recipe, but not the revolutionary one TikTok portrayed. Potential pitfalls? Definitely feta sticking and pasta becoming dry. Don't be afraid to add more olive oil and pasta water than you think you need.
Dutch Oven Deep Dive: Pasta Perfection
The Baked Feta Pasta experiment highlighted something important: cooking pasta in a Dutch oven is a little different than using a standard pot. The cast iron’s incredible heat retention means it heats up slowly, but stays hot. This is fantastic for maintaining a consistent boil, which is crucial for perfectly cooked pasta. However, it also means you need to be mindful of scorching.
I’ve found that using a Dutch oven for pasta results in more even cooking. The thick walls distribute heat evenly, preventing hot spots that can lead to unevenly cooked noodles. It's especially good for larger batches of pasta – the Dutch oven can handle a significant amount without the water temperature dropping too much. I prefer using shorter pasta shapes like penne, rotini, or fusilli in a Dutch oven, as they’re less likely to stick together. Long strands like spaghetti can work, but require extra stirring.
The key to success is using enough liquid – I usually aim for a ratio of at least 6 quarts of water per pound of pasta – and stirring frequently, especially during the first few minutes of cooking. Don’t be afraid to lift the pasta gently with a fork to prevent it from sticking to the bottom. A little salt in the water is essential, of course, but be generous; the cast iron can sometimes mute the flavor a bit.
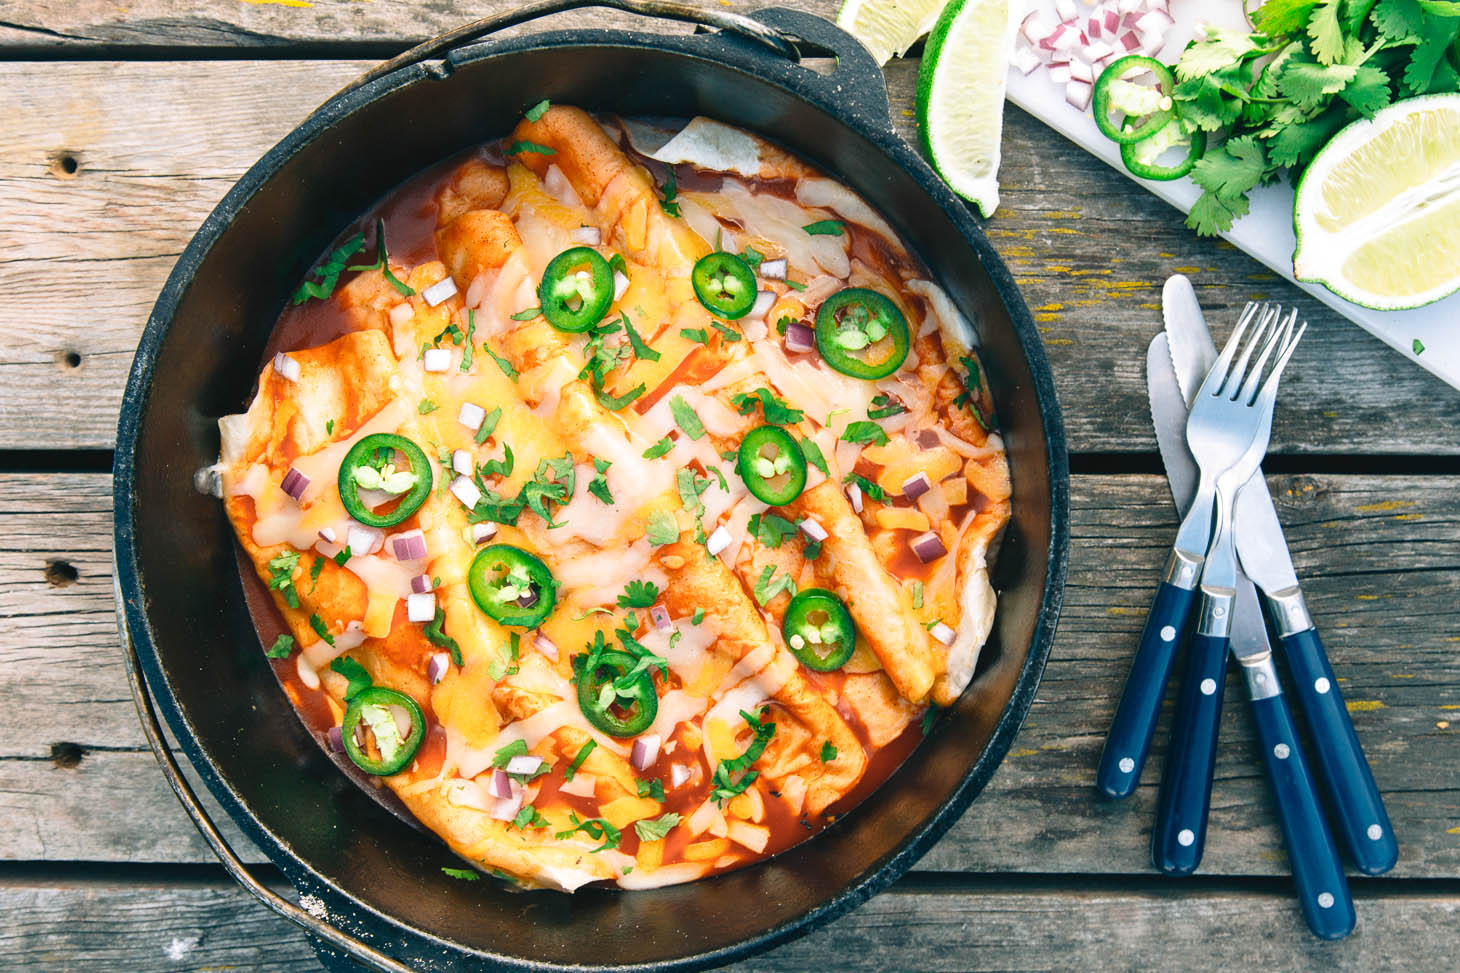
Viral #2: Salsa Verde Chicken
Next up was the Salsa Verde Chicken, a TikTok trend that promised incredibly tender, flavorful chicken cooked in a vibrant green sauce. The recipe typically involves placing chicken thighs or breasts in a Dutch oven, covering them with store-bought salsa verde, and baking until cooked through. @cookingwithcarolyn's version got over 2 million views.
I used boneless, skinless chicken thighs – they tend to stay moister than breasts – and a jar of Herdez Salsa Verde. I simply placed the chicken in my Dutch oven, poured the salsa over it, and baked at 375°F (190°C) for about 40 minutes. The result? Surprisingly good, but not mind-blowing. The chicken was tender, and the salsa verde flavor was bright and fresh.
I did notice a slight tendency for the salsa to burn around the edges of the Dutch oven, so I recommend stirring it halfway through cooking. I also added a tablespoon of olive oil to the bottom of the Dutch oven before adding the chicken and salsa to help prevent sticking. I’m not entirely convinced the Dutch oven adds anything particularly special to this recipe; it could easily be made in a regular baking dish. But it certainly didn't hurt the outcome.
My modifications included stirring halfway through and adding a touch of olive oil. It's a simple recipe that delivers decent flavor, but don't expect a culinary revelation. The Dutch oven works fine, but isn't essential.
Beyond the Basics: Dutch Oven Heat Control
One of the biggest challenges – and rewards – of cooking with a Dutch oven is mastering heat control. Cast iron retains heat like no other material, which is fantastic for searing, braising, and maintaining consistent temperatures. But it also means things can heat up quickly and unevenly if you’re not careful. The key is to start low and slow.
On a gas burner, I prefer to start with medium-low heat and gradually increase it as needed. Electric burners take longer to heat up, so you may need to be more patient. Induction cooktops are particularly efficient with cast iron, but they can also heat up very quickly, so keep a close eye on things. I always recommend using a heat diffuser, especially on induction, to prevent hot spots.
If you’re searing meat, make sure the Dutch oven is fully heated before adding the food. You should be able to flick a drop of water into the pot and have it sizzle immediately. To prevent scorching, use enough liquid, stir frequently, and don’t overcrowd the pot. If something does start to stick, deglaze the bottom with a little broth or wine. A good rule of thumb: less is more when it comes to initial heat settings.
Dutch Oven Heat Control Methods: A Comparison
| Method | Ease of Use | Precision | Speed | Best For |
|---|---|---|---|---|
| Direct Heat (Stovetop) | Generally easy, familiar to most cooks | Moderate - requires active adjustment | Fastest for initial heating and searing | Searing, boiling, quick sauces, bringing liquids to a boil |
| Diffuser Plate | Simple to use, sits between oven and burner | Improved - distributes heat more evenly, reducing hot spots | Moderate - slightly slower than direct heat | Simmering delicate sauces, preventing scorching, even heating for foods prone to sticking |
| Oven | Easy - set temperature and forget | High - consistent and even heat throughout | Slower - takes time to preheat and cook | Braising, roasting, baking, long slow cooking, recipes requiring consistent temperature |
| Slow Cooker (Dutch Oven as Insert) | Very easy - use like a standard slow cooker insert | Lower - temperature control relies on the slow cooker settings | Slowest - designed for extended cooking times | Long-simmered stews, soups, overnight cooking, tenderizing tough cuts of meat |
| Combination (Stovetop to Oven) | Moderate - requires moving the Dutch oven | Good - allows for searing then slow baking | Moderate - combines speed of stovetop with oven's consistency | Recipes needing both searing/browning *and* slow cooking (e.g., many braised dishes) |
Illustrative comparison based on the article research brief. Verify current pricing, limits, and product details in the official docs before relying on it.
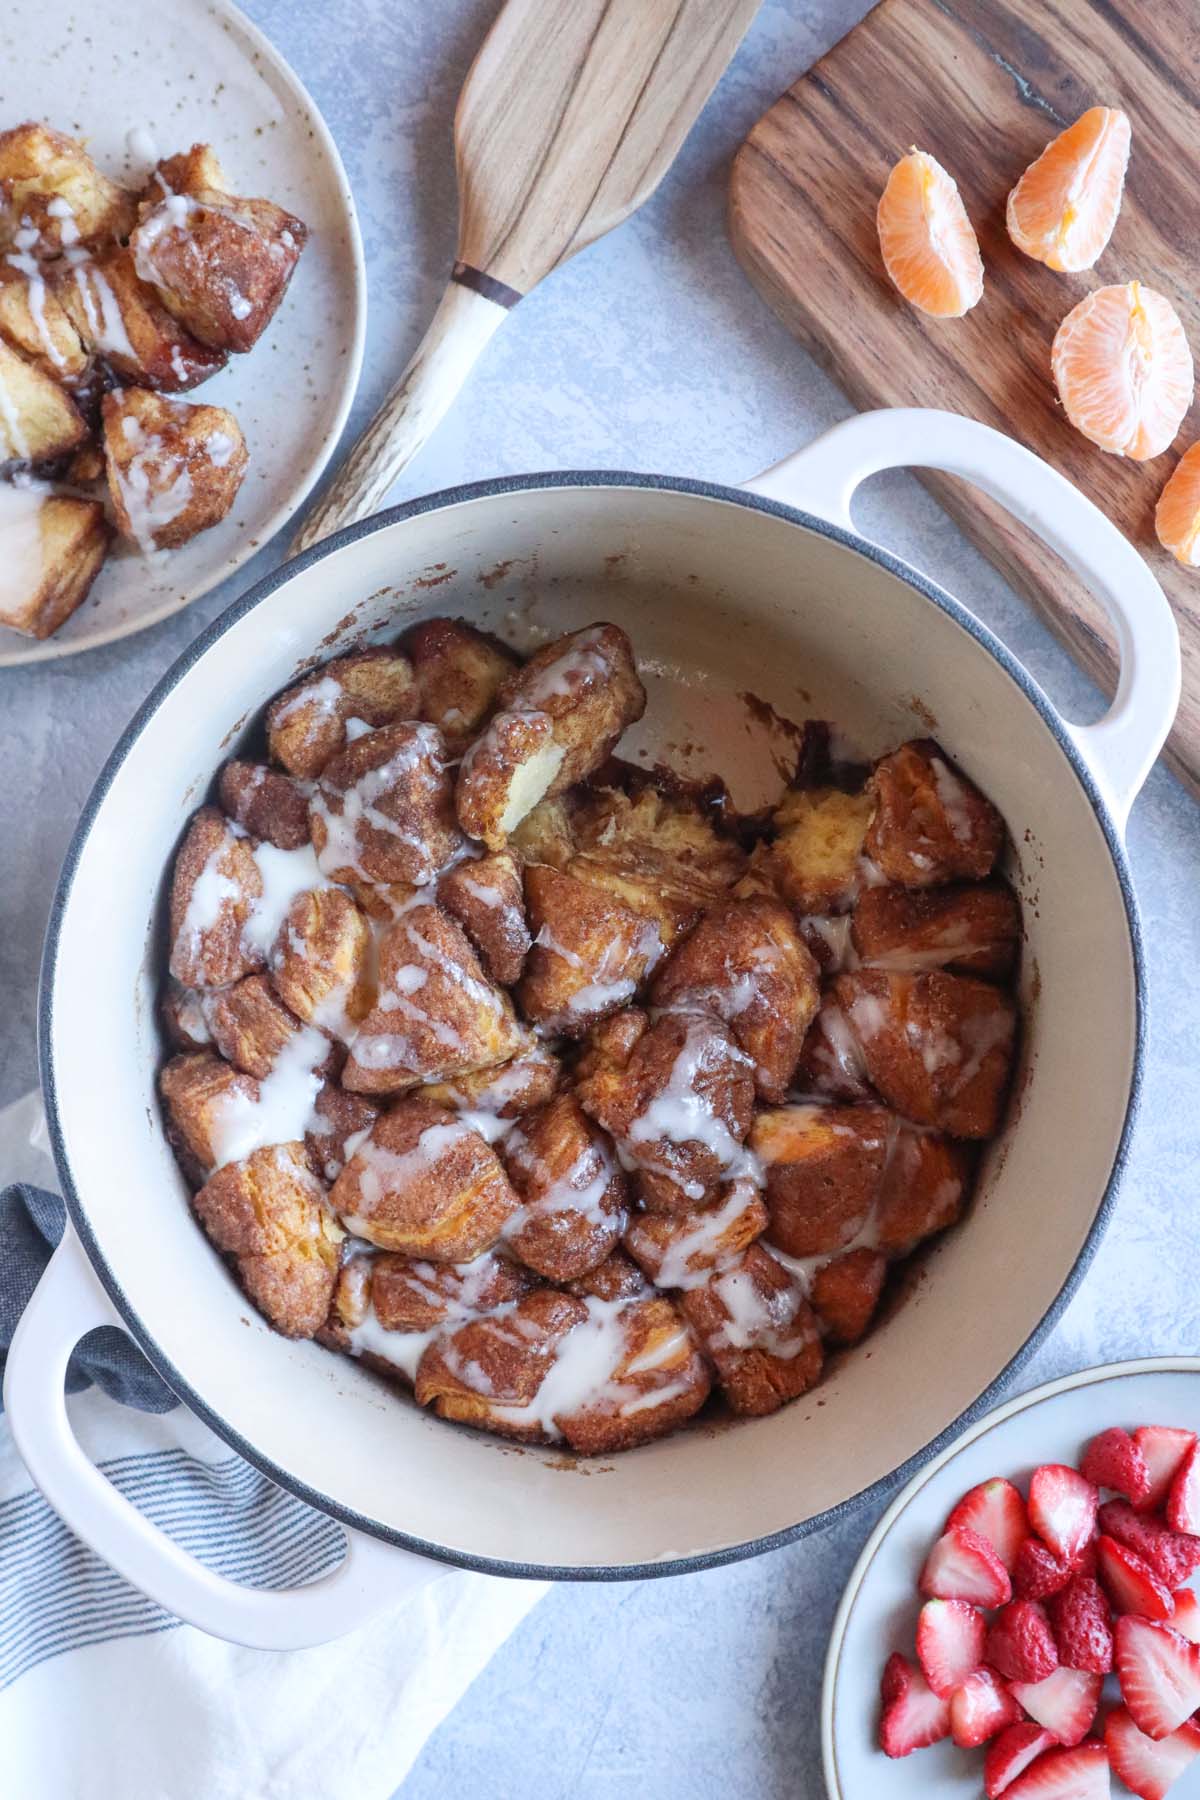
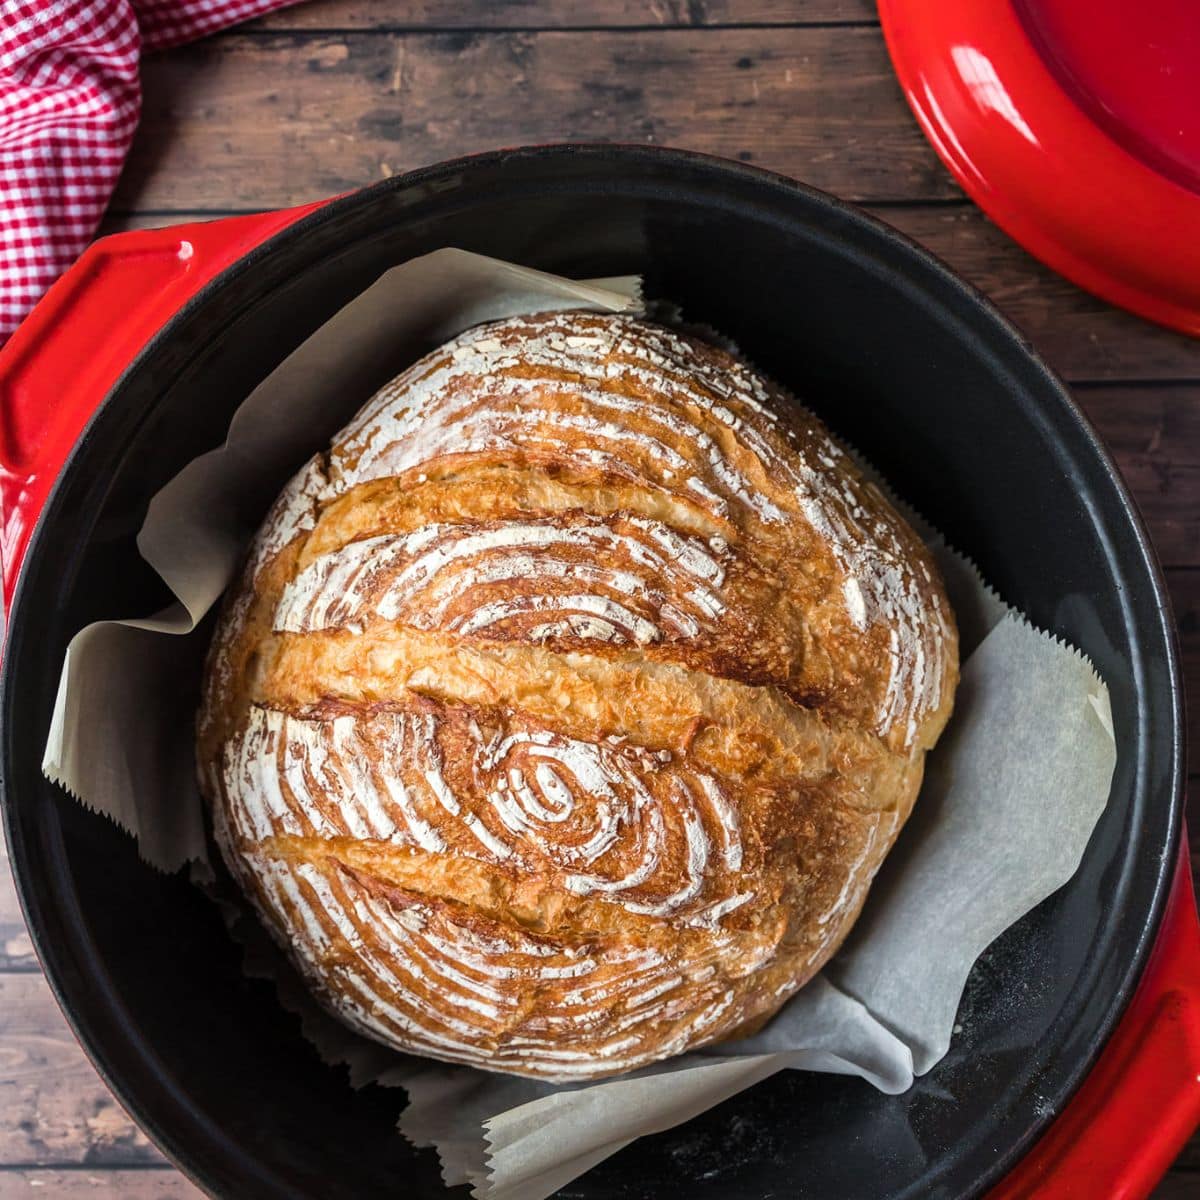
Viral #3 & #4: No-Knead Bread & Lemon Drizzle Cake
The Dutch oven’s baking capabilities are undeniable, and two viral TikTok recipes showcase this beautifully: no-knead bread and lemon drizzle cake. The no-knead bread trend, popularized by many bakers, relies on the Dutch oven’s ability to trap steam, creating a crispy crust and a soft, airy interior. My results were excellent – the bread came out perfectly browned with a lovely texture. It’s a relatively hands-off recipe, which is a major plus.
The lemon drizzle cake was equally impressive. I used a standard recipe, but baked it in my Dutch oven instead of a cake pan. The cast iron created a beautifully moist and even bake, and the cake released cleanly after cooling. I did find that the sides of the cake were slightly darker than the center, so rotating the Dutch oven halfway through baking is a good idea. These recipes really highlight the Dutch oven's strengths – consistent heat and excellent moisture retention.
The biggest challenge with both recipes is handling the hot Dutch oven. Always use oven mitts and be careful when lifting the lid, as steam can escape quickly. For the cake, greasing the Dutch oven thoroughly is essential to prevent sticking. These recipes are a testament to the versatility of the Dutch oven and its ability to deliver bakery-quality results at home.
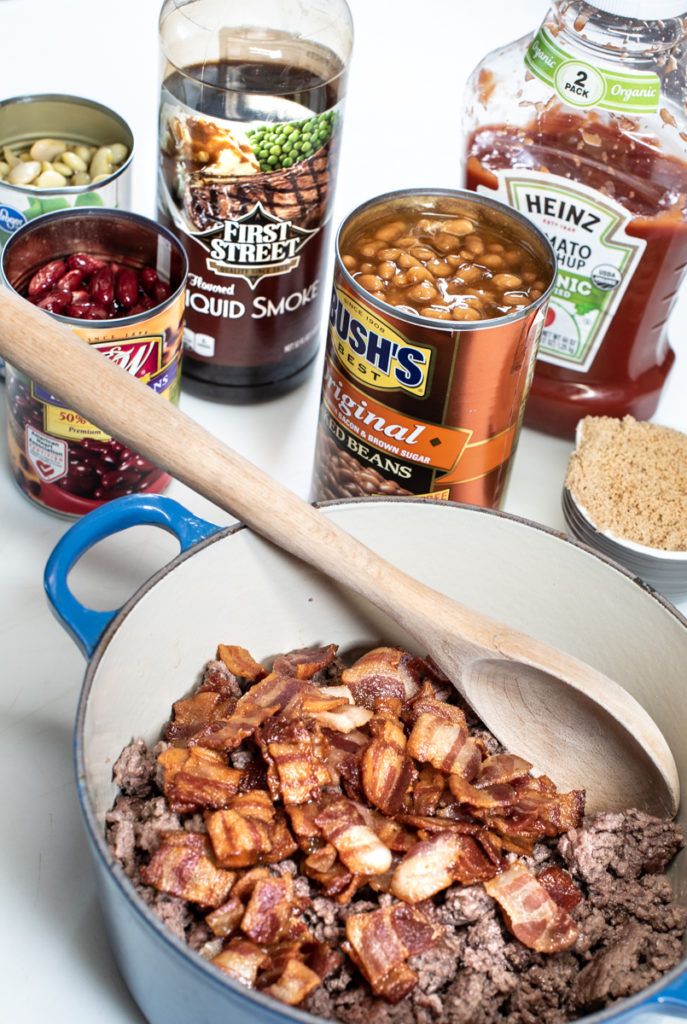
Viral #5: One-Pot Jambalaya
The One-Pot Jambalaya recipe promised a flavorful and convenient meal, all cooked in a single Dutch oven. The TikTok method typically involves sautéing vegetables, browning meat, adding rice and broth, and simmering until the rice is cooked through. @neworleansfoodie's take on it was widely shared.
I used a 6-quart Dutch oven and followed a traditional Jambalaya recipe, adapting it for one-pot cooking. I started by sautéing onions, bell peppers, and celery, then added Andouille sausage and chicken thighs. After browning the meat, I added rice, chicken broth, diced tomatoes, and Cajun seasoning. I brought it to a boil, then reduced the heat and simmered for about 20 minutes, until the rice was cooked.
The flavors melded beautifully, and the rice was cooked perfectly. However, I did experience some sticking on the bottom of the Dutch oven, so stirring frequently is crucial. The size of your Dutch oven will affect this recipe; a larger pot will give the ingredients more room to cook evenly. This recipe really showcases the Dutch oven’s ability to handle complex flavors and create a hearty, satisfying meal.
I found that adding a little extra broth helped prevent sticking and ensured the rice was fully cooked. The Dutch oven’s size definitely matters – a 7-quart or larger pot would be ideal for a larger batch. It's a great recipe, but requires attention to prevent sticking.
TikTok Tested: Worth the Hype?
So, after testing five viral Dutch oven TikTok recipes, what’s the verdict? Some definitely lived up to the hype, while others were a bit underwhelming. The no-knead bread and lemon drizzle cake were clear winners – the Dutch oven’s baking prowess really shines in those recipes. The One-Pot Jambalaya was also a success, but required a bit more attention to prevent sticking.
The Baked Feta Pasta and Salsa Verde Chicken were good, but not as revolutionary as TikTok made them out to be. They’re both solid recipes, but don’t expect a culinary miracle. Overall, the Dutch oven proved its versatility and ability to deliver delicious results. But it’s important to remember that it’s just a tool – it won’t magically make you a great cook.
If you’re looking for reliable Dutch oven recipes, I recommend checking out resources like Food52 () and The Irishman’s Wife (). These sites offer a wealth of well-tested recipes and helpful cooking tips. Ultimately, the Dutch oven is a fantastic investment for any home cook, but don’t believe everything you see on TikTok.
Which of these viral TikTok Dutch oven recipes are you most excited to try at home?
We tested all five of these trending recipes in our own dutch ovens and they all delivered. But we want to know which one has YOU reaching for your cast iron. Vote below and let us know in the comments if you have already tried any of these!

No comments yet. Be the first to share your thoughts!