
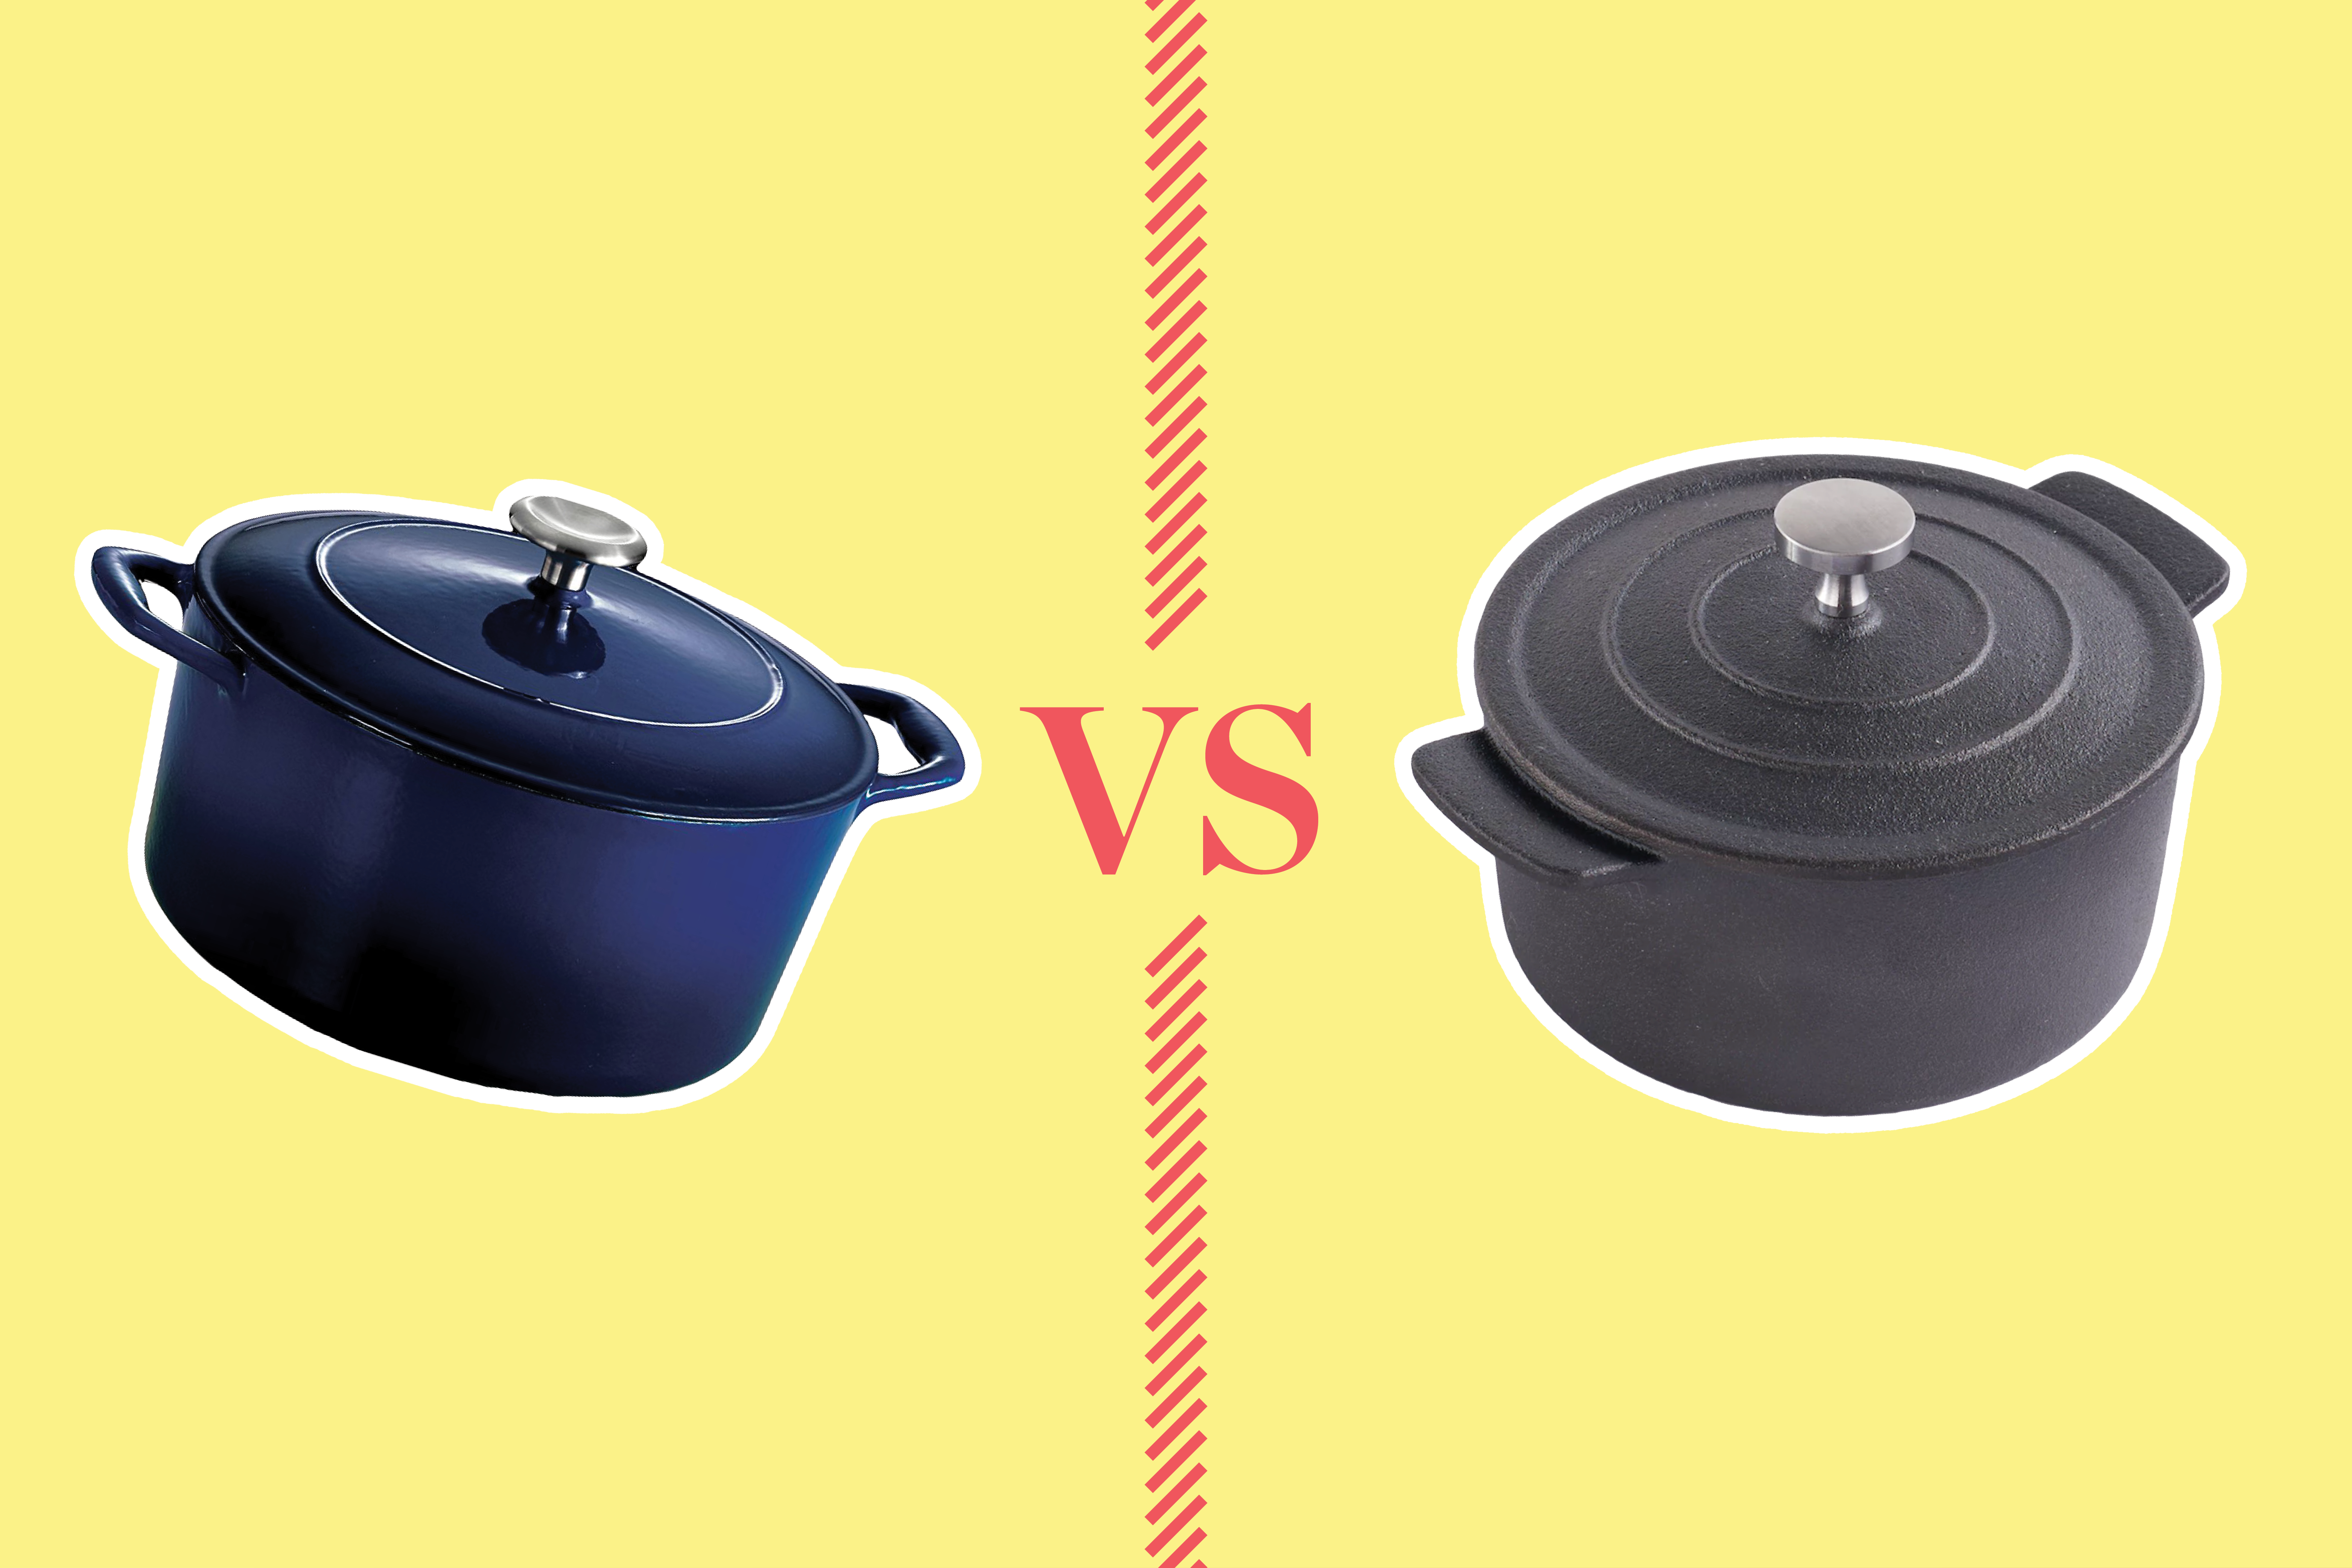
The visual difference
Choosing between bare and enameled cast iron usually comes down to how much you hate cleaning. Bare cast iron is the old-school workhorse—cheap, indestructible, and better for high-heat searing. Enameled pots are the modern convenience, trading raw durability for a glass coating that doesn't require a chemistry degree to maintain.
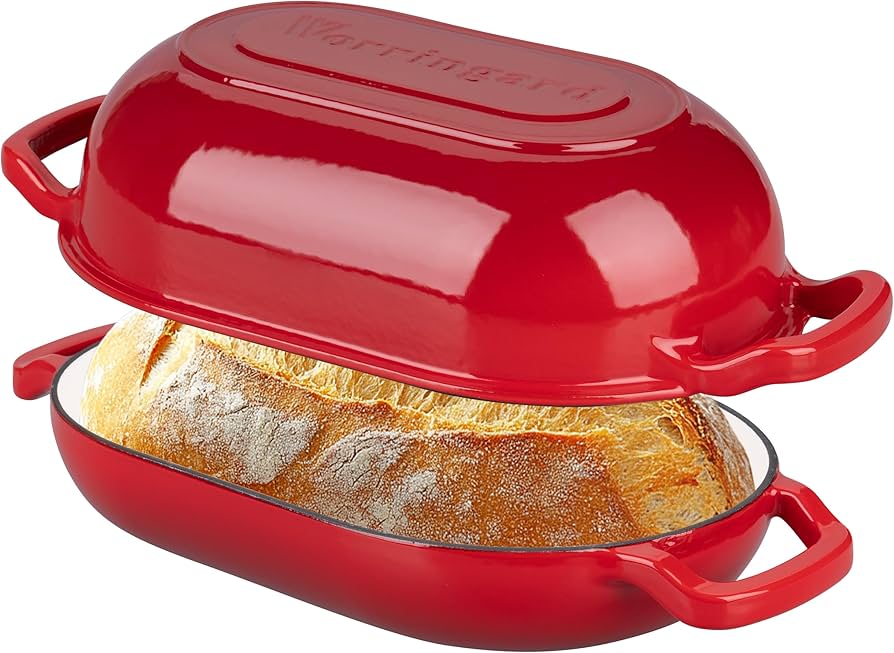
Visually, the difference is striking. Cast iron dutch ovens boast a dark, often matte finish, especially when well-seasoned. The surface appears almost black, though it can take on subtle variations with use. Enameled dutch ovens, on the other hand, come in a spectrum of colors – from classic black and cream to vibrant reds, blues, and greens. This makes them a popular choice for those who want cookware that looks good on the stovetop or displayed in the kitchen.
Both types share a similar shape: a heavy-bottomed pot with thick walls and a tight-fitting lid. However, the material composition fundamentally alters their performance and maintenance requirements. While both excel at heat retention, their approaches to it—and everything else—differ significantly. It's important to remember that a high-quality dutch oven, regardless of material, is an investment that can last for years.
Ultimately, the choice between enameled and cast iron comes down to weighing the benefits and drawbacks of each. There isn’t a single “best” option; it depends on your cooking habits, how much effort you’re willing to put into maintenance, and your aesthetic preferences. We’ll break down the specifics in the following sections to help you make the right decision for your kitchen.
The case for enamel
Enameled dutch ovens have surged in popularity, and for good reason. The primary benefit is the elimination of seasoning – you can start cooking with it right out of the box. This is a huge advantage for beginner cooks or those who simply don’t want the hassle of maintaining a seasoned surface. Cleanup is also remarkably easy; food is less likely to stick, and you can use soap and water without damaging the finish.
Another significant advantage is that enameled cast iron doesn’t react with acidic foods like tomatoes, wine, or citrus. This means you can confidently braise in wine or simmer tomato sauces without worrying about metallic tastes or discoloration of your dish. The wide range of color options is also a draw, allowing you to choose a dutch oven that complements your kitchen décor. Lodge, Le Creuset, and Staub all offer extensive color palettes.
However, enameled dutch ovens aren’t without their drawbacks. Chipping is a common concern, especially with heavier use or accidental impacts. While a small chip doesn’t necessarily render the oven unusable, it can be unsightly and potentially expose the cast iron underneath. Generally, enameled options are more expensive than their bare cast iron counterparts. A 6-quart Le Creuset enameled dutch oven, for example, can cost upwards of $350.
Enamel is heavy. Adding layers of glass to an already thick iron pot makes it a workout to move from the stove to the table. While the glass is fused at temperatures up to 1400°F, it's still brittle. If you bang a metal spoon against the rim or drop it in the sink, it will chip. Once that glass is gone, the exposed iron underneath is prone to rust.
- No seasoning needed: use it immediately for any recipe.
- Cons: Potential for chipping, generally more expensive, can be heavier, potentially uneven heat distribution.
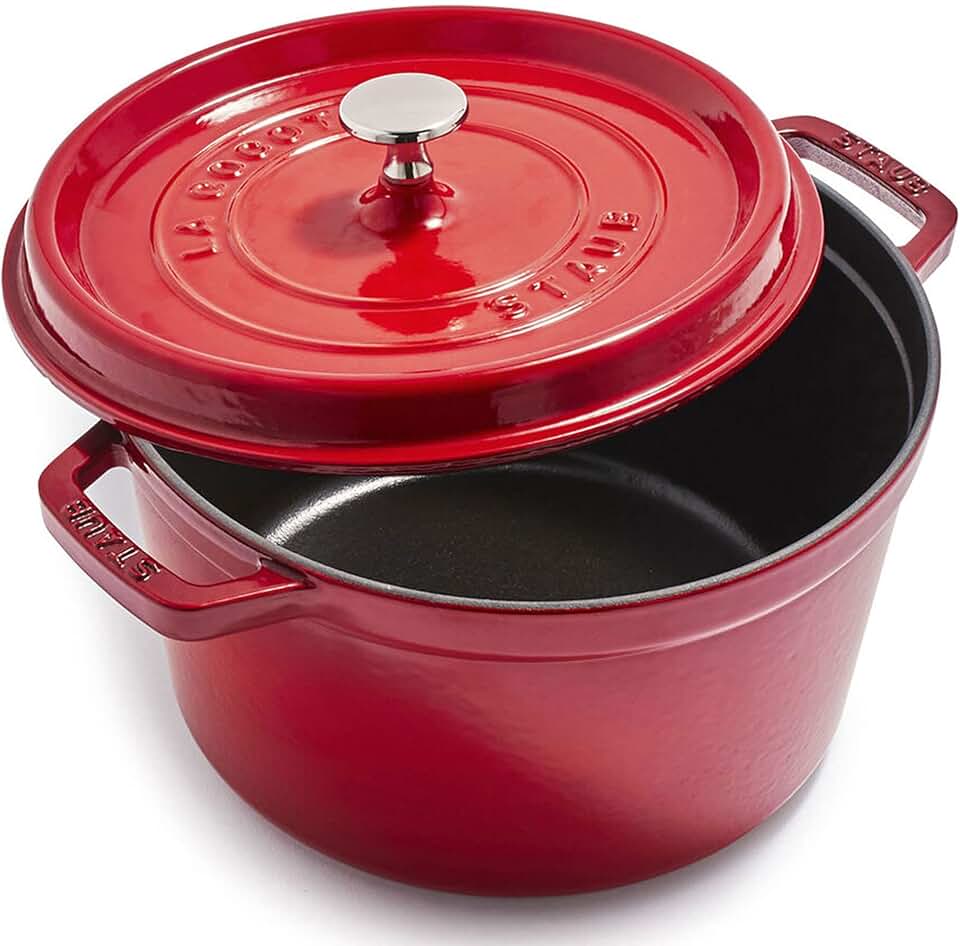
Featured Products

Superior heat retention and distribution · Durable, chip-resistant enamel coating · Tight-fitting lid for moisture circulation
This premium option offers exceptional durability and performance for consistent meal prep results.
Cast iron construction for even heating · Enameled interior for easy release and cleaning · Self-basting spikes on lid for moist cooking
Known for its robust construction and effective moisture retention, this Dutch oven ensures tender and flavorful meals.
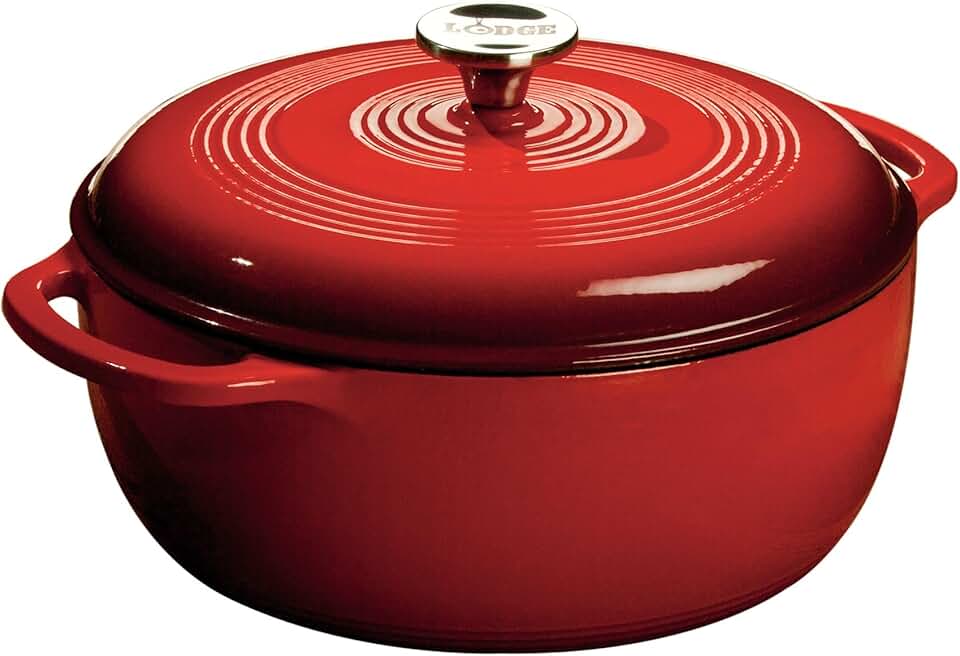
Versatile for various cooking methods · Moisture-sealing lid design · Durable enamel finish
This budget-friendly yet effective Dutch oven provides excellent value for everyday meal preparation tasks.

Generous 7-quart capacity · Even heat distribution · Non-reactive enamel interior
Its substantial size and reliable performance make it a practical choice for preparing larger meal prep batches.

Thick cast iron core for superior heat retention · Chip-resistant enamel coating · Oven and induction compatible
This Dutch oven combines excellent heat management with a durable coating, ideal for consistent cooking performance.
As an Amazon Associate I earn from qualifying purchases. Prices may vary.
Why bare iron still wins
Bare cast iron dutch ovens represent a time-tested cooking tradition. One of their biggest strengths is their exceptional heat retention – they stay hot for a long time, making them ideal for braising, slow cooking, and maintaining consistent temperatures. When properly seasoned, cast iron develops a naturally non-stick surface, reducing the need for excessive oil or fat. This seasoning process, while requiring some initial effort, ultimately enhances the cooking experience.
Cost is another significant advantage. Cast iron dutch ovens are typically more affordable than enameled versions. A comparable 6-quart Lodge cast iron dutch oven can be found for around $80-$100. They’re also incredibly durable – a well-cared-for cast iron dutch oven can literally last for generations. Unlike enameled ovens, cast iron can be used directly over open flames, making it a versatile option for camping or outdoor cooking.
However, cast iron requires more maintenance. Seasoning is crucial to prevent rust and maintain the non-stick surface. While not overly complicated, it does require regular oiling and occasional re-seasoning. Cast iron does react with acidic foods, which can impart a metallic taste and strip the seasoning. Proper care is essential to prevent rust, which can occur if the oven isn’t dried thoroughly after washing.
The weight of cast iron is also a factor – they are undeniably heavy, which can be challenging for some users. Different oils can be used for seasoning; flaxseed oil is popular for building a hard, durable coating, while grapeseed oil is a good all-around choice. The initial seasoning process isn’t as daunting as many believe, but it does require patience and attention to detail.
- High heat tolerance: safe for campfires and 500°F+ ovens.
- Cons: Requires seasoning, more maintenance, reacts with acidic foods, can rust, heavier.
Meal Prep Performance: Heat Retention & Evenness
When it comes to meal prep, both enameled and cast iron dutch ovens perform admirably, but they excel in different areas. Cast iron’s superior heat retention makes it a standout for long-simmering dishes like braised short ribs or stews. The consistent, even heat ensures that food cooks thoroughly and develops deep, rich flavors. This is particularly beneficial for recipes that require hours of slow cooking.
Enameled dutch ovens shine when it comes to recipes where precise temperature control is less critical. They’re excellent for making large batches of soup or chili, and the easy cleanup makes them a convenient choice for weekday meal prep. However, some users report experiencing hot spots with enameled ovens, particularly at the base. The thickness of the cast iron—whether enameled or bare—plays a significant role in heat distribution; thicker walls generally provide more even heating.
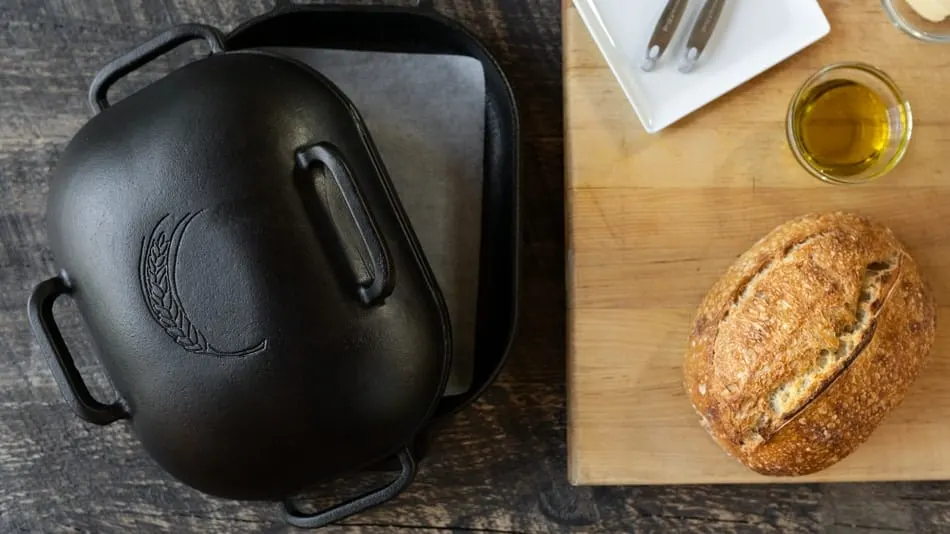
Baking bread is another area where the differences are noticeable. Enameled dutch ovens create a steamy environment that’s ideal for achieving a crispy crust and a soft, airy interior. Cast iron can also be used for baking bread, but it requires more careful temperature monitoring to prevent burning. The even heat retention of cast iron is beneficial for recipes like Dutch oven pot roast, where a consistent temperature is crucial for tenderizing tough cuts of meat.
Ultimately, the best choice depends on the specific meal prep task. If you prioritize consistent heat and long-simmering capabilities, cast iron is the way to go. If you value convenience and easy cleanup, enameled is a strong contender. Both are capable of delivering delicious results, but understanding their strengths and weaknesses is key to maximizing their performance.
Enameled vs. Cast Iron Dutch Ovens: Performance for Meal Prep (2026)
| Performance for... | Cast Iron | Enameled |
|---|---|---|
| Braising | Excellent - Superior heat retention for long, slow braises. Develops rich flavors. | Good - Maintains heat well, but may require slightly lower temperatures to avoid scorching. |
| Slow Cooking | Good - Consistent temperature, but requires careful seasoning maintenance to prevent sticking. | Better for - Easier cleanup and doesn’t react with ingredients during extended cooking. |
| Baking Bread | Excellent - Retains and distributes heat exceptionally well, creating a crisp crust. Requires preheating. | Good - Provides even heating, but crust may be slightly softer without the intense heat of bare cast iron. |
| Searing | Better for - Higher heat capacity allows for a superior sear and Maillard reaction. | Fair - While capable, enamel can be damaged by very high heat and doesn’t conduct heat *as* quickly. |
| Making Sauces | Fair - Requires careful seasoning and can react with acidic ingredients. Potential for metallic taste. | Excellent - Non-reactive surface ideal for tomato-based sauces and other acidic dishes. Easier to clean. |
| Heat Retention | Excellent - Holds heat for a very long time, even after heat source is removed. | Good - Retains heat well, but generally less than bare cast iron. |
| Evenness | Good - Can develop hot spots if not properly preheated. Requires learning its heating patterns. | Excellent - Generally provides more even heat distribution, minimizing hot spots. |
| Ease of Cleaning | Fair - Requires seasoning and careful cleaning to prevent rust. Can be more labor-intensive. | Excellent - Smooth enamel surface is non-stick and cleans up easily with soap and water. |
Qualitative comparison based on the article research brief. Confirm current product details in the official docs before making implementation choices.
Cleaning & Maintenance: Long-Term Care
Maintaining your dutch oven is essential for ensuring its longevity. For enameled dutch ovens, cleaning is relatively straightforward. Gentle dish soap and a soft sponge are usually sufficient. Avoid abrasive scrubbers, as they can damage the enamel coating. If food is stuck, soak the oven in warm, soapy water before attempting to scrub it. If chipping occurs, it’s generally safe to continue using the oven, but avoid using metal utensils directly on the chipped area.
Cast iron dutch ovens require a bit more attention. After each use, rinse the oven with warm water and dry it thoroughly. Avoid using soap unless absolutely necessary, as it can strip the seasoning. If you do use soap, re-season the oven afterward. To prevent rust, apply a thin layer of oil to the interior after drying. Store the oven in a dry place. The fear of 'ruining' cast iron is often overstated—it's surprisingly resilient.
Proper seasoning maintenance is crucial for cast iron. If the seasoning becomes damaged or patchy, re-season the oven by applying a thin coat of oil and baking it in the oven at a high temperature (around 450°F) for an hour. This process helps to build up a protective layer that prevents rust and creates a non-stick surface. Avoid storing food in your cast iron dutch oven for extended periods, as this can also contribute to rust.
For both types of dutch ovens, proper storage is important. Avoid stacking other cookware inside the dutch oven, as this can cause damage. A dedicated storage space will help protect your investment and keep it in good condition for years to come.
Real-World Recipes: Which Oven Shines?
Let’s put these principles into practice with a few recipes. For a classic Beef Bourguignon, a cast iron dutch oven is the clear winner. The exceptional heat retention ensures that the beef braises evenly and becomes incredibly tender over several hours. The cast iron also contributes to the development of a rich, flavorful sauce. You can find a detailed recipe on My Dutch Oven [link to recipe].
Conversely, for a No-Knead Bread, an enameled dutch oven offers significant advantages. The smooth enamel surface makes it easier to transfer the dough, and the easy cleanup is a major plus. The enameled surface also helps to create a steamy environment that’s essential for achieving a crispy crust. See our recipe here [link to recipe].
Tomato Sauce is another recipe where enameled cast iron shines. The enamel’s resistance to acidity prevents any metallic taste or discoloration. This is particularly important for long-simmered sauces where the tomatoes have ample time to react with the cookware. Check out our recipe for a vibrant tomato sauce [link to recipe].
Finally, for Dutch Oven Chicken and Potatoes, either type of oven will work well, but the cast iron’s heat retention will give you slightly more even cooking and a beautifully browned chicken. The flavor profile will benefit from the cast iron’s ability to maintain consistent, high heat.

No comments yet. Be the first to share your thoughts!